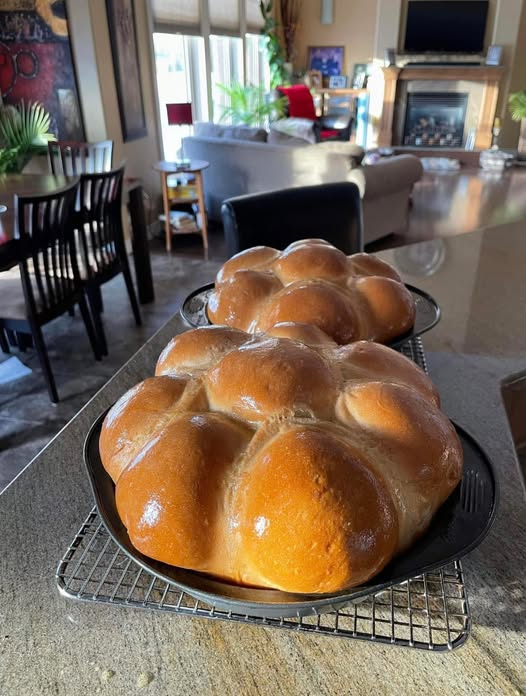
Homemade Olive Loaf: A Flavorful, Rustic Loaf
In the United States, olive loaf gained popularity through Italian bakeries, particularly in cities with strong Italian-American communities. One notable example is Madonia Brothers Bakery in the Bronx, New York, which has been crafting olive loaf for over a century (source). This bakery’s long-standing tradition showcases how Italian immigrants brought their culinary heritage to the U.S., making olive loaf a beloved staple in American baking.
There’s something special about the aroma of baking bread filling the kitchen, bringing back memories of homemade meals and cherished traditions. This recipe, with its mix of olives, garlic, and oregano, is a nod to those rustic, old-world flavors that have stood the test of time.
Why You’ll Love This Recipe
- Packed with Flavor – A mix of green and Kalamata olives, fresh garlic, and oregano for an aromatic loaf.
- Crispy Crust with Soft Interior – Thanks to a mix of flours and a steam bath while baking.
- Perfect for Any Occasion – Serve it with cheese, soup, or your favorite spreads.
Ingredients
- 3 tsp instant yeast
- 1 tbsp sugar
- 2 cups warm water
- 4.5 cups flour (1 cup whole wheat, 3 cups all-purpose, ½ cup cornmeal)
- ½ tsp salt
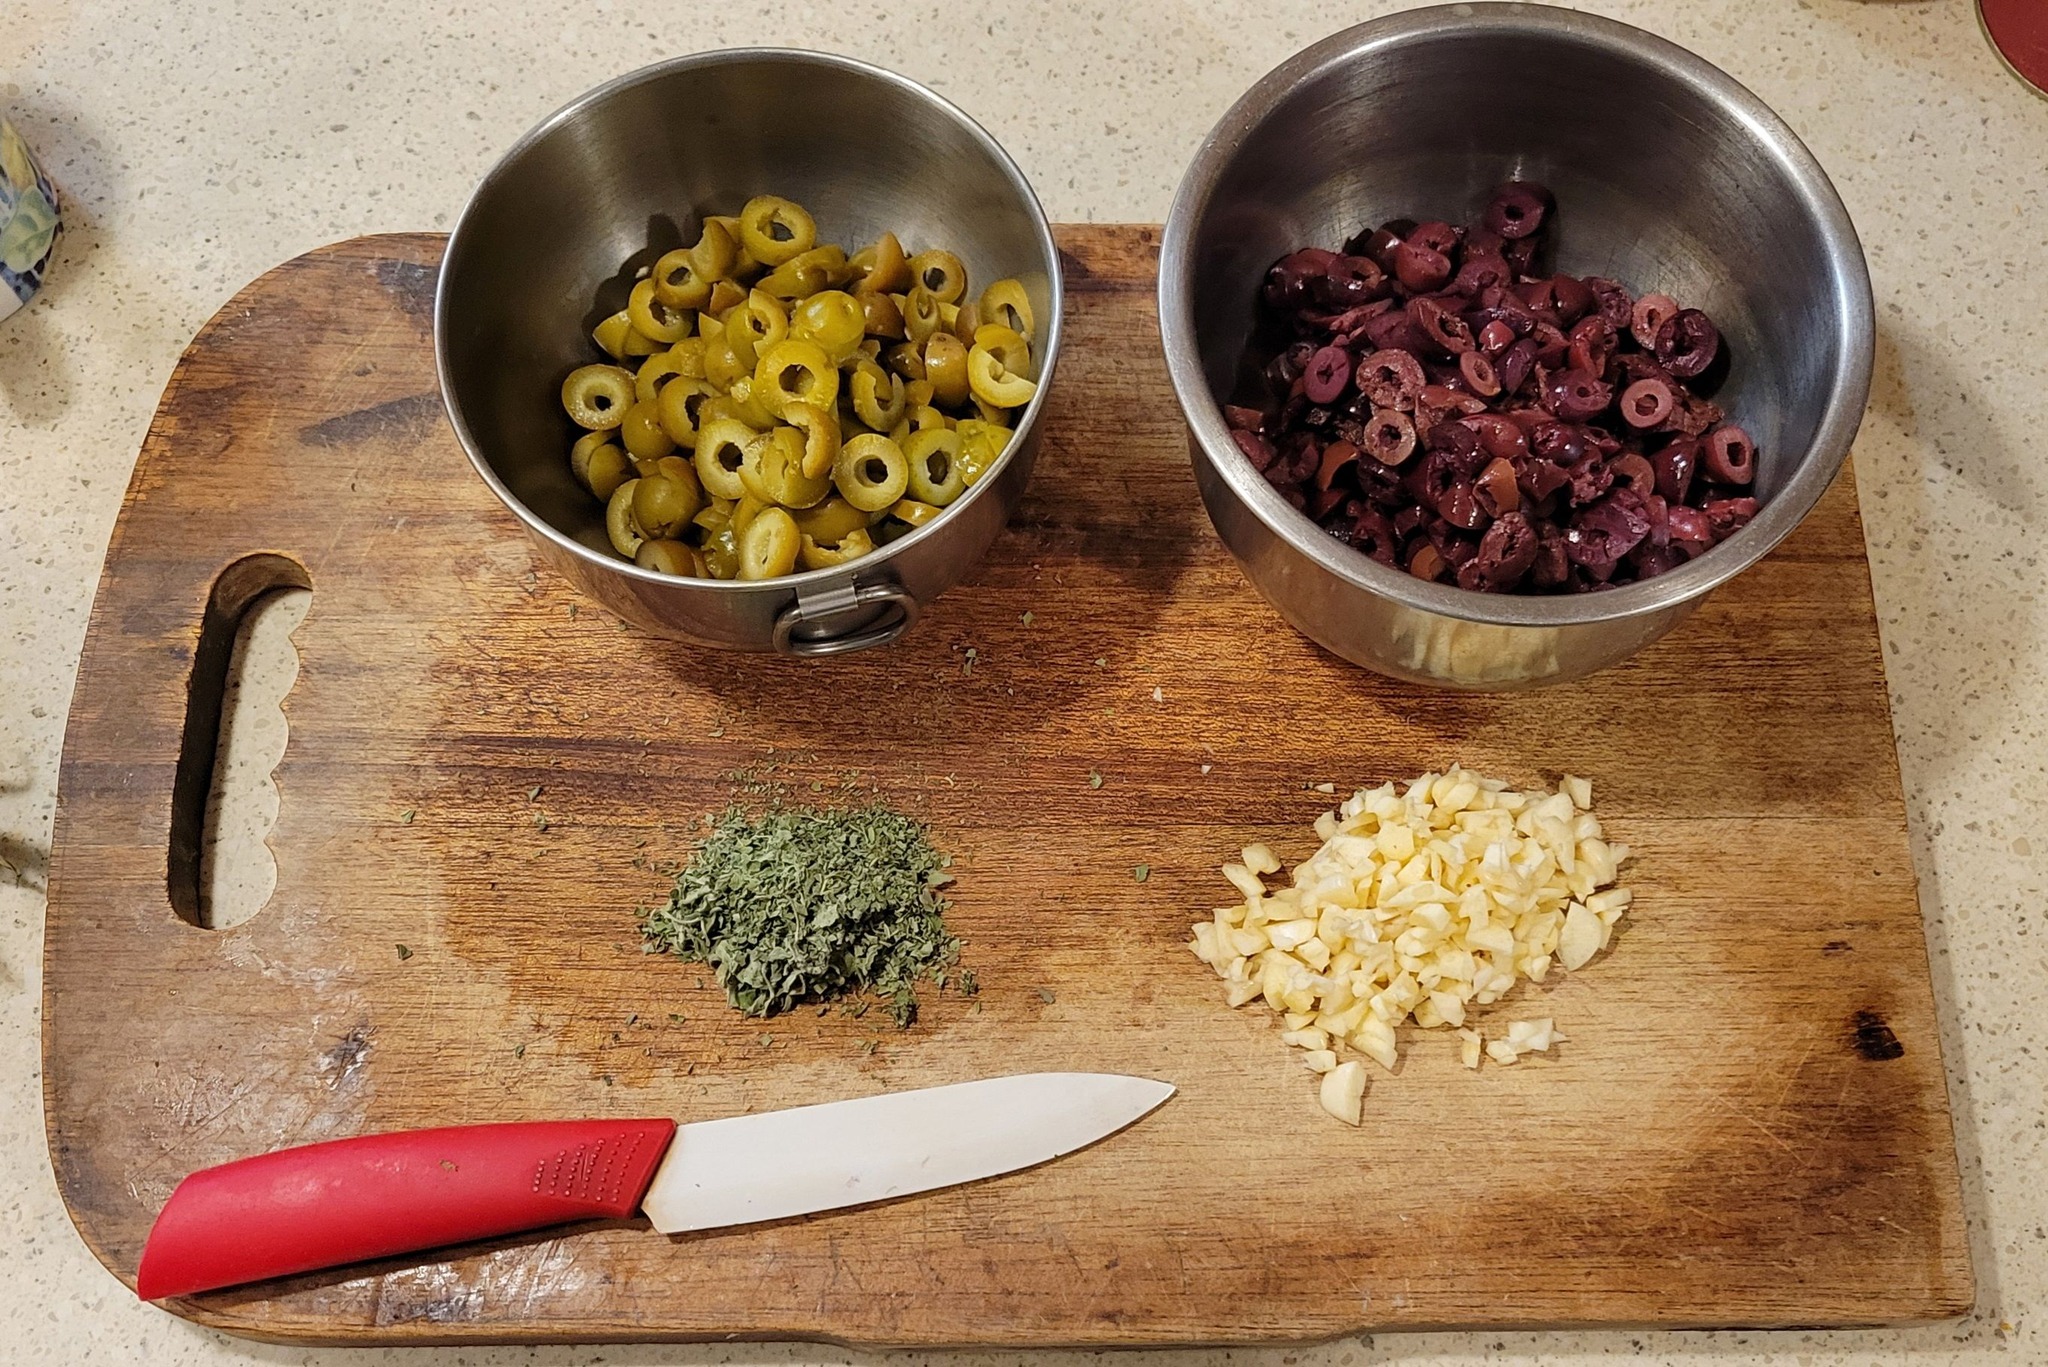
- 1 cup mixed green and Kalamata olives, sliced
- 1 tbsp dried oregano
- 3 cloves garlic, minced
- Olive oil (for coating)
- Vegetable oil spray (for the bowl)
Instructions
Step 1: Activate the Yeast
- In a large mixing bowl, whisk together the yeast, sugar, and warm water.
- Let it sit for several minutes until foamy.
Step 2: Prepare the Dough
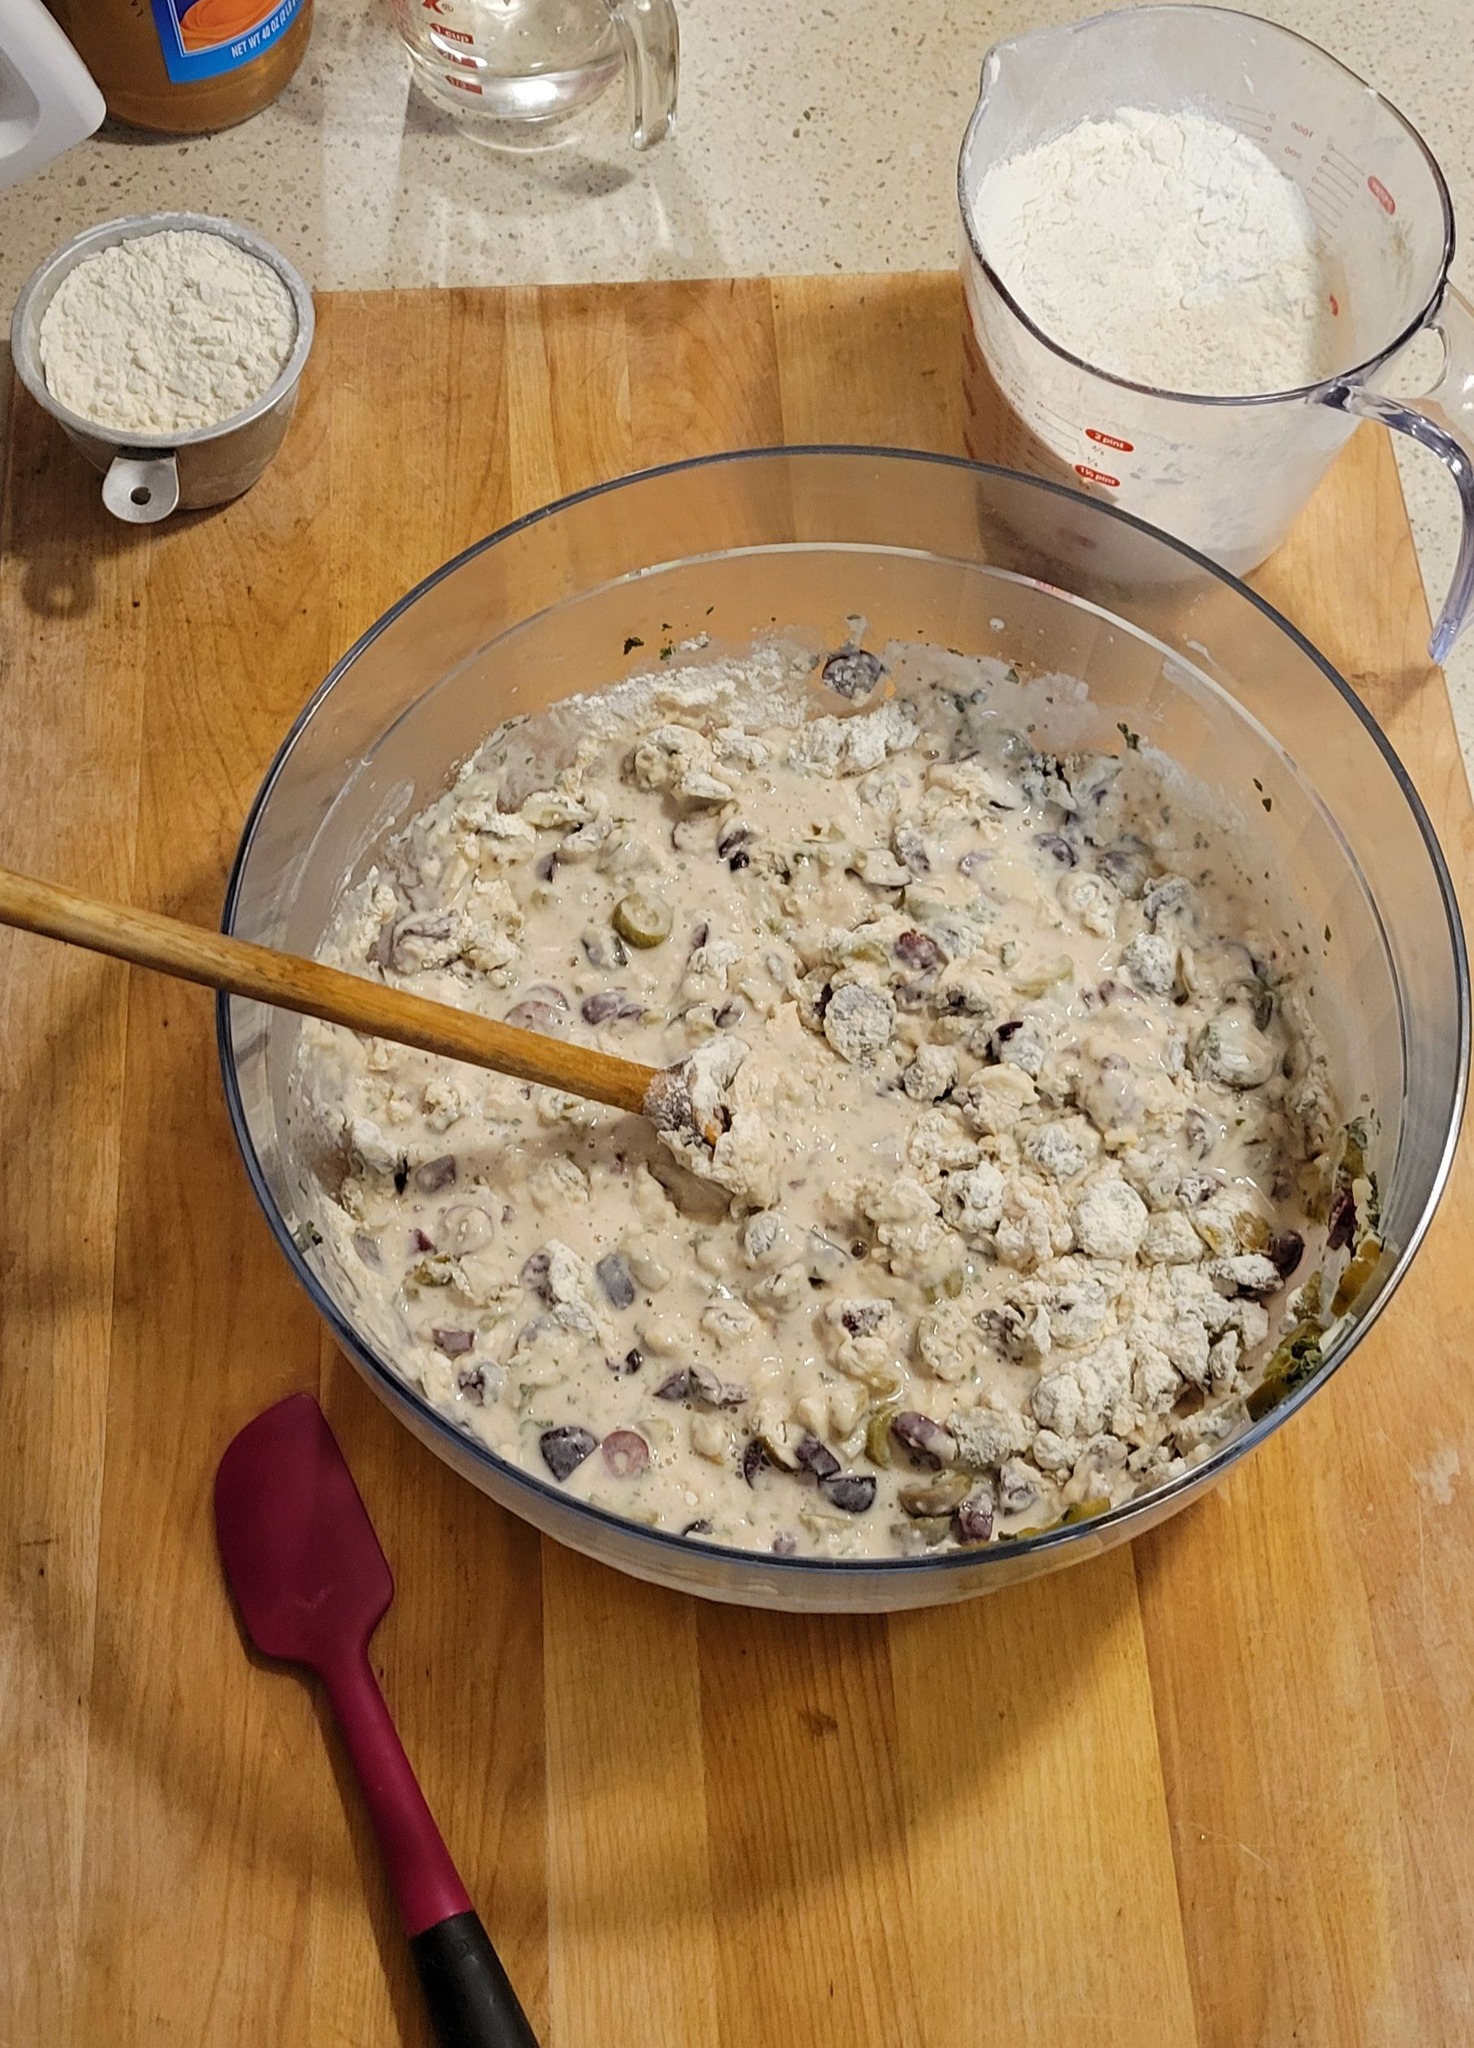
- In a separate bowl, mix the flour, cornmeal, and salt.
- Stir the olives, oregano, and garlic into the yeast mixture.
- Gradually add the flour mixture, stirring continuously to combine.
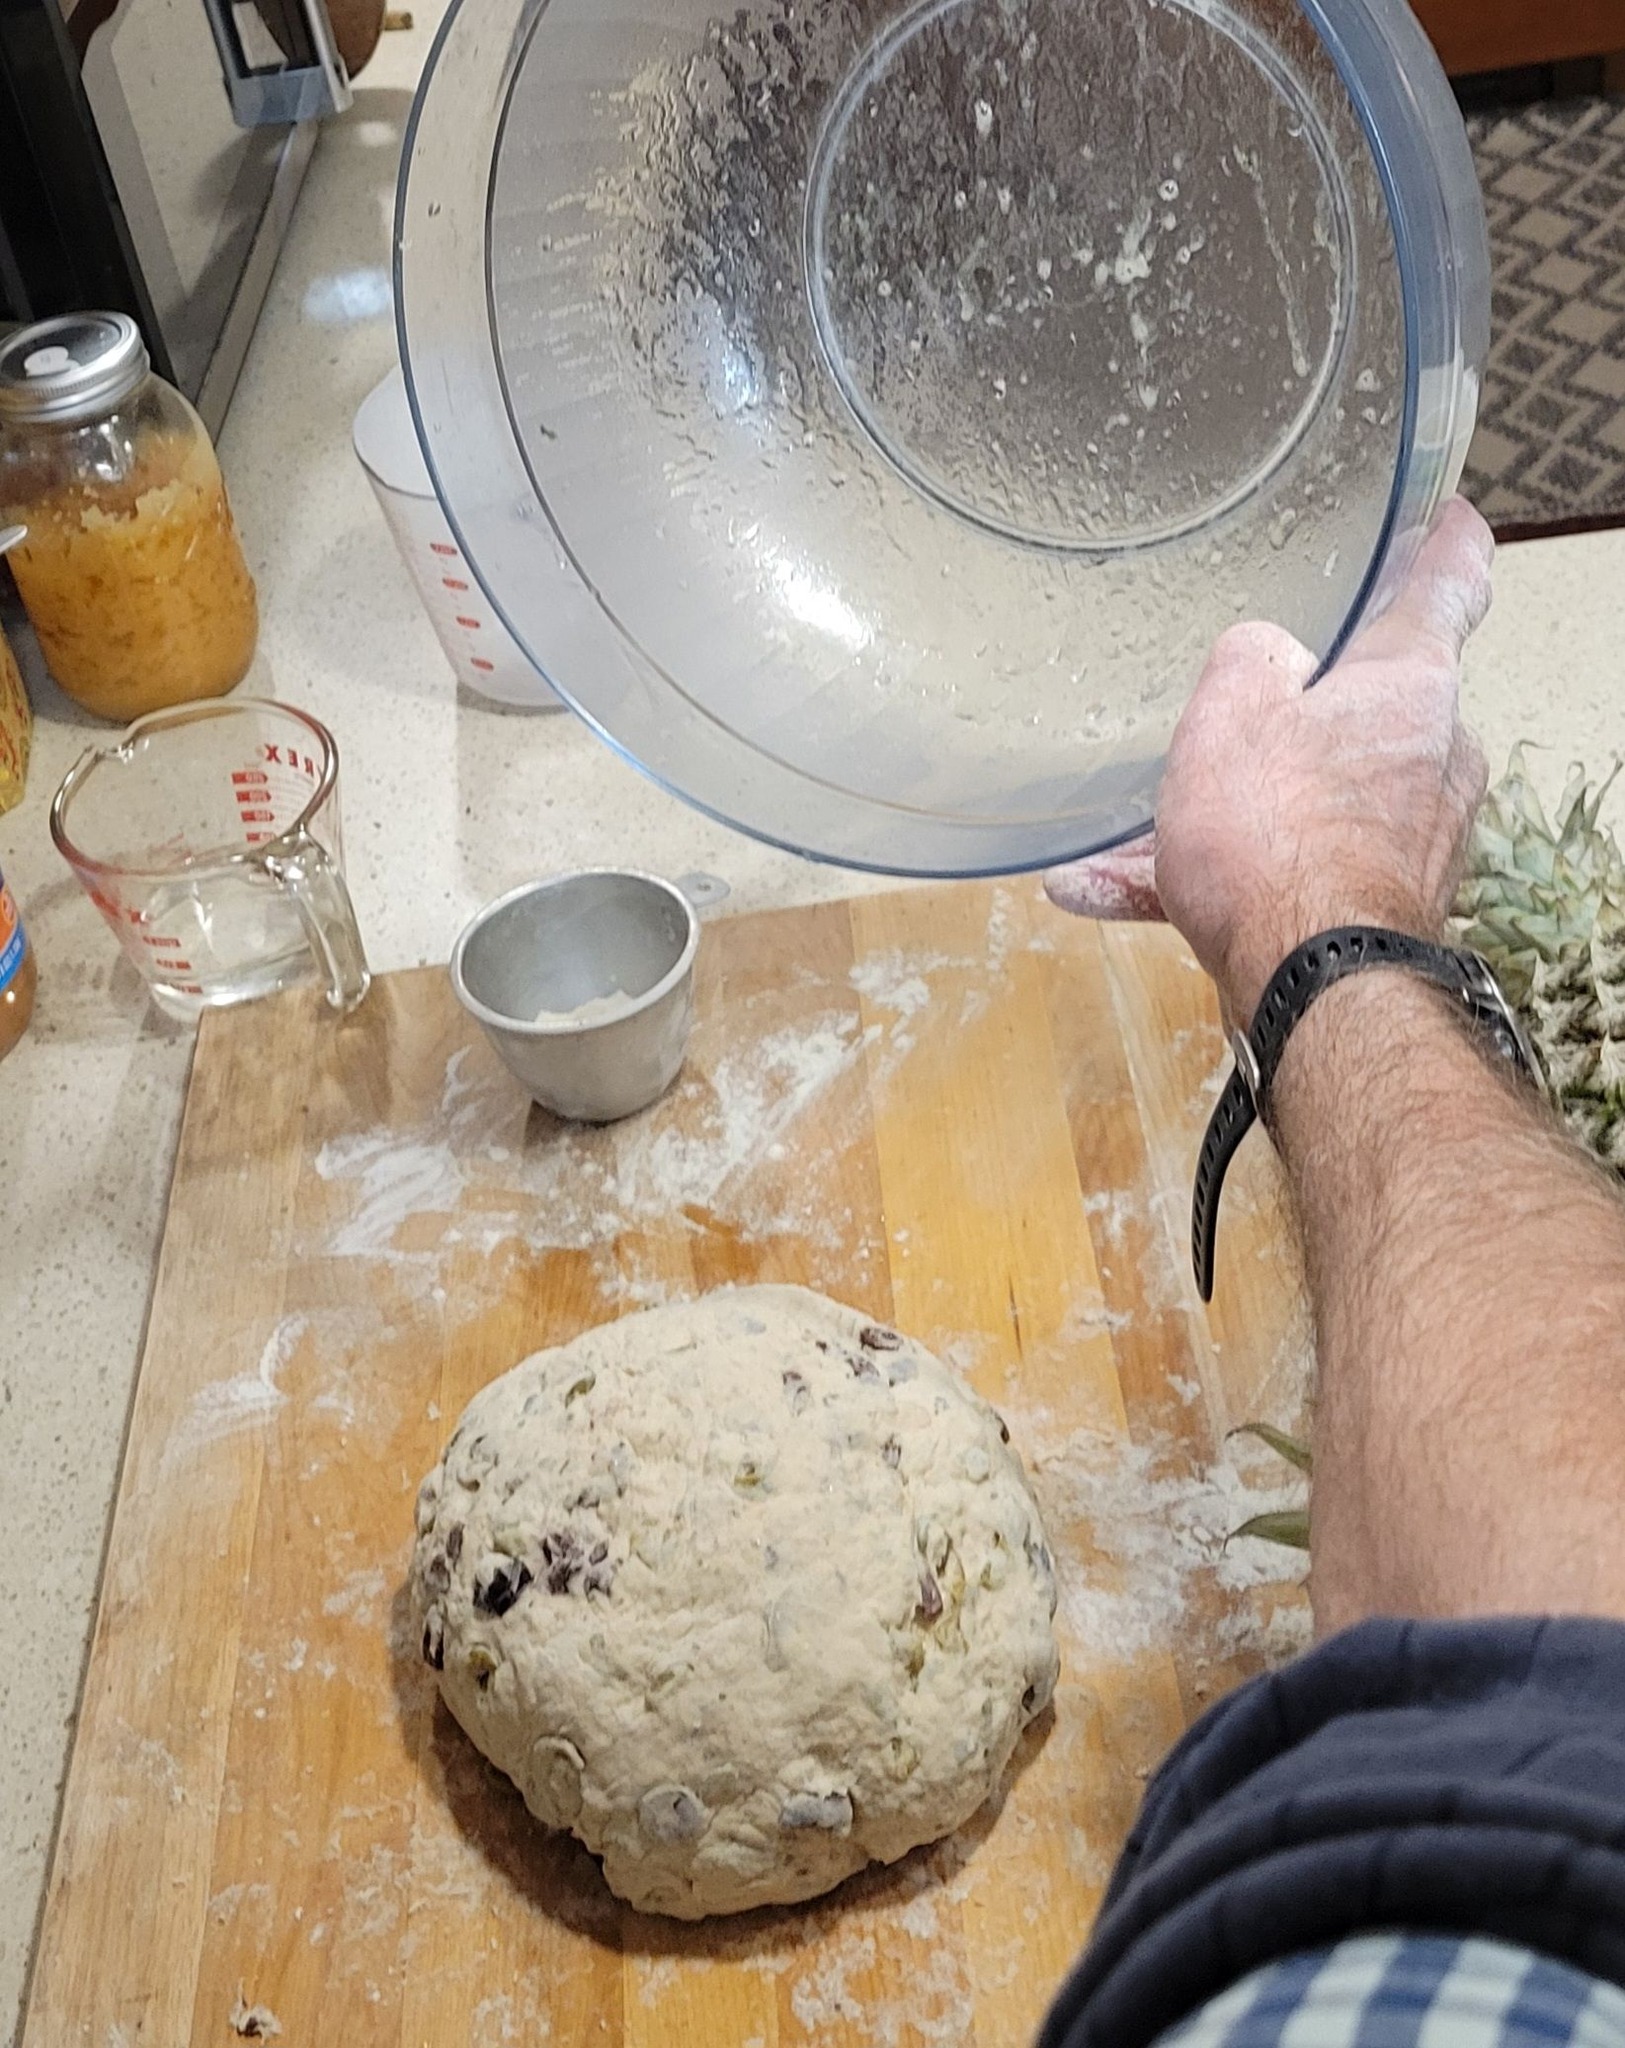
Step 3: Knead the Dough
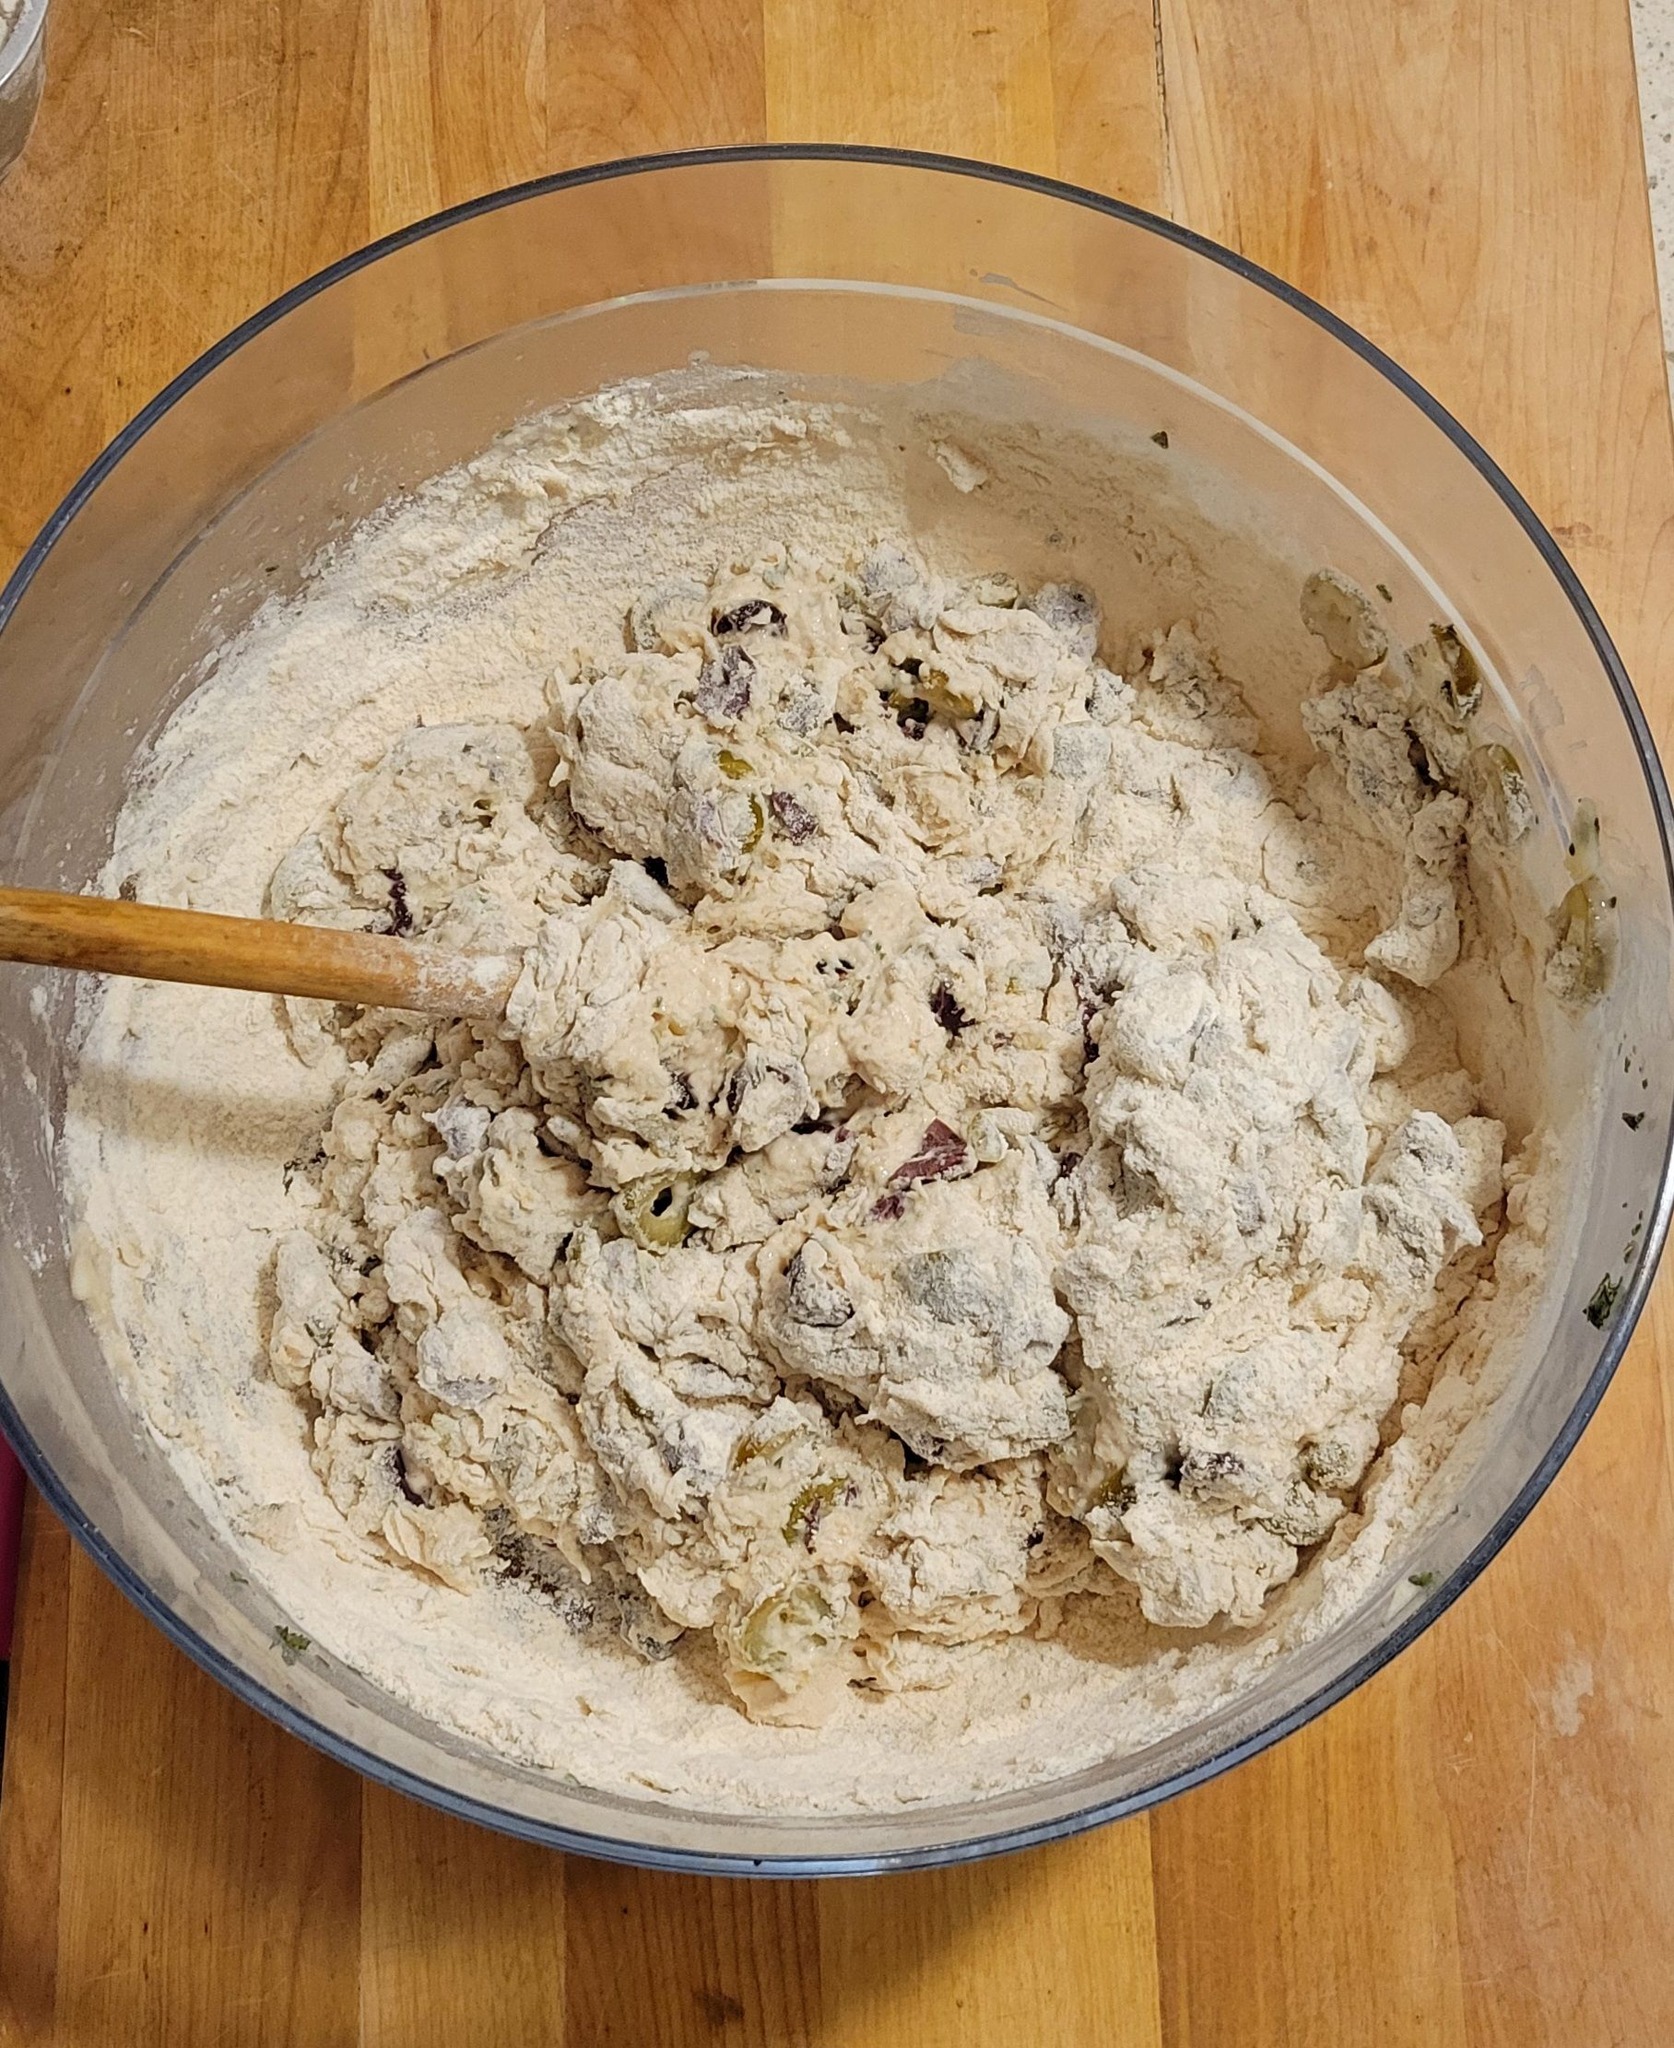
- Once all the flour is incorporated, transfer the dough to a floured surface.
- Knead the dough for 6-8 minutes until smooth and elastic.

Step 4: First Rise
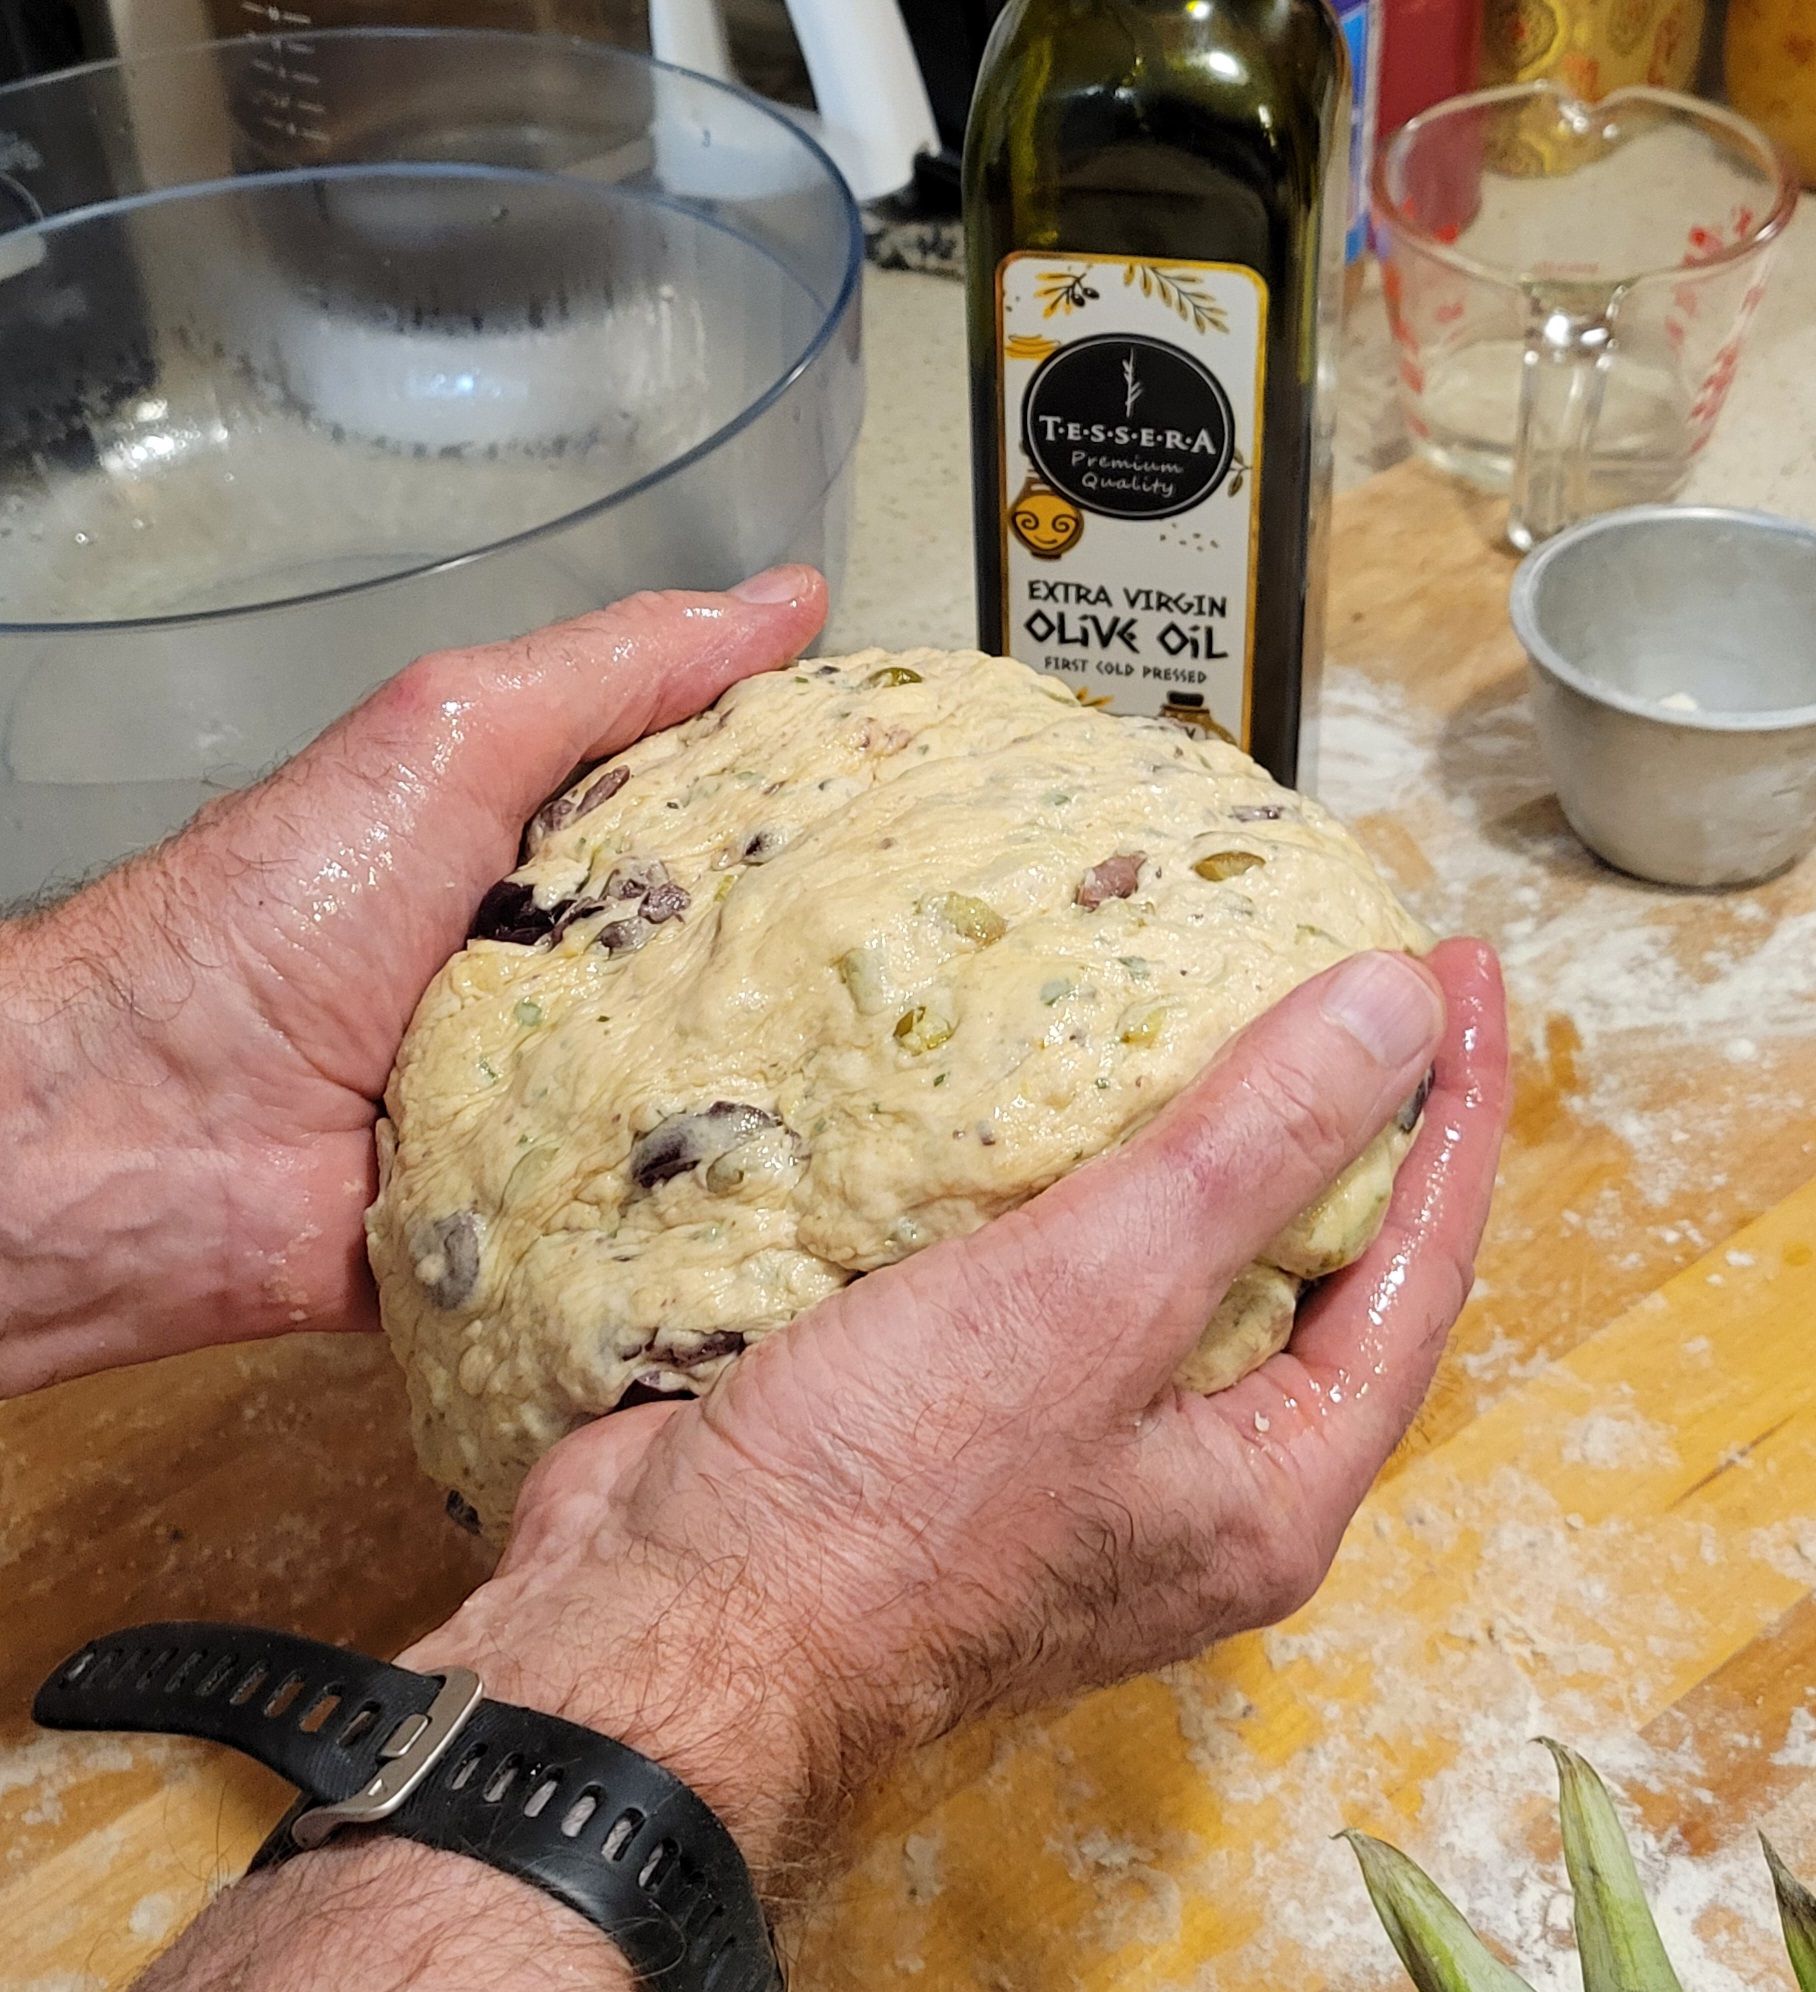
- Spray a clean bowl with vegetable oil.
- Lightly coat the dough ball with olive oil and place it in the bowl.
- Cover and let rise in a warm place for 1-2 hours, or until doubled in size.
Step 5: Shape & Proof
- Cut the dough in half and shape it into two loaves.
- Place each in a greased bread tin.
- Cover and let proof for another hour.
Step 6: Bake to Perfection
- Preheat the oven to 450°F.
- Optionally, place a pan of boiling water on the bottom rack for extra crustiness.
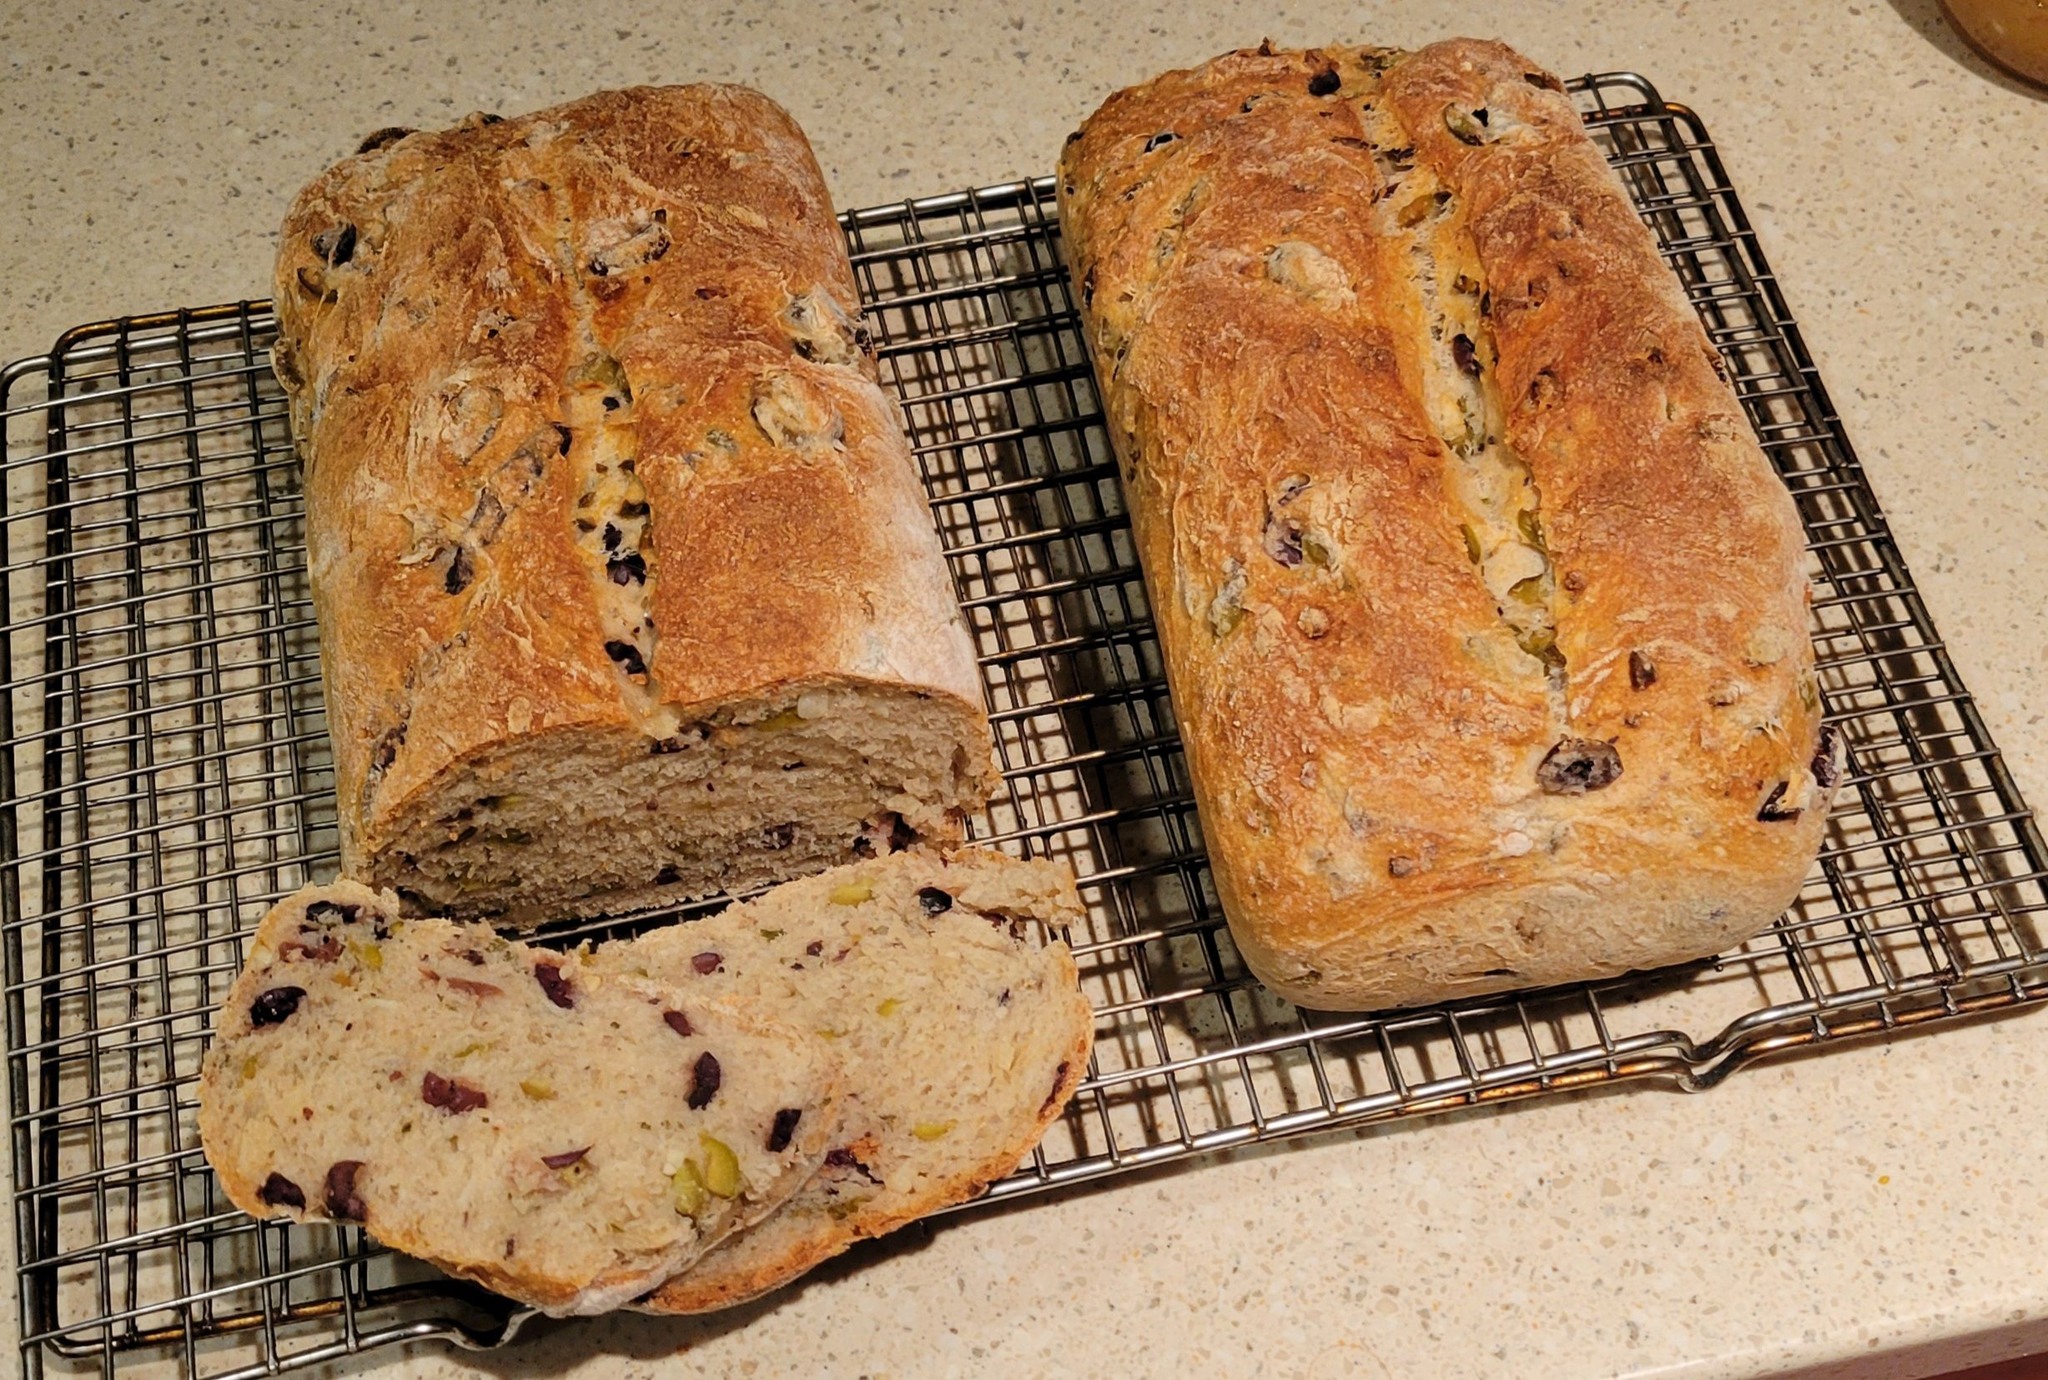
- Bake for 20-25 minutes until golden brown.
- Let cool before slicing and serving.
Serving & Storage Tips
- Best Served Fresh – Enjoy warm with olive oil, butter, or your favorite spreads.
- Storage – Keep in an airtight container for up to 3 days.
- Freezing – Wrap tightly in plastic wrap and store for up to 2 months.
Final Thoughts
This olive loaf is a wonderful addition to any meal, bringing bold flavors and a satisfying texture. Whether you’re making it for a special dinner or a weekend baking project, it’s sure to become a household favorite! And just like the traditional Mediterranean bakers who relied on simple ingredients to create nourishing loaves, you too can experience the joy of baking a rustic, homemade bread filled with timeless flavors.
From old-world villages to bustling American bakeries, this bread has stood the test of time and is now a part of many cherished family traditions. Try it today and bring a bit of history into your kitchen!