Christmas Pinwheel Sugar Cookies (Festive Red & Green Swirls)
There is something hypnotic about a tray of perfectly swirled pinwheel cookies. They look so impressive, almost like something you’d buy at a fancy bakery, but they are actually just a clever twist on a classic slice-and-bake.
For my annual friend Christmas party this year, I knew I needed a cookie that could feed a crowd and bring the festive “wow” factor. I didn’t want to spend hours decorating individual cookies with royal icing, so I turned to these Christmas Pinwheel Sugar Cookies.
This isn’t a small batch recipe; it uses a whopping four sticks of butter and six cups of flour. It is a true “Party Batch” designed to fill your tins and platters.
While the mesmerizing red, white, and green swirls are the main attraction, the real secret lies in the flavor. I add a dash of lemon zest to the dough. You might think, “Lemon in a Christmas cookie?” But trust me—it doesn’t taste like a lemon drop. Instead, it acts as a background note that cuts through the richness of the butter and sugar, creating a perfectly balanced bite that keeps you coming back for “just one more.”
Why You’ll Love This Recipe
-
The Party Batch: This recipe makes a huge amount of dough. It is ideal for cookie exchanges, large family gatherings, or your own annual Christmas party.
-
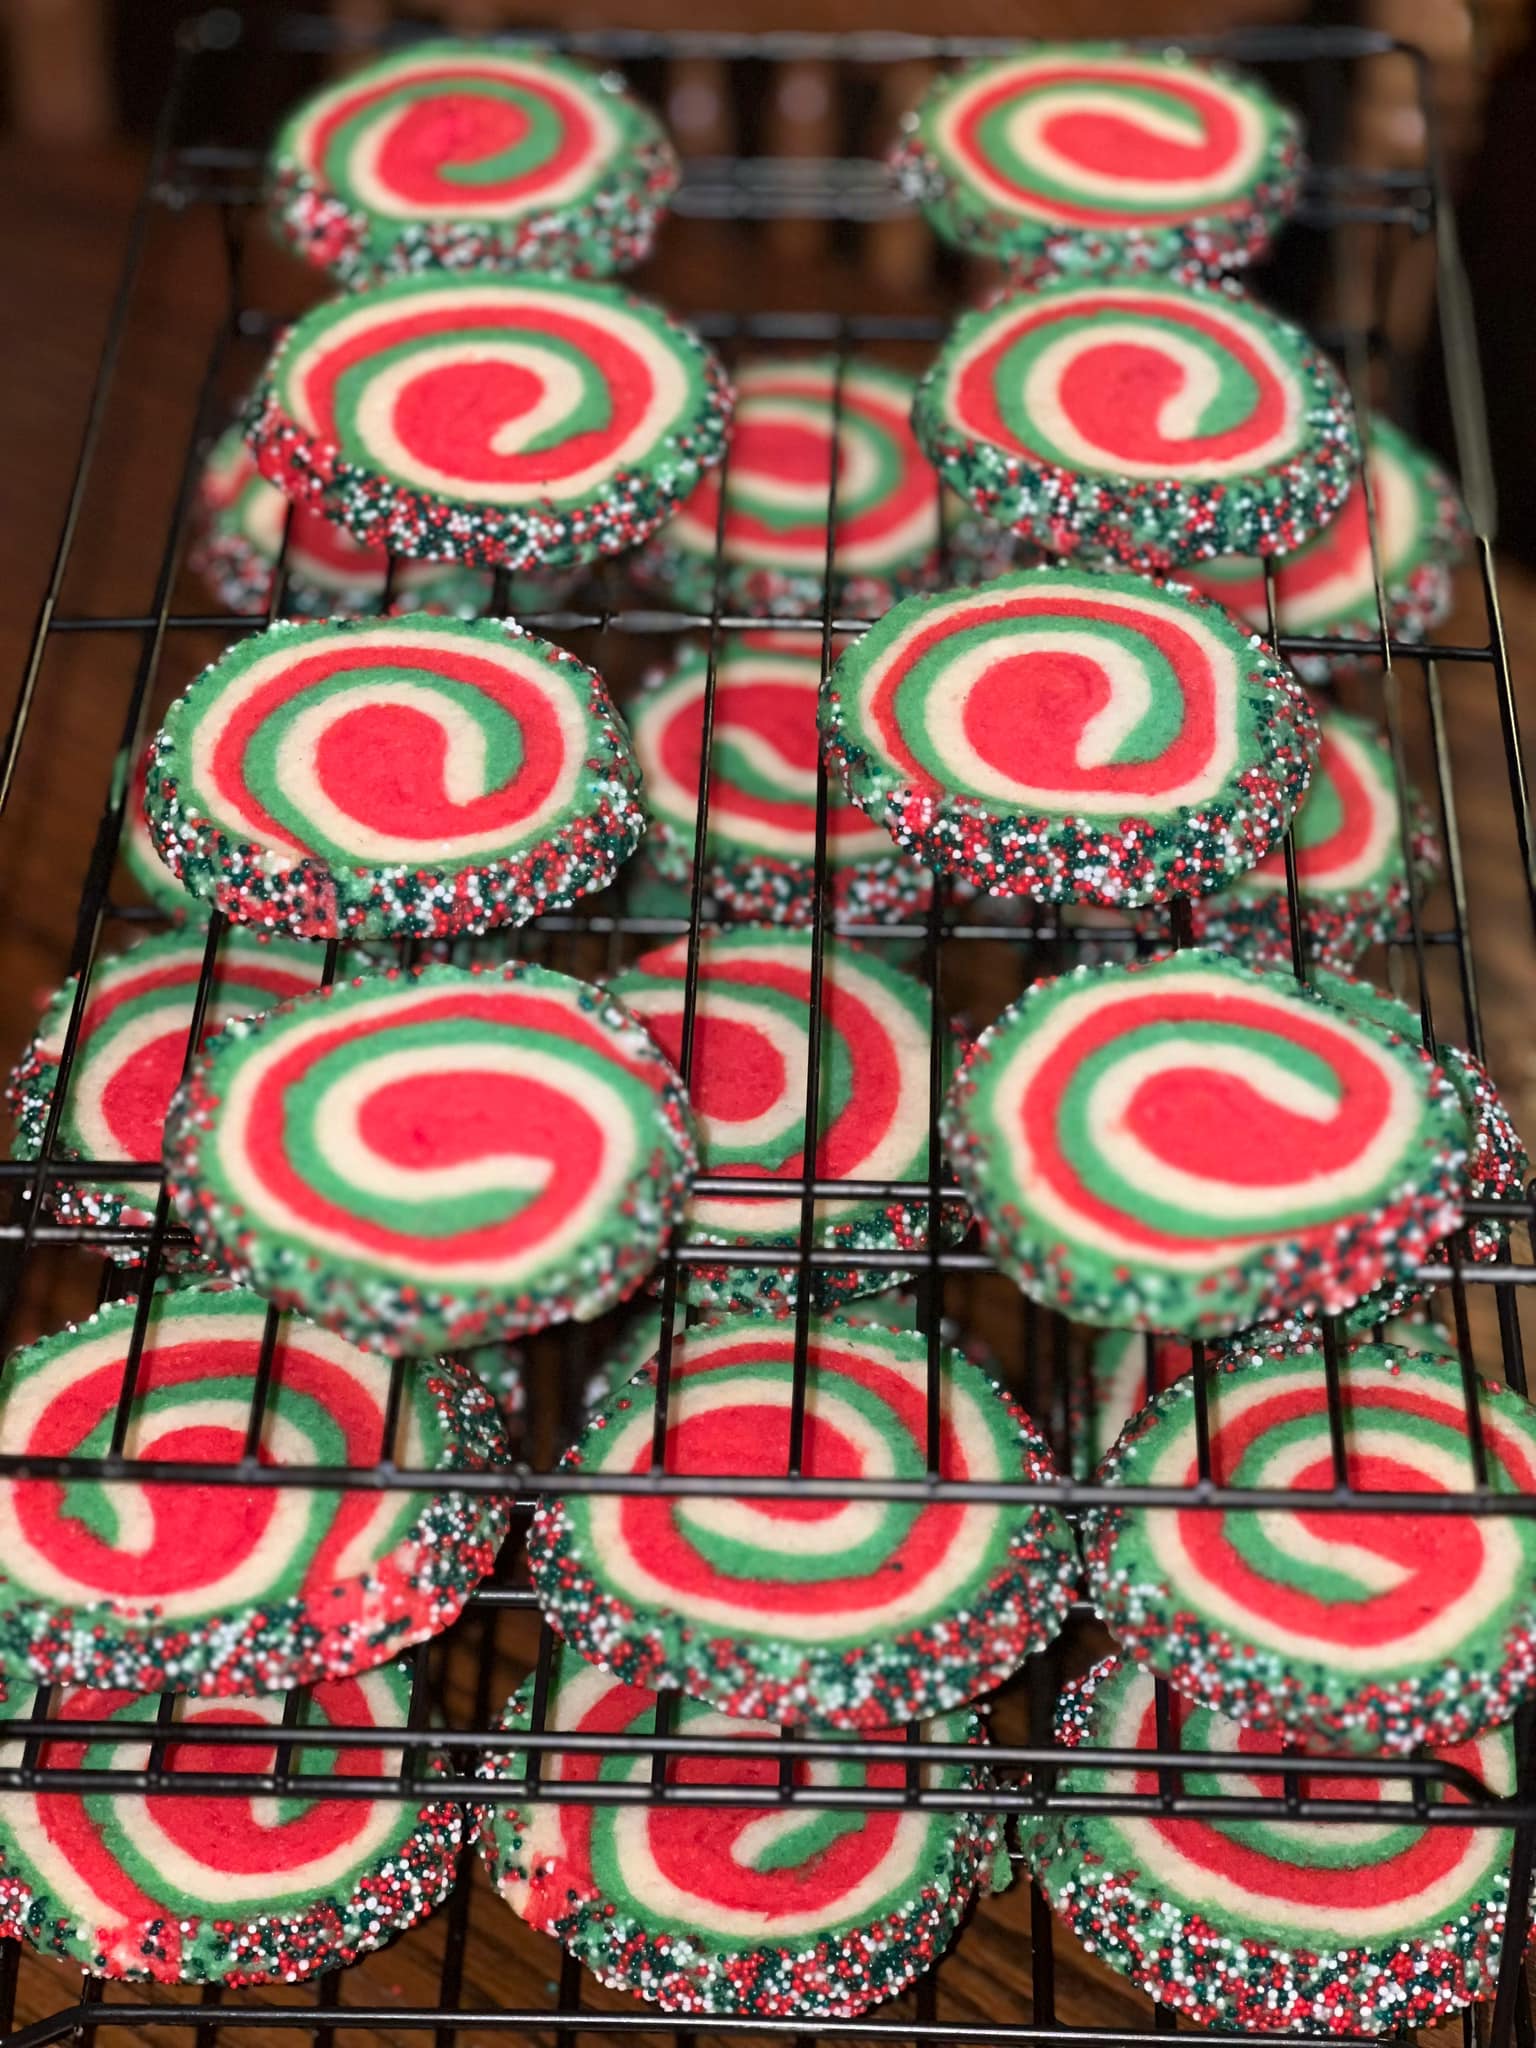
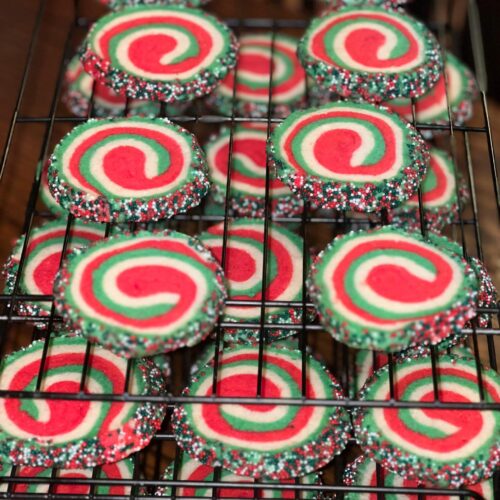
Visual Stunner: The vibrant red and green swirls, combined with the festive nonpareil sprinkles on the edges, make these look incredibly professional.
-
Flavor Balance: As I mentioned, the optional lemon zest is a game-changer. It brightens up the dough without overpowering the vanilla.
-
Slice and Bake Convenience: Once you roll the logs, you can keep them in the fridge or freezer until you are ready to bake. Fresh cookies on demand!
Ingredients Breakdown
This recipe relies on pantry staples, but precise measurements are key for a batch this size.
-
Butter: You need 2 cups (4 sticks) of salted butter, softened. Yes, salted! It enhances the flavor.
-
Sugar: 2 cups of granulated sugar (approx. 465g) provides the sweetness and crisp edges.
-
Eggs: 2 large eggs add structure and richness.
-
Flavor: A full tablespoon of vanilla extract, plus that secret dash of lemon zest.
-
Flour: 6 cups of all-purpose flour. If you bake by weight (which I recommend for a batch this big), that is exactly 809g.
-
Food Coloring: You will need red and green gel food coloring. Gel is better than liquid because it won’t water down your dough.
-
Sprinkles: Nonpareil sprinkles (little balls) for rolling the edges of the logs.
Step-by-Step Instructions
While the recipe note says this is technically a “no chill” cookie, I find that chilling the logs is essential for getting those clean, sharp swirls you see in the photos.
Step 1: Make the Base Dough
In a very large bowl (or stand mixer), cream together the softened butter and sugar until light and fluffy. Add the eggs, vanilla, and lemon zest. Beat until combined. Gradually add the flour. Since this is a lot of flour, add it in batches so you don’t burn out your mixer motor! Mix until a soft dough forms.
Step 2: Color the Dough
Divide the dough into three equal portions.
-
Portion 1: Leave plain (this is your white layer).
-
Portion 2: Add red gel food coloring and knead until vivid.
-
Portion 3: Add green gel food coloring and knead until vivid.
Step 3: Stack and Roll
Between sheets of parchment paper, roll out each color of dough into a rectangle of the same size (about 1/4 inch thick). Carefully stack the layers. I like to do Red on bottom, White in the middle, Green on top (or any order you prefer). Remove the top parchment paper. Starting from the long edge, roll the dough tightly into a log, using the bottom parchment paper to help you lift and tuck it to avoid air gaps.
Step 4: The Sprinkle Edge
Pour your holiday nonpareils onto a baking sheet or tray. Roll the outside of your dough log in the sprinkles, pressing gently so they stick. This gives that beautiful crunchy, colorful edge shown in the picture.
Step 5: Chill
Wrap the logs tightly in plastic wrap. Refrigerate for at least 1–2 hours. As my recipe note says, chilling helps immensely with cutting clean slices so you don’t squish the circle into an oval.
Step 6: Bake
Preheat your oven to 350°F (175°C). Slice the cold log into 1/4 to 1/2 inch thick rounds. Place them on a parchment-lined baking sheet. Bake for 12–14 minutes. You want them set, but not browned. The white swirls should stay white!
Expert Tips for Perfect Swirls
-
Use Gel Coloring: Liquid food coloring adds water, which can make the dough sticky and hard to handle. Gel gives vibrant color without changing the texture.
-
Don’t Skip the Chill: Even though the dough comes together easily, slicing a warm log results in “flat tire” cookies. The cold butter needs to be firm to hold the round shape.
-
Rotate the Log: If chilling overnight, rotate the log in the fridge every few hours so it doesn’t get a flat spot on the bottom. Alternatively, slice an empty paper towel roll down the center and rest the dough log inside it to keep it round.
Variations to Try
This massive batch of dough is versatile!
-
Different Holidays: Use pink and red for Valentine’s Day, or orange and black for Halloween.
-
Flavor Swap: Swap the lemon zest for almond extract for a cherry-almond vibe, similar to my Italian Butter Cookies with Cherry Centers.
-
Citrus Burst: If you love the citrus note, try pairing these on a platter with Cranberry Orange Shortbread.
Storage Instructions
Baked Cookies: Store in an airtight container at room temperature for up to 1 week. They travel very well!
Freezer:
-
Dough Logs: You can freeze the wrapped logs for up to 3 months. Thaw on the counter for 20 minutes before slicing.
-
Baked Cookies: Freeze baked cookies with wax paper between layers for up to 3 months.
If you are looking for more holiday baking inspiration, check out my list of 3 Christmas Cookie Recipes You’ll Love!
Conclusion
I hope these Christmas Pinwheel Sugar Cookies make it to your holiday table this year! They were a massive hit at our friend party, and I love that I could make the dough days in advance.
If you try the lemon zest tip, let me know what you think in the comments! And don’t forget to pin this recipe to your Christmas Baking board.
Christmas Pinwheel Sugar Cookies
Ingredients
- 2 cups 4 sticks salted butter, softened
- 2 cups 465g granulated sugar
- 2 large eggs
- 1 tbsp vanilla extract
- 6 cups 809g all-purpose flour
- Optional: A dash of lemon zest
- Red and Green gel food coloring
- Nonpareil sprinkles for rolling
Instructions
- Cream: In a large bowl or stand mixer, cream the butter and sugar until fluffy.
- Mix Wet: Add eggs, vanilla, and lemon zest (if using). Mix well.
- Add Flour: Gradually add the flour until a soft dough forms.
- Color: Divide dough into 3 equal parts. Dye one red, one green, and leave one white.
- Roll & Stack: Roll each portion into a rectangle between parchment paper. Stack the layers (Red, White, Green).
- Form Log: Roll the stack tightly into a log. Roll the outside of the log in sprinkles.
- Chill: Wrap in plastic and refrigerate for 2 hours (or until firm enough to slice cleanly).
- Bake: Preheat oven to 350°F. Slice log into rounds and place on baking sheet. Bake for 12-14 minutes.
Notes