Step-by-Step Peanut Butter Candy Recipe (Perfect for Gifting!)
Homemade Peanut Butter Candy (Clark Bar-Inspired!)
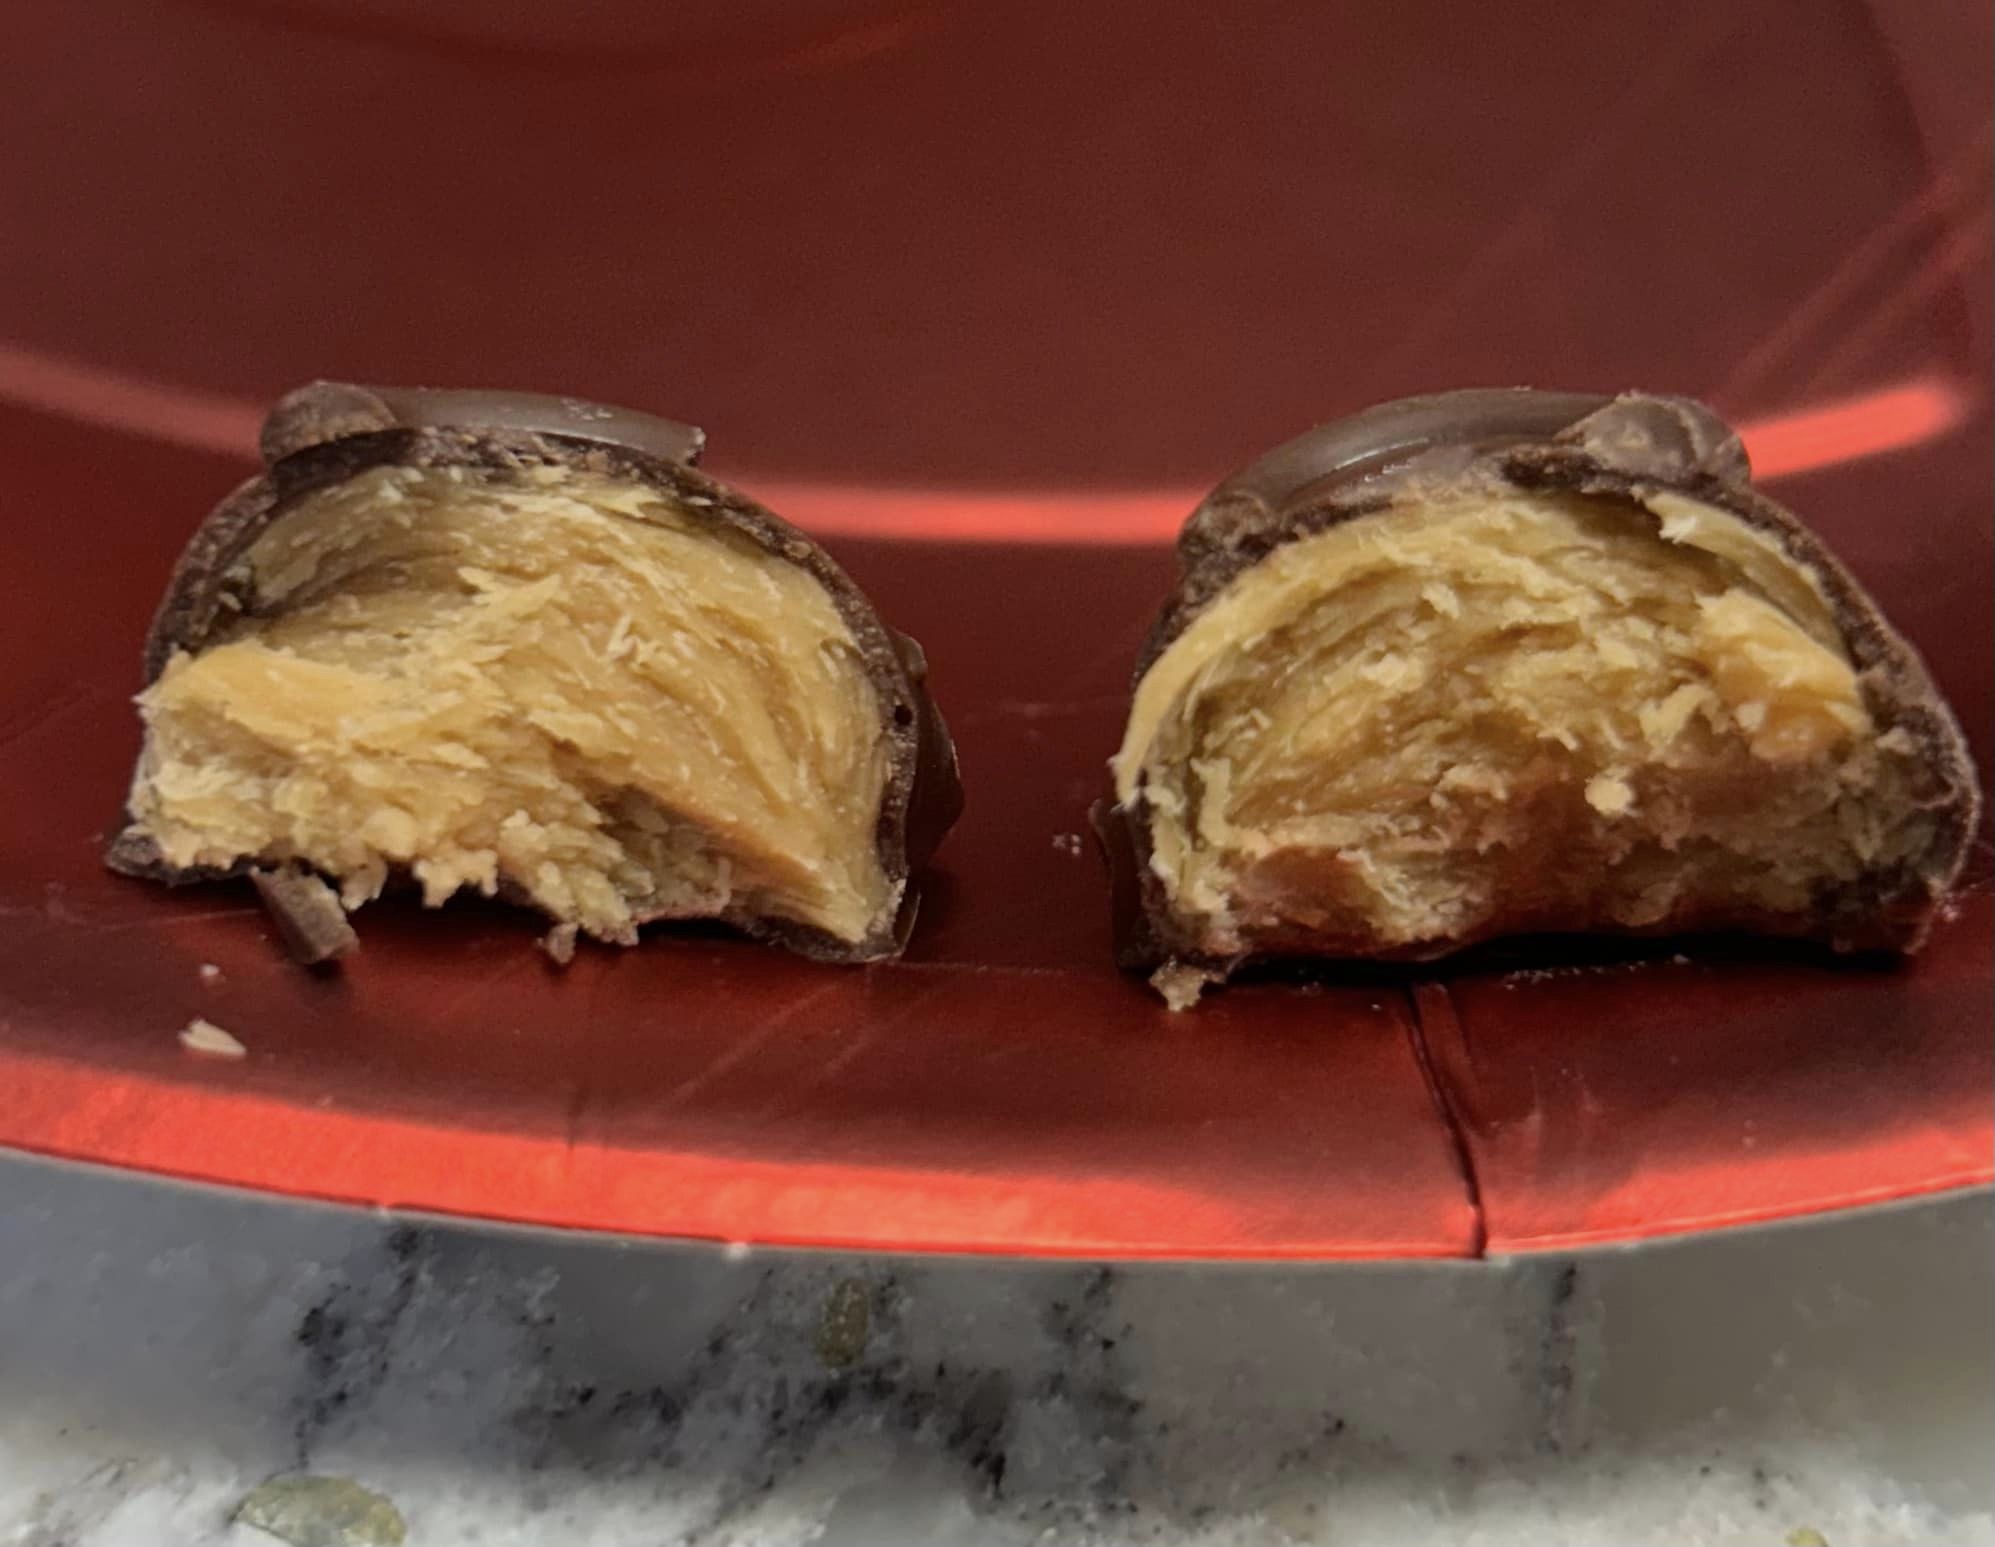
If you’re a fan of creamy peanut butter, sweet candy, and a perfect chocolate coating, this Peanut Butter Candy is a must-try! Inspired by the taste of Clark Bars, this recipe has become a favorite for family gatherings and gifting. It’s a bit of a process, but with a little preparation and these step-by-step instructions (plus tips), you’ll have a batch of delicious candies to enjoy or share.
Ingredients
- 3 cups sugar
- 1 ½ cups light corn syrup
- ¾ cup hot water
- 27 oz creamy peanut butter
- 3 bags of chocolate (for coating)
Instructions
Step 1: Gather Your Supplies
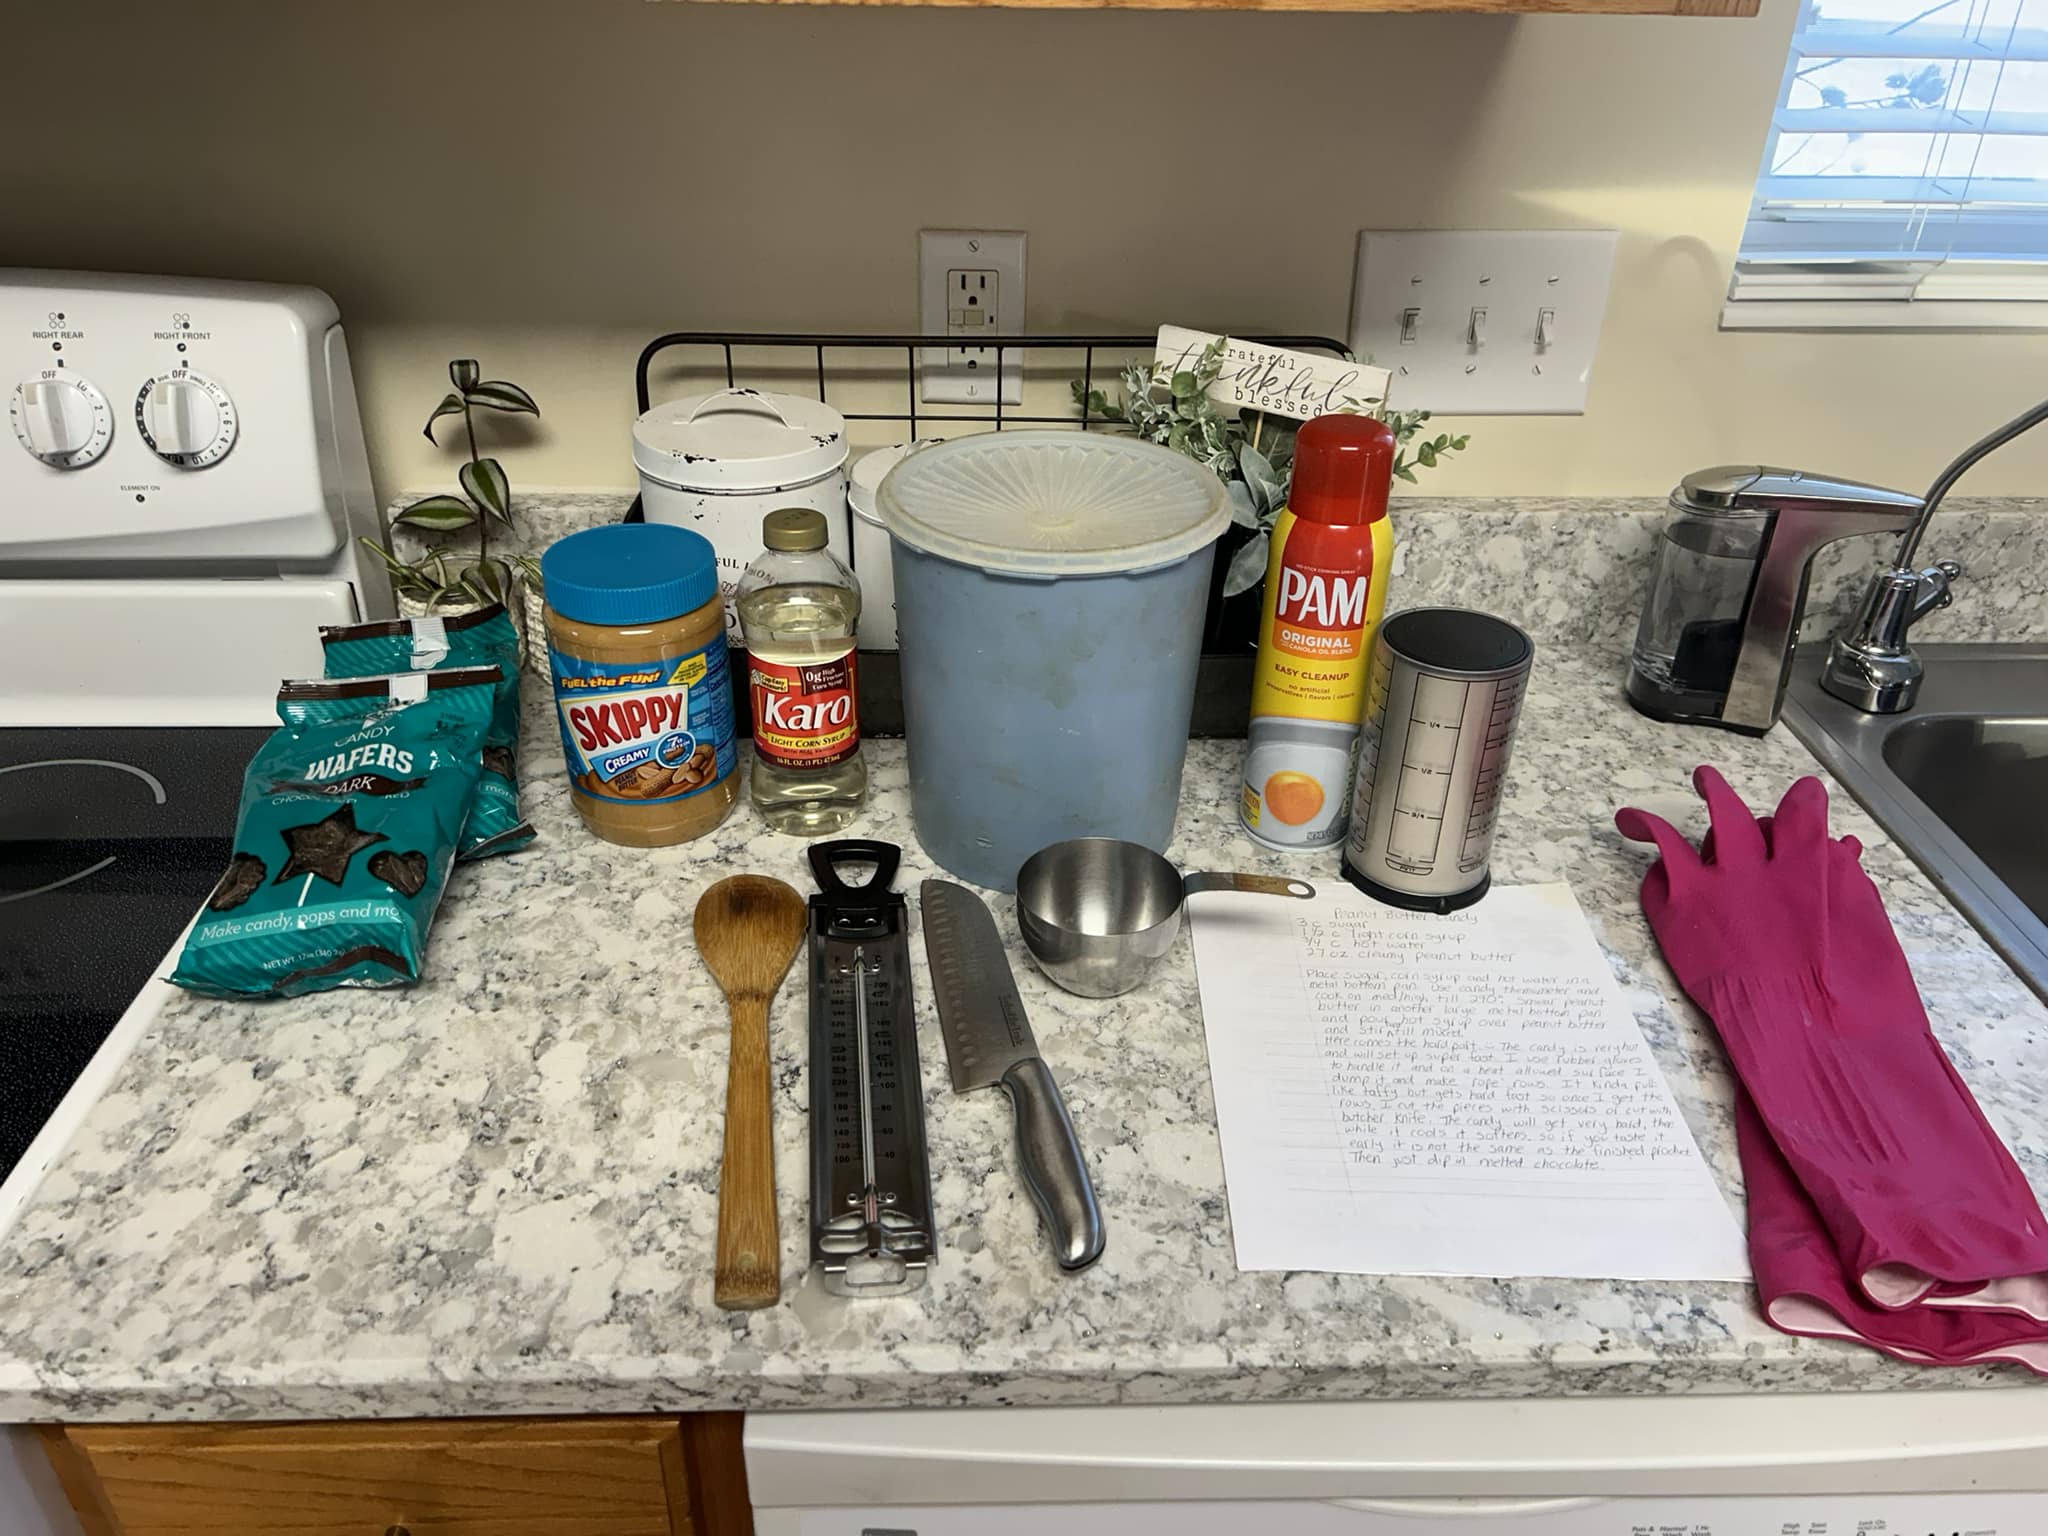
Before you begin, get all your ingredients and tools ready. You’ll need a candy thermometer, a wooden spoon, a large metal-bottom pan, a second metal pan for the peanut butter, parchment paper, and gloves (optional).
Step 2: Cook the Syrup Mixture
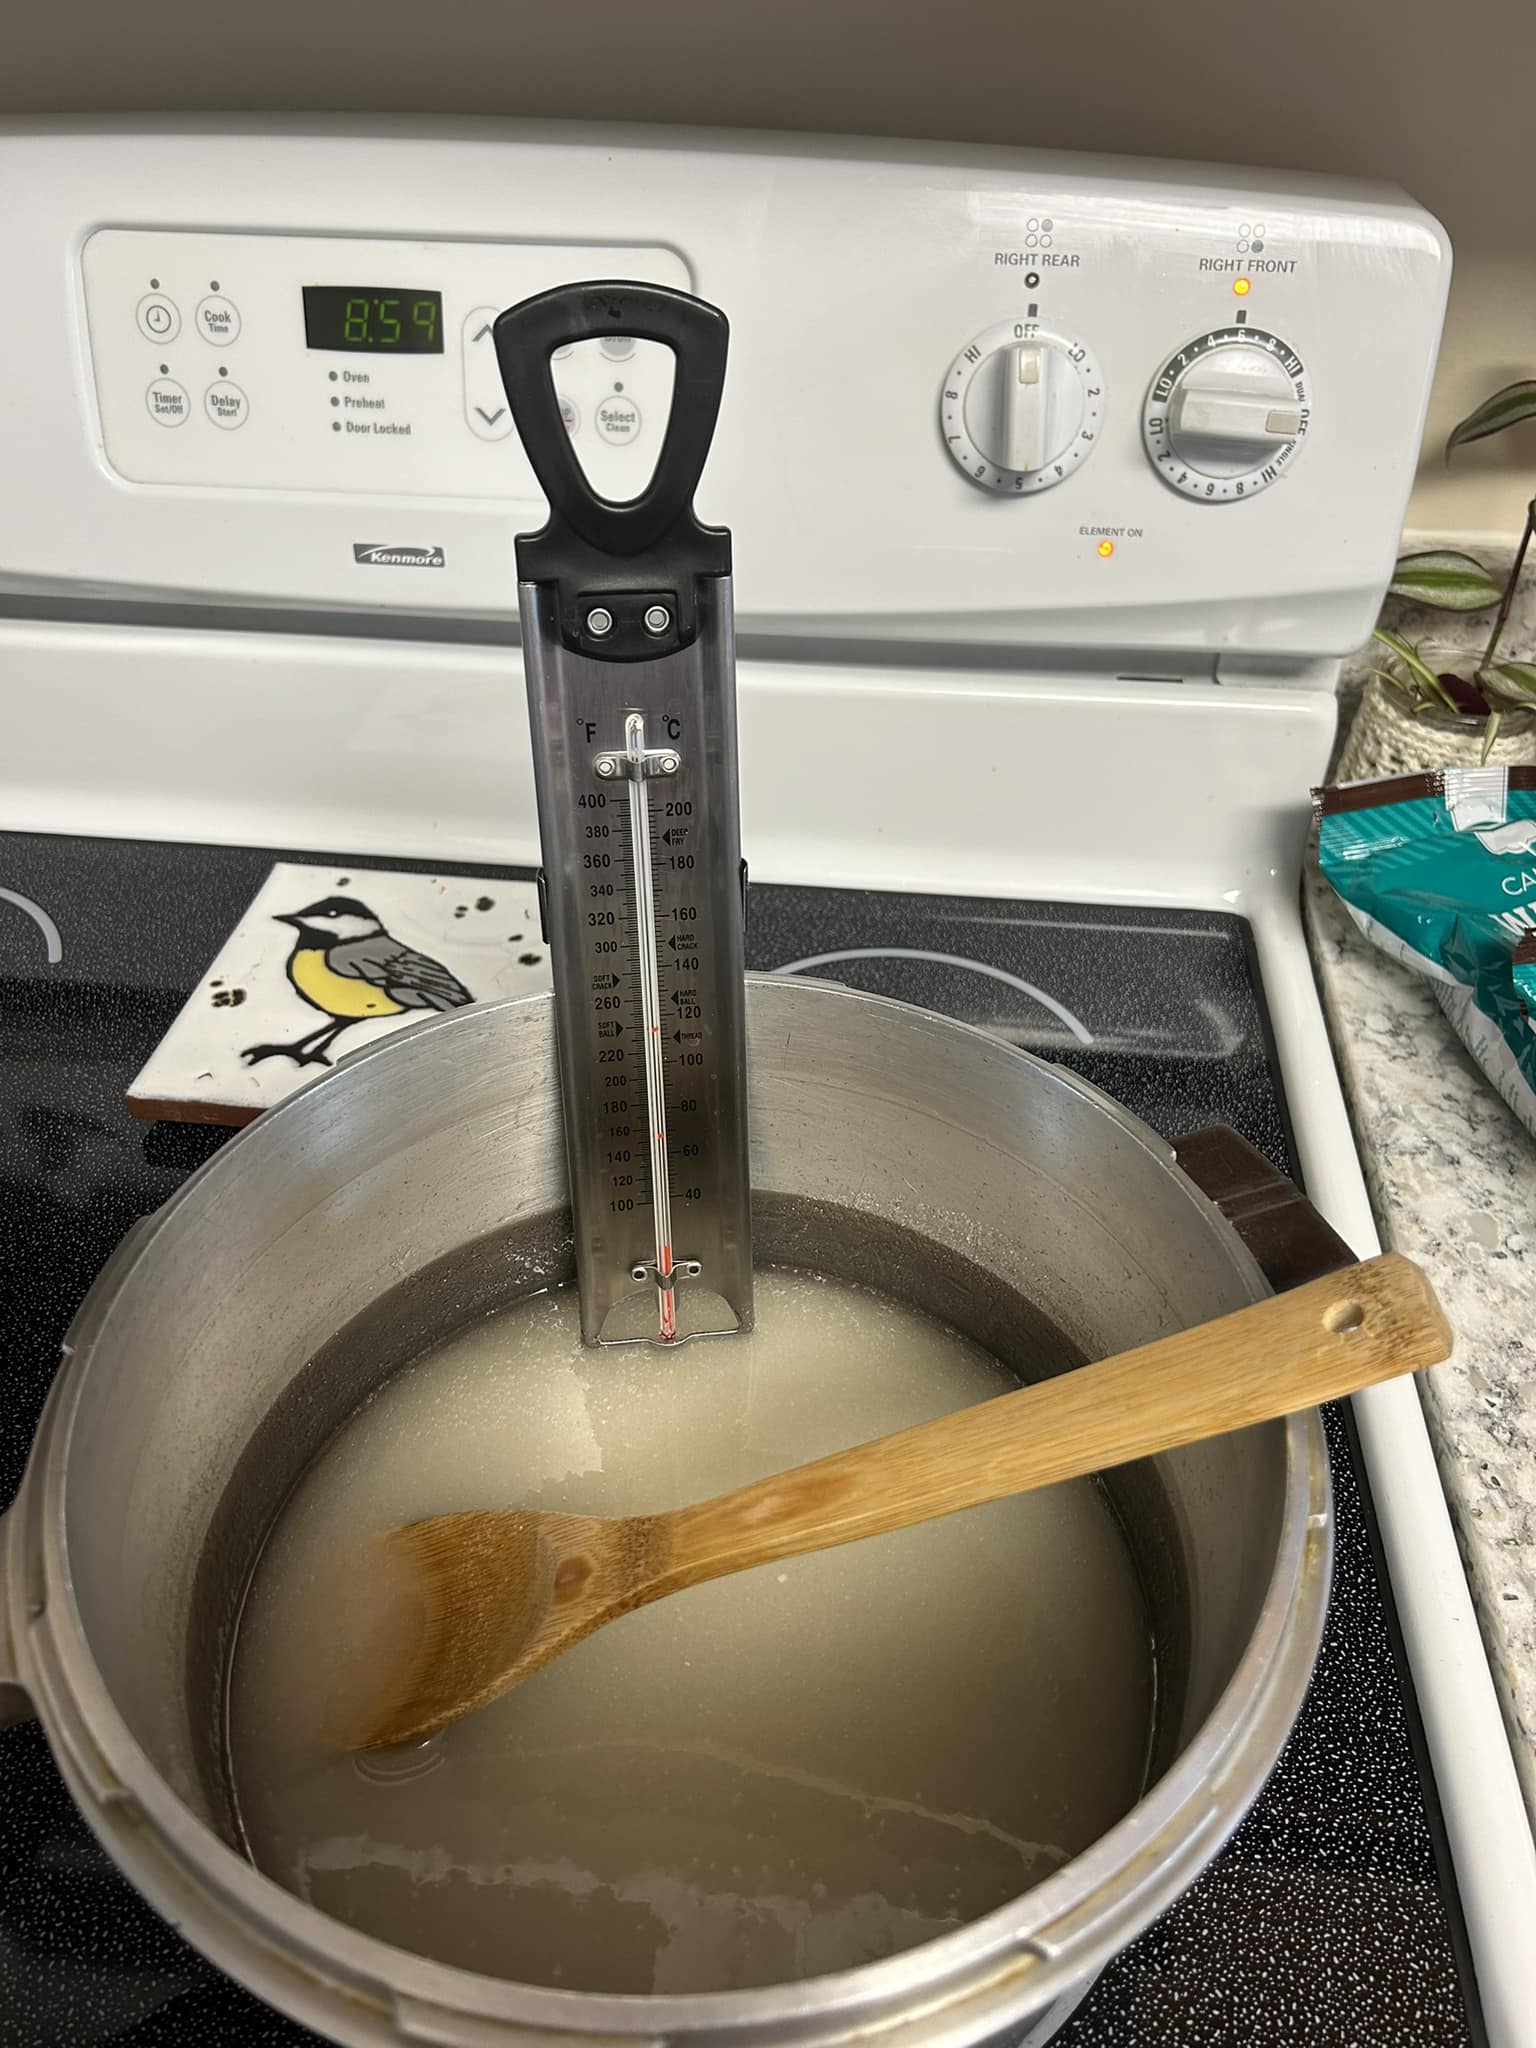
- Combine the sugar, corn syrup, and hot water in a large metal-bottom pan.
- Stir and heat over medium-high heat until the candy thermometer reads 300°F (hard crack stage).
- Be sure to keep the heat steady—don’t rush this step!
Step 3: Prepare the Peanut Butter Pan
While the syrup is cooking, smear the peanut butter along the bottom and sides of a second large metal pan. This will act as the base for the candy mixture.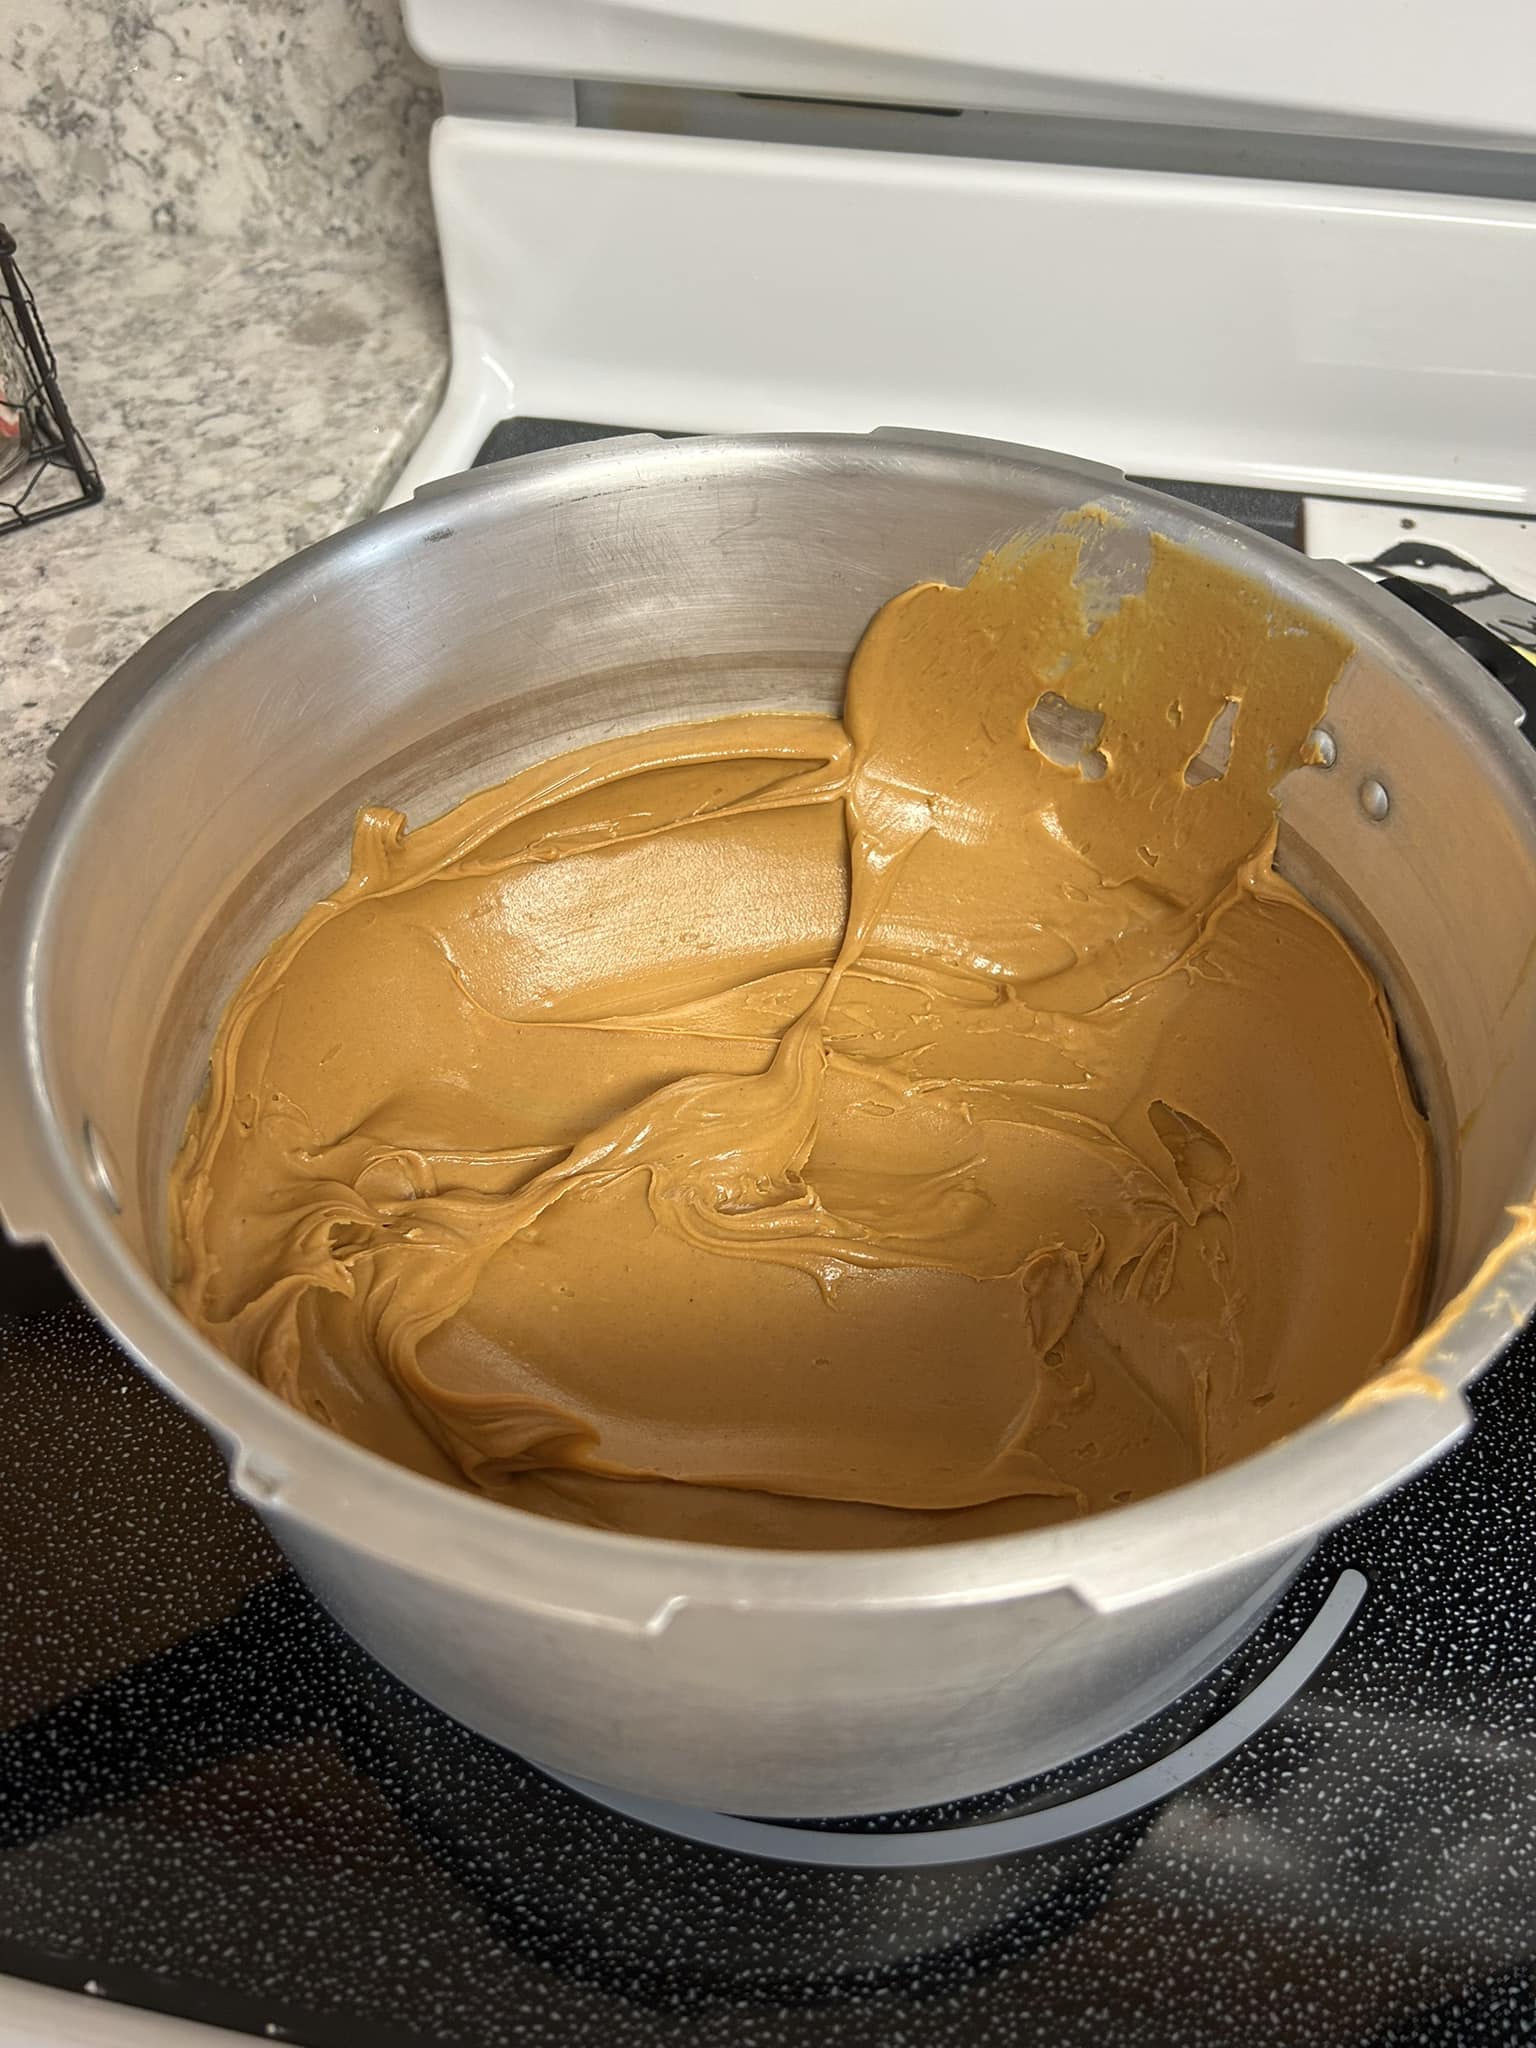
.
Step 4: Combine and Stir
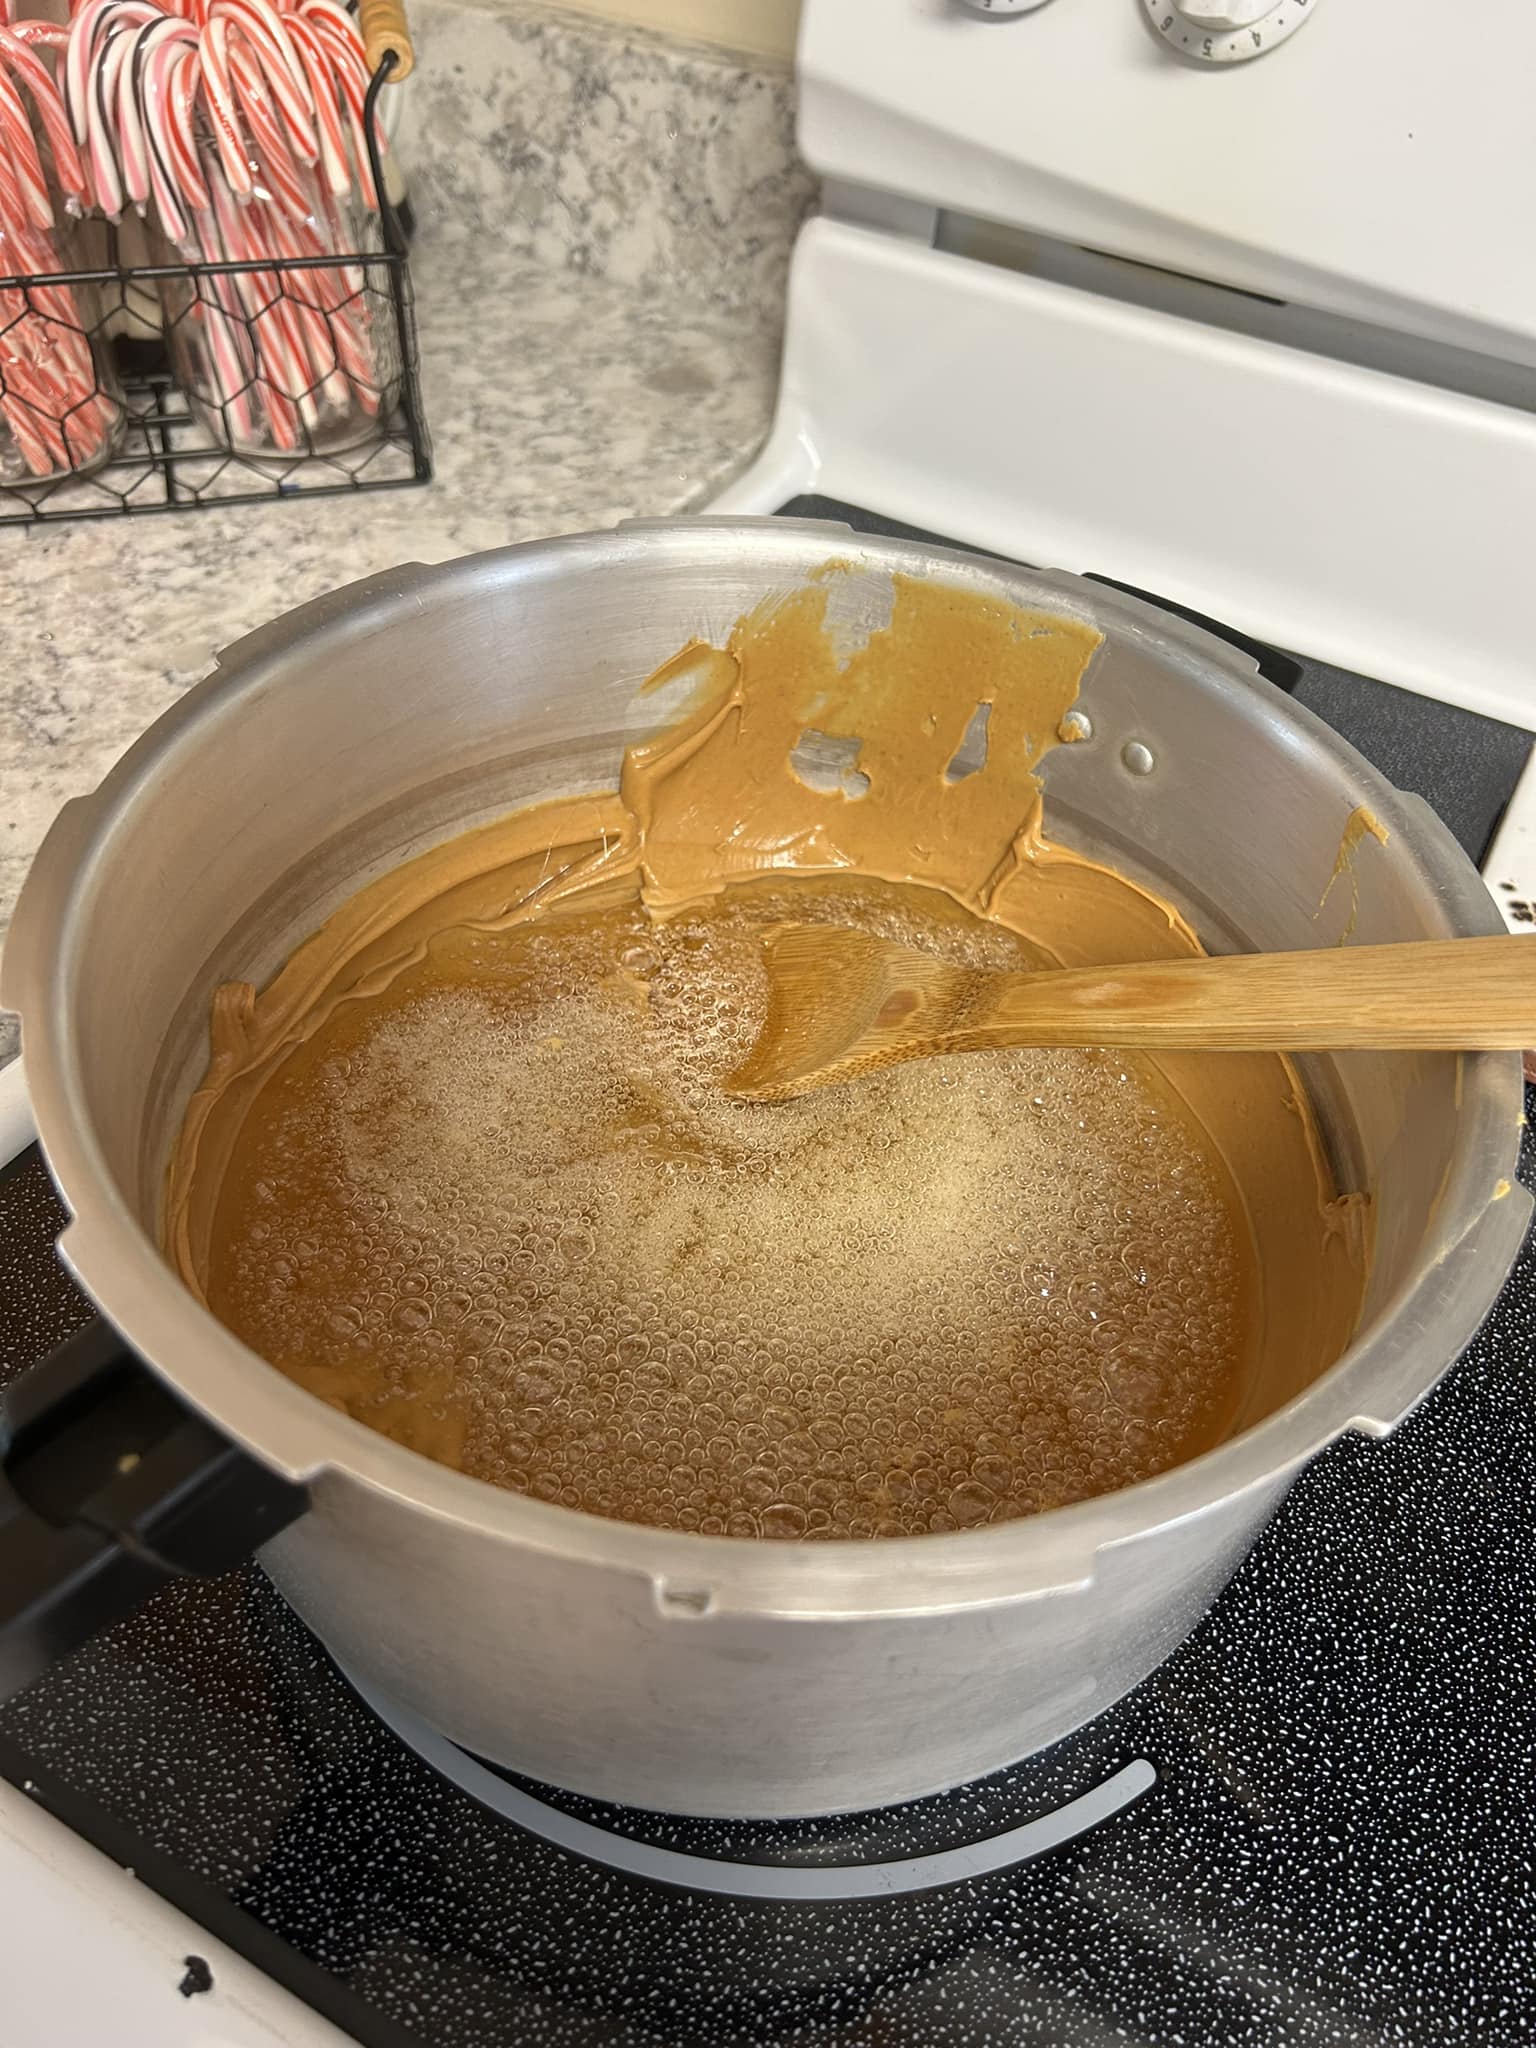
- Once the syrup reaches 300°F, immediately pour it over the peanut butter.
- Work quickly! Stir the mixture until fully combined.
Step 5: Form the Candy Logs
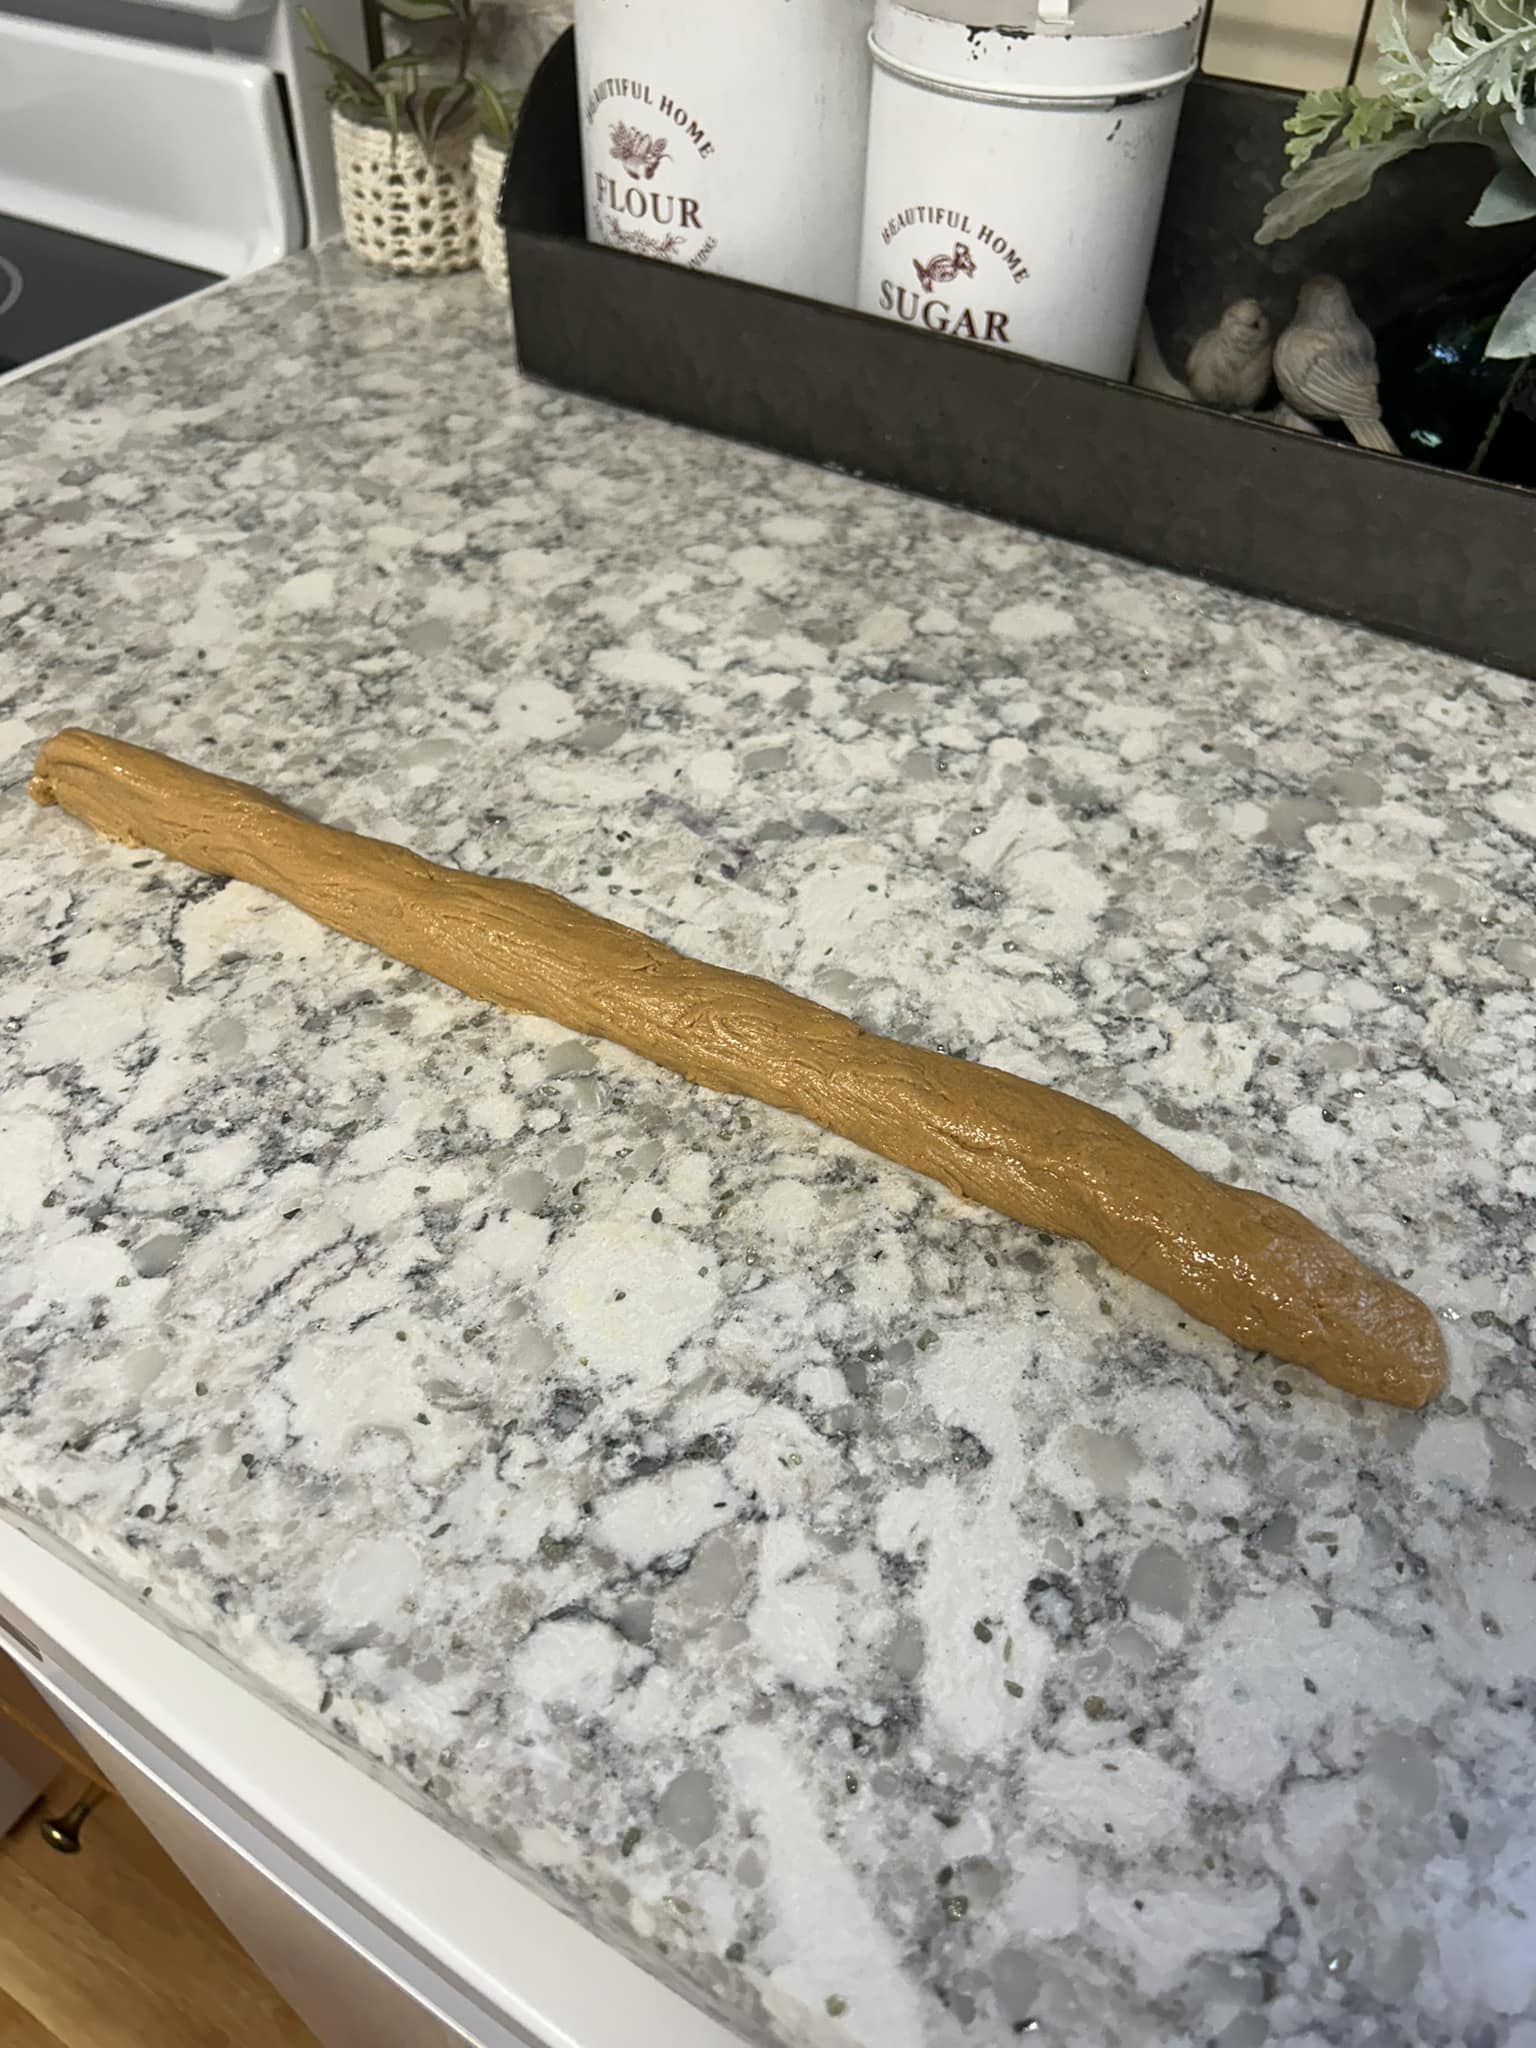
- With gloves on, pull off small hunks of the mixture and roll them into logs on a PAM-sprayed surface.
- Try to make the logs as even as possible for uniform candy sizes.
Step 6: Cut into Pieces
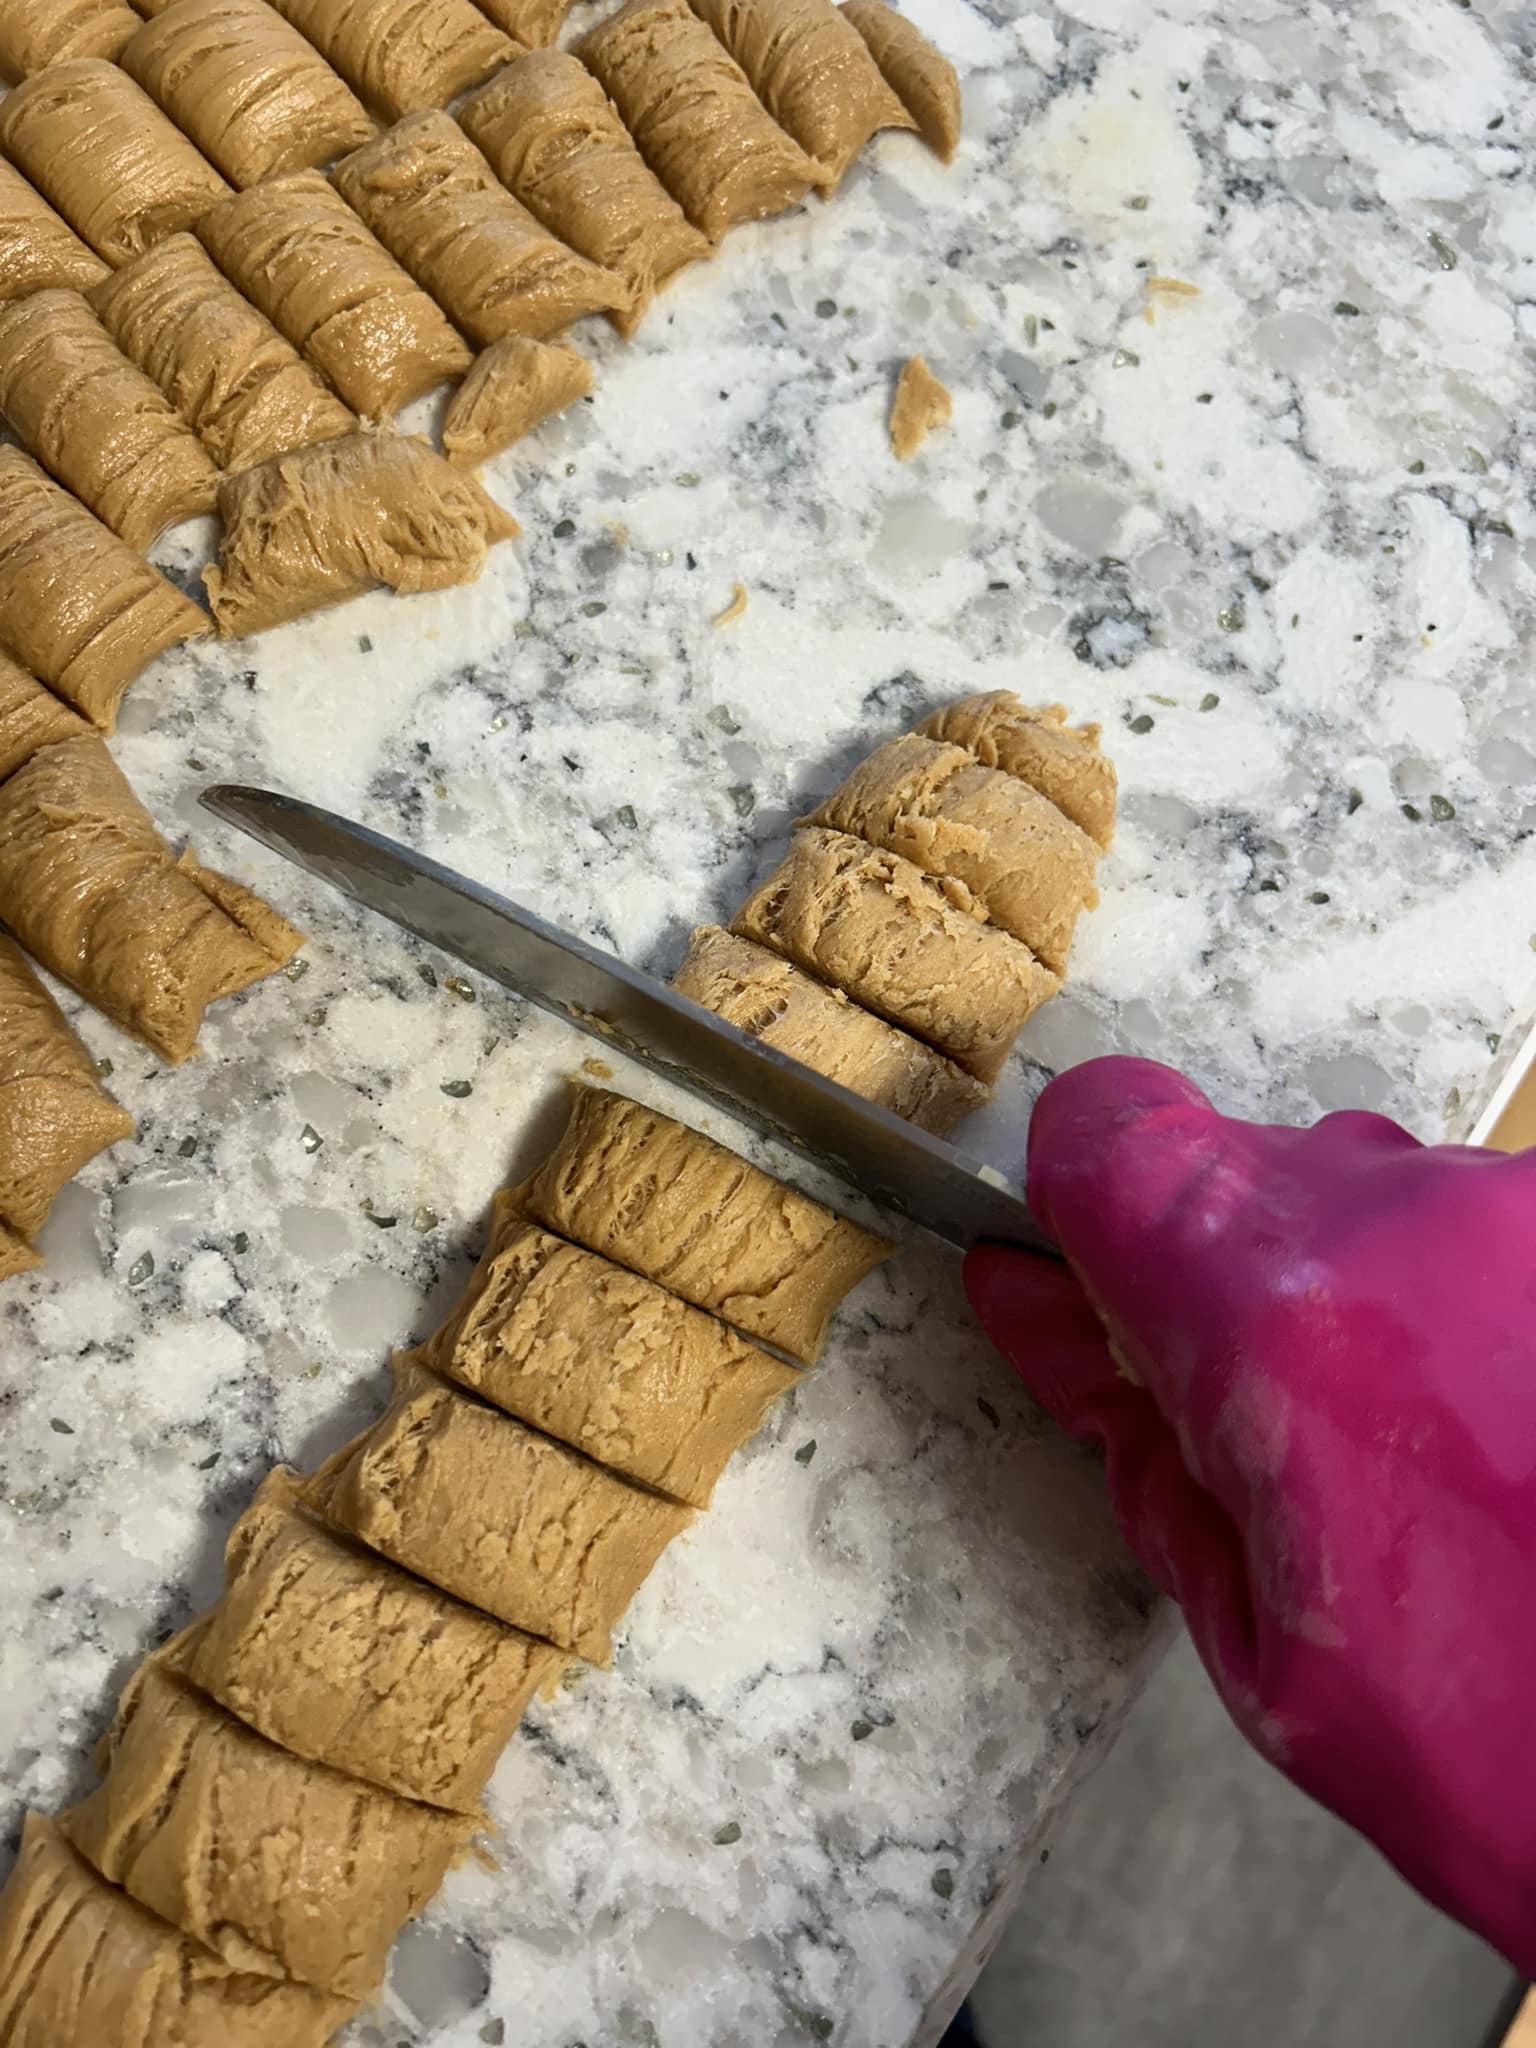
- Using a butcher knife, cut the logs into individual candy pieces. Start by trimming the ends (and enjoy eating them!) to ensure uniformity.
- Work quickly, as the candy sets up fast.
Step 7: Coat with Chocolate
- Melt the chocolate in the microwave, stirring in 30-second intervals until smooth.
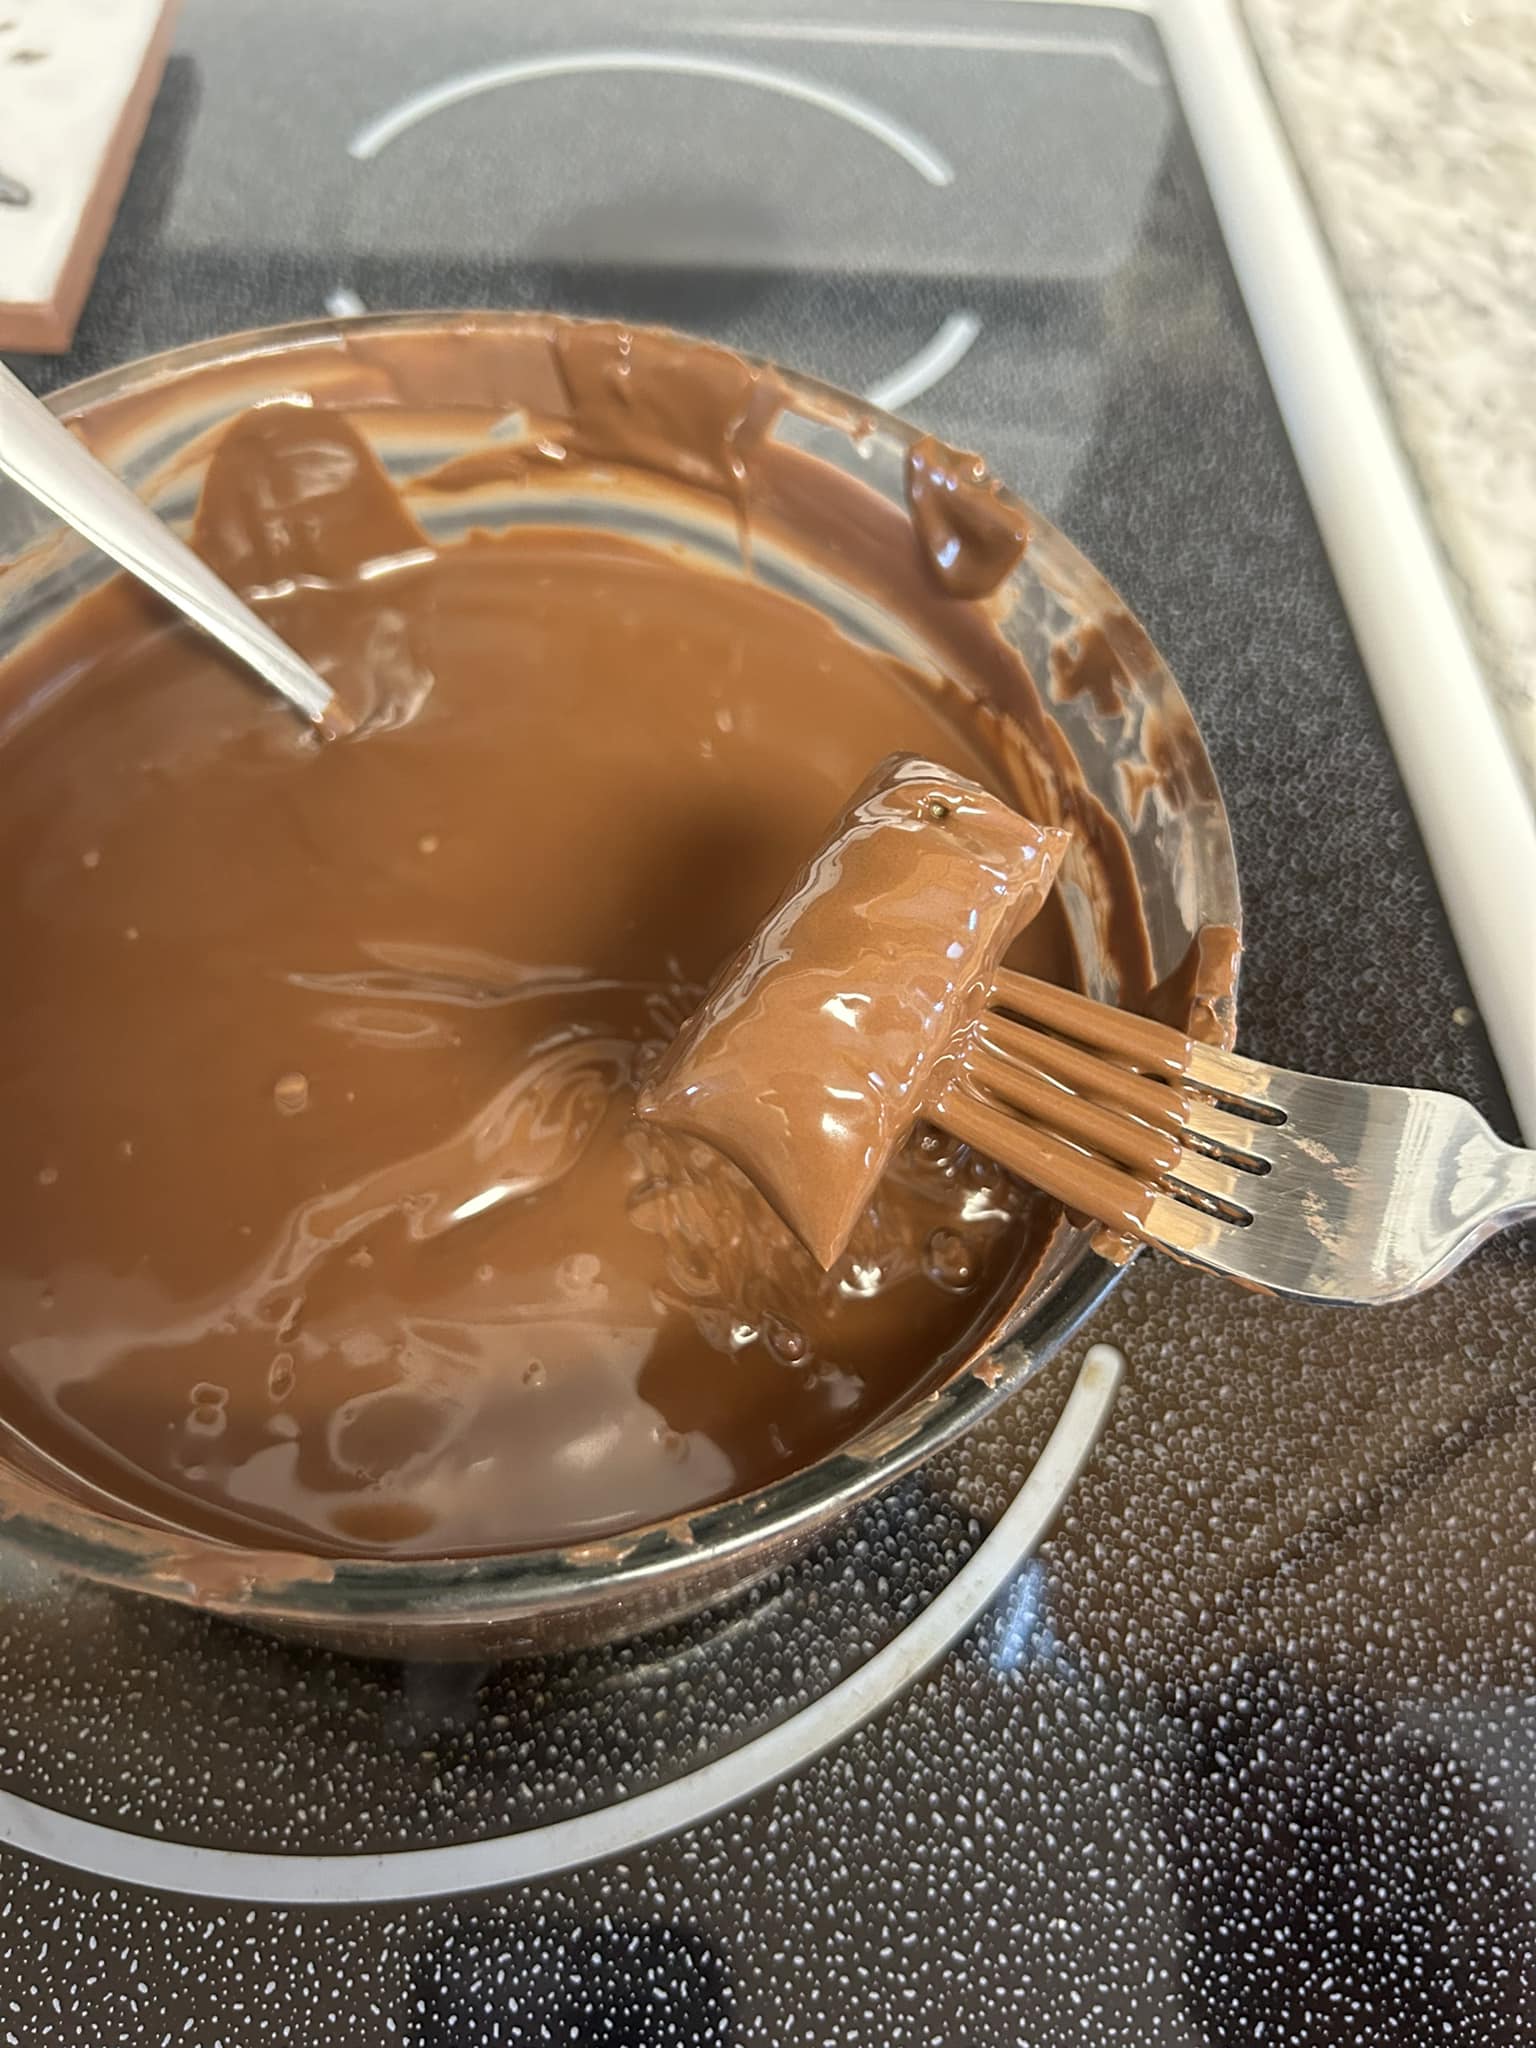
- Drop each candy piece into the melted chocolate, push it under with a fork, and lift it out. Tap the fork on the side of the bowl to remove excess chocolate.
- If the chocolate starts to cool, either reheat it in the microwave for 20 seconds or briefly turn the burner on low and stir.
Step 8: Set and Serve
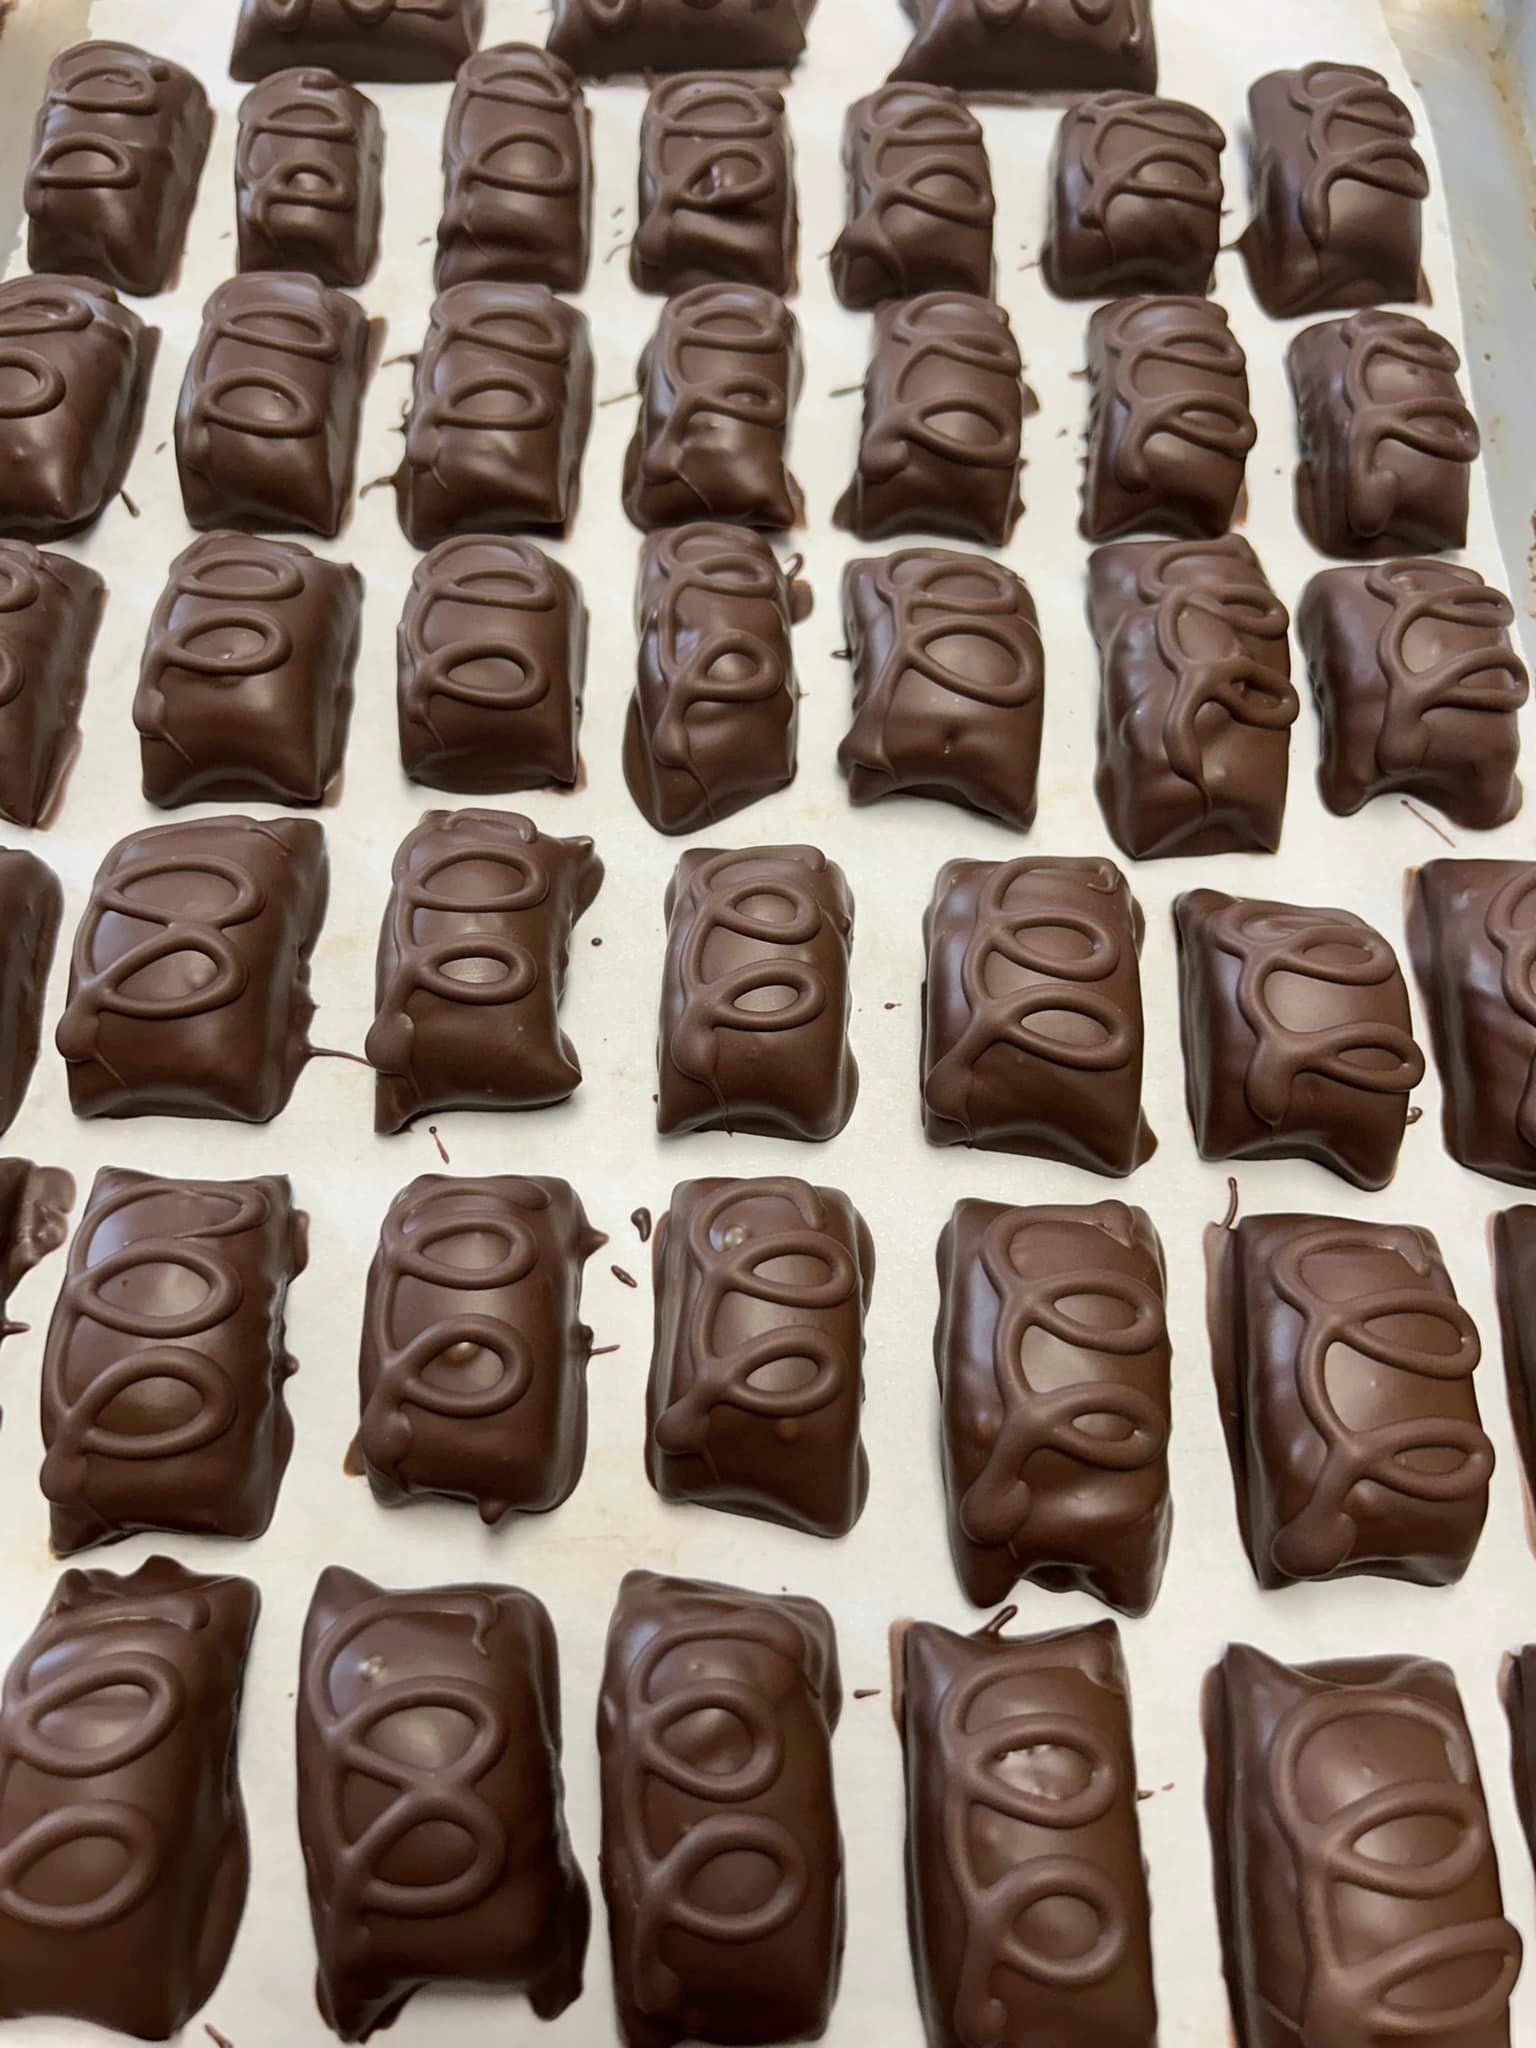
- Line the chocolate-dipped candies on parchment-lined trays.
- Once the chocolate has set, arrange them in candy liners or gift boxes for presentation.
- Store covered with plastic wrap to keep them fresh.
Tips for Success
- Temperature Control: Reaching the hard crack stage (300°F) is essential for the candy’s texture. Use a reliable candy thermometer and don’t rush the cooking process.
- Work Quickly: The mixture sets fast, so have your workspace and tools ready before combining the syrup and peanut butter.
- Coating Tip: Keep the chocolate warm while dipping for smooth, even coverage. Reheat as needed to maintain the right consistency.
The Finished Product
This homemade Peanut Butter Candy is as beautiful as it is delicious! Whether you’re enjoying it at home or gifting it to loved ones, it’s sure to be a hit. With its rich peanut butter flavor and perfect chocolate coating, it’s like a homemade version of the classic Clark Bar.

