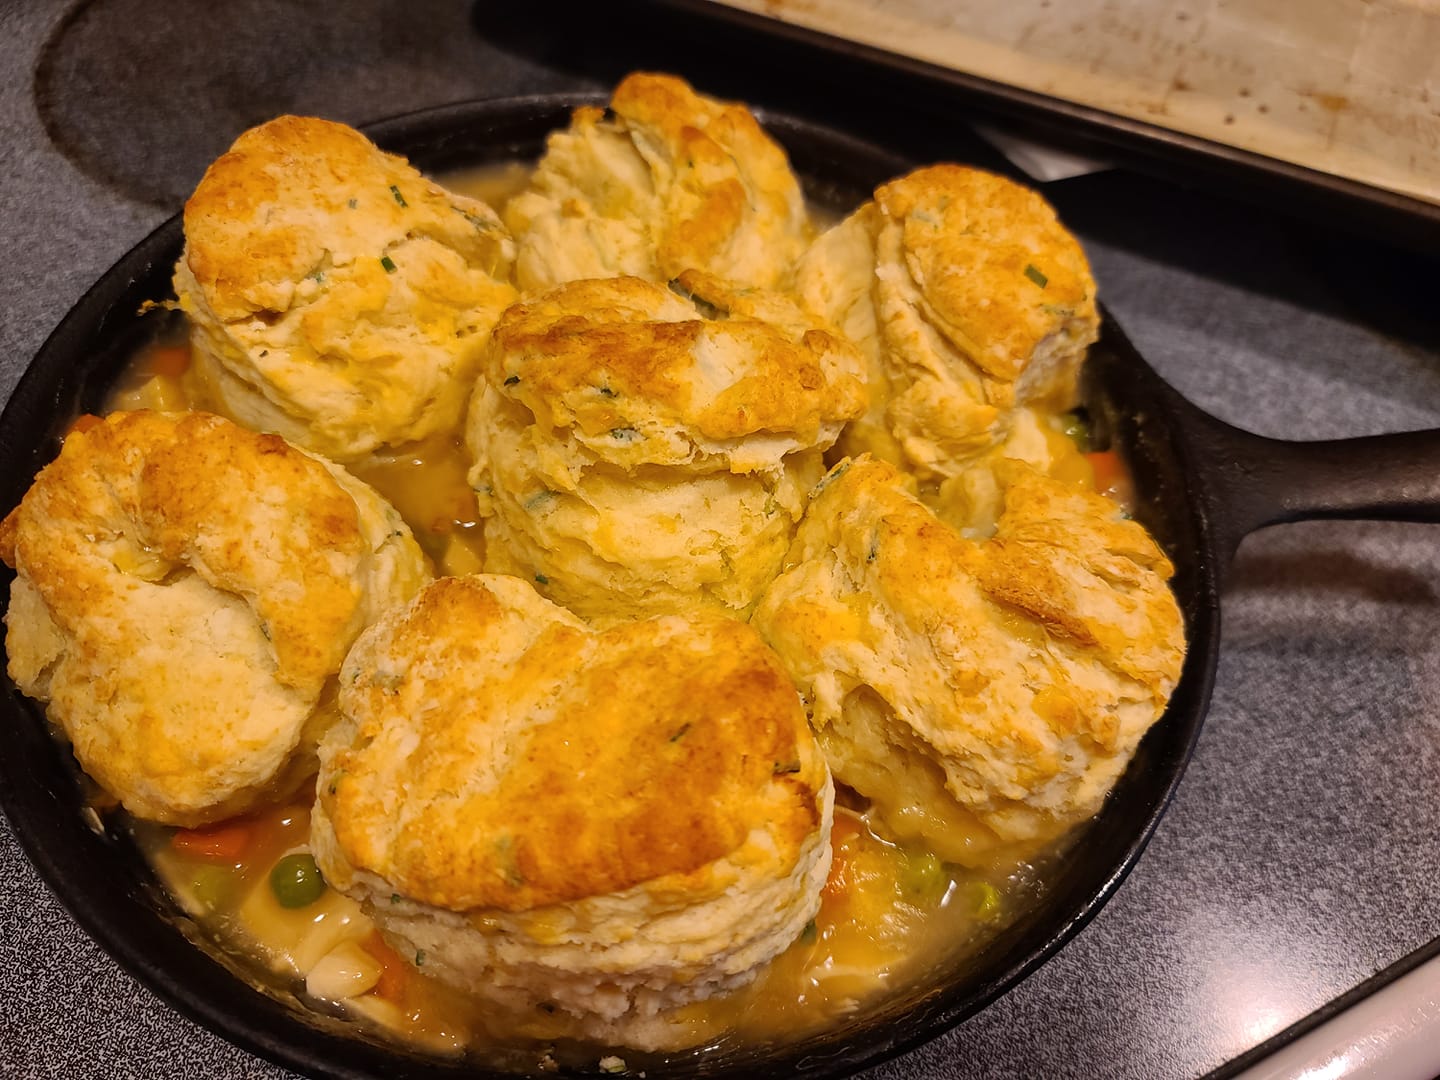
A Cozy Cast Iron Chicken Pot Pie with Biscuits
If you grew up in the U.S. South or Midwest like I did, chances are you remember the smell of chicken pot pie drifting from your mama’s or grandma’s kitchen. For many, pot pie meant a flaky pastry crust—but in our house, my mom always made it her way: a bubbling, savory chicken and veggie filling topped with golden, cheesy biscuits.
It wasn’t until I was grown that I realized not everyone called this “chicken pot pie.” But for me, this skillet-baked comfort dish will forever be the version that warms my heart. It’s rustic, it’s simple, and it’s the kind of meal that brings the whole family to the table.
And today, I’m sharing that very recipe with you—complete with cheddar, chive, and rosemary biscuits baked right on top in a cast iron skillet.

❤️ Why You’ll Love This Recipe
-
True comfort food – creamy chicken gravy, tender veggies, and fluffy biscuits in one dish.
-
Weeknight friendly – rotisserie chicken saves you time.
-
Cast iron skillet magic – even baking and unbeatable rustic flavor.
-
Cheddar-chive-rosemary biscuits – they take this pot pie over the top.
-
Family approved – perfect for cozy Sunday dinners or chilly weeknights.
🥕 Ingredients You’ll Need
For the Filling:
-
Rotisserie chicken breast – about 2 cups, diced. (Using pre-cooked chicken keeps it fast and flavorful.)
-
Carrots – 3 medium, diced and cooked until tender.
-
Frozen peas – 1 cup.
-
Chicken gravy – about 2 ½ cups (homemade or store-bought). Tip: make extra if you like it saucy!
For the Cheddar-Chive Biscuits:
-
All-purpose flour – 2 cups.
-
Baking powder – 1 tablespoon.
-
Baking soda – ½ teaspoon.
-
Salt – ½ teaspoon (I use rosemary sea salt for extra flavor).
-
Sharp cheddar cheese – 1 cup, shredded.
-
Fresh chives – 2–3 tablespoons, snipped.
-
Unsalted butter – 5 tablespoons, cold and cubed.
-
Buttermilk – ¾ cup.
👩🍳 Step-by-Step Instructions
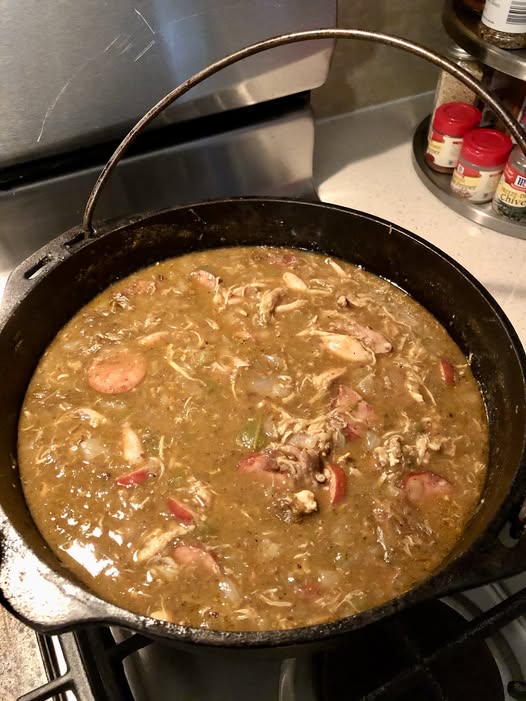
Step 1: Prepare the Filling
-
Debone and dice the rotisserie chicken.
-
Cook the diced carrots until just tender.
-
In a large bowl, mix chicken, carrots, and peas.
-
Pour in 2 ½ cups of hot chicken gravy and stir to combine.
-
Transfer mixture to a cast iron skillet.
Step 2: Make the Biscuits
-
In a mixing bowl, whisk together flour, baking powder, baking soda, and salt.
-
Stir in cheddar cheese and chives.
-
Cut in butter with a pastry cutter (or fingers) until mixture resembles coarse crumbs.
-
Add buttermilk and stir until dough just comes together.
-
Turn dough out onto a floured surface and knead gently 5–6 times.
-
Cut into rounds using a biscuit cutter.
Step 3: Bake the Biscuits
-
Preheat oven to 425°F.
-
Place biscuit rounds on a baking sheet and bake for 8 minutes.
-
Remove from oven—they should be just starting to puff.
Step 4: Assemble the Pot Pie
-
Remove skillet with chicken filling from oven (baked at 350°F while biscuits pre-bake).
-
Carefully transfer partially baked biscuits on top of the filling.
-
Return skillet to oven and bake another 5–7 minutes, until biscuits are golden brown.
💡 Expert Tips & Troubleshooting
-
Make more gravy than you think you need – pot pie is all about that luscious sauce.
-
Cold butter = flaky biscuits – don’t let it soften before cutting in.
-
Cast iron care – a well-seasoned skillet prevents sticking and adds flavor depth.
-
Don’t overmix biscuit dough – tender biscuits come from a light hand.
-
Short on time? Use canned biscuits in a pinch (though homemade is worth it!).
🌿 Variations & Serving Ideas
-
Turkey Pot Pie with Biscuits – perfect for Thanksgiving leftovers.
-
Veggie Pot Pie – swap chicken for mushrooms, zucchini, or corn.
-
Spicy Kick – add diced jalapeños to the biscuit dough.
-
Creamy Upgrade – stir ½ cup heavy cream into the gravy for richness.
-
Serving idea – pair with a crisp green salad or roasted Brussels sprouts.
🥶 Storage & Make-Ahead Notes
-
Refrigerator: Store leftovers in the skillet (covered) or in airtight containers up to 3 days.
-
Freezer: Freeze filling separately up to 3 months. Bake biscuits fresh for best results.
-
Make-Ahead: Filling can be assembled a day ahead, then topped with biscuits just before baking.
❓ FAQs
Q: Can I use canned biscuits instead of homemade?
Yes! It won’t be as flavorful, but it works in a pinch.
Q: What’s the best skillet size for this recipe?
A 10-inch cast iron skillet is perfect.
Q: Can I use fresh chicken instead of rotisserie?
Absolutely. Just cook chicken breasts and dice before adding.
Q: Can I double the recipe for a crowd?
Yes—use a larger Dutch oven or 12-inch skillet.
✨ Conclusion + Call-to-Action
This cast iron chicken pot pie with biscuits is the definition of cozy comfort food. From the savory chicken filling to those golden, cheesy chive biscuits, it’s the kind of meal that turns an ordinary night into something special.
Did your mom or grandma make chicken pot pie like this too? I’d love to hear your memories in the comments below. And if you try this recipe, don’t forget to ⭐ rate it, share it with friends, and 📌 save it to Pinterest for later!
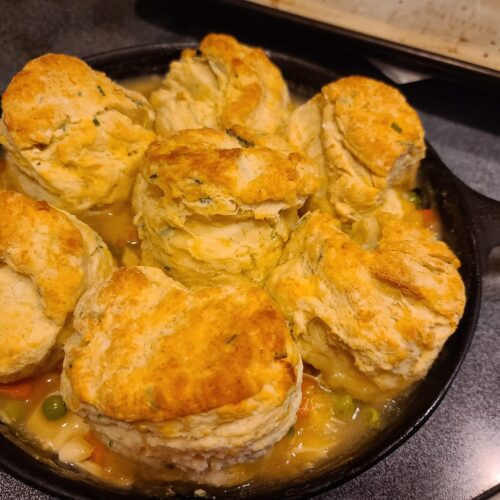
Chicken Pot Pie with Biscuits Cast Iron Skillet
Ingredients
- - 2 cups diced rotisserie chicken breast
- - 3 carrots diced and cooked
- - 1 cup frozen peas
- - 2 ½ cups chicken gravy
- - 2 cups all-purpose flour
- - 1 tbsp baking powder
- - ½ tsp baking soda
- - ½ tsp rosemary sea salt
- - 1 cup sharp cheddar shredded
- - 2–3 tbsp fresh chives snipped
- - 5 tbsp cold butter cubed
- - ¾ cup buttermilk
Instructions
- Preheat oven to 350°F. In a bowl, mix chicken, carrots, peas, and gravy. Transfer to cast iron skillet.
- In another bowl, combine flour, baking powder, soda, and salt. Stir in cheddar and chives.
- Cut in butter until coarse crumbs form. Add buttermilk, mix until dough forms. Knead gently 5–6 times.
- Cut into rounds and bake at 425°F for 8 minutes.
- Remove biscuits and place on chicken filling. Bake skillet another 5–7 minutes until biscuits are golden.
Notes
- Freeze filling separately up to 3 months.
- Make filling a day ahead; bake biscuits fresh.