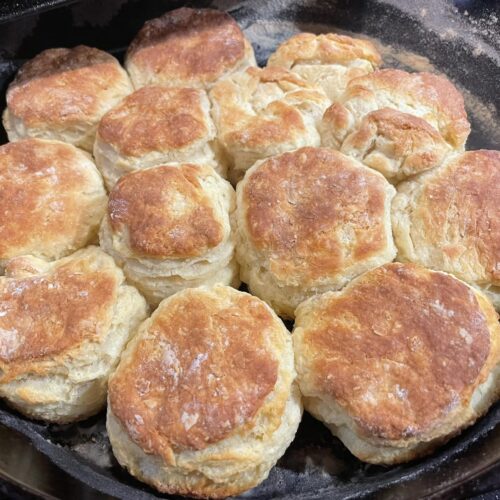
Easy Buttermilk Biscuits Recipe (Cast Iron Method)
There’s something about a cast iron skillet full of golden, flaky buttermilk biscuits that just feels like home. Not the modern “weeknight dinner” kind of home — I’m talking old-school kitchens where breakfast was cooked before the sun came up, where the cast iron stayed on the stove, and where nobody would’ve dreamed of washing it with Dawn.
Growing up, biscuits weren’t fancy. They were a way to stretch flour and butter into something warm and comforting that could feed a family. Whether you served them with sausage gravy, fresh jam, or a drizzle of sorghum, they were the kind of food that brought everyone to the table fast.
And these biscuits? They’re exactly that kind of biscuit.
They’re fluffy. They’re tall. They’re layered. They’re made in a screaming-hot cast iron skillet that gives them that beautiful, crisp bottom and soft, steamy interior. And best of all, they take just minutes to mix together — only five ingredients and about 15 minutes in the oven.
If you’ve ever made my Sausage Gravy Recipe, you already know that biscuits and gravy are a match made in breakfast heaven. These biscuits are the perfect companion: tender, buttery, and ready to soak up all that creamy goodness.
Let’s make some biscuits the way our grandmothers did — simple, rustic, and baked right in cast iron.

2. Why You’ll Love This Recipe
-
True old-fashioned flavor — butter, flour, and buttermilk. That’s it.
-
Flaky layers created by pea-sized butter chunks in the dough.
-
No overmixing — the dough comes together with a fork in seconds.
-
Cast iron magic gives you crisp bottoms and tender centers.
-
Beginner-friendly — perfect for anyone still learning biscuits.
-
5 simple ingredients you probably already have in the kitchen.
-
Done in 15 minutes — no chilling, no laminating, no fuss.
If you love nostalgic breakfast moments, pair these biscuits with Creamed Chipped Beef for a true diner-style morning, or with Southern Bacon Tomato Gravy for a comforting Southern twist.
3. Ingredients Section
Ingredients
-
2½ cups all-purpose flour
Flour makes up the structure of your biscuits. Don’t pack it when measuring — scoop and level for accuracy. -
1 tablespoon baking soda
This helps the biscuits rise tall and light. -
1 teaspoon salt
Balances the buttery flavor. -
½ cup cold butter
Cold butter is essential. The colder it is, the better your layers will be. -
1 cup buttermilk
Adds tang and tenderness. If you don’t have any, use 1 cup milk + 1 tbsp vinegar or lemon juice and let it sit 5 minutes.
Tips for Choosing the Best Ingredients
Butter:
Use cold salted butter straight from the fridge. Extra cold butter = extra flaky biscuits.
Flour:
All-purpose works best here. Self-rising will change the lift and saltiness.
Buttermilk:
Real cultured buttermilk gives the best rise. Higher fat = richer biscuits.
Smart Substitutions
-
No buttermilk?
Mix 1 cup milk with 1 tbsp vinegar and let stand 5 minutes. -
Salted vs unsalted butter:
Both work — just reduce the salt by ¼ tsp if using salted butter. -
Gluten-free option:
Use a cup-for-cup GF baking blend with xanthan gum.
Dietary Modifications
-
Vegetarian: Naturally vegetarian.
-
Dairy-free: Use plant-based butter and oat milk + vinegar.
-
Low-sodium: Reduce salt to ½ tsp.
4. Step-by-Step Instructions
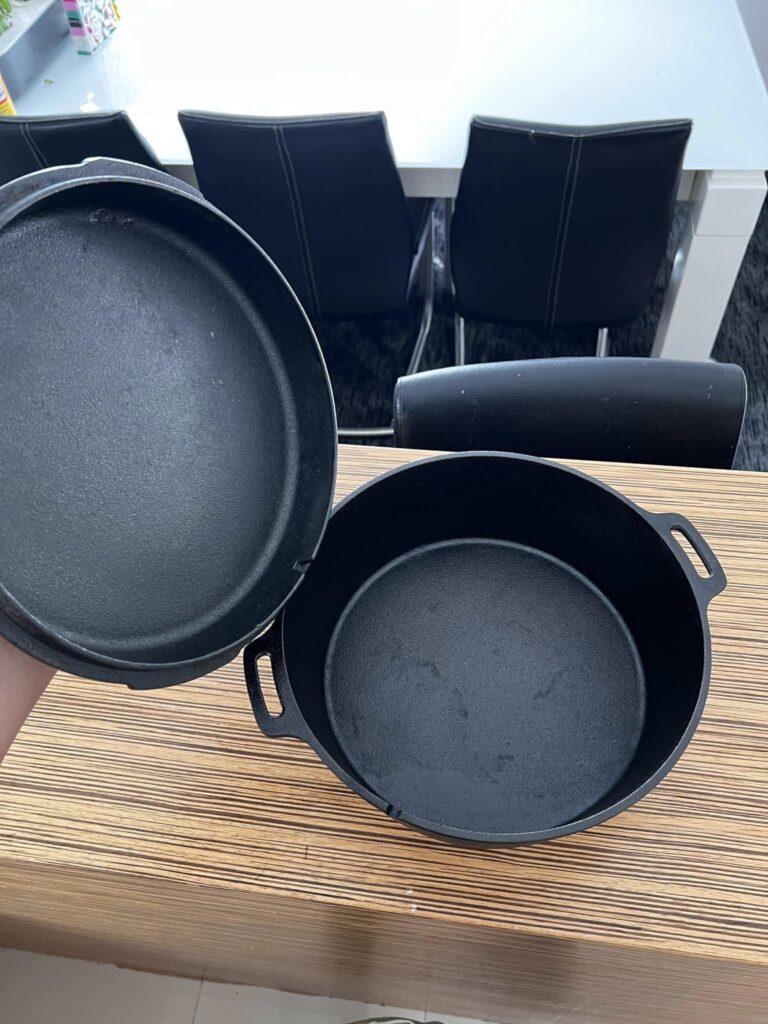
1. Prepare Your Cast Iron
Lightly flour or grease a 10–12 inch cast iron skillet. No Dawn needed — the skillet is naturally seasoned over time.
2. Mix Your Dry Ingredients
In a large bowl, whisk together:
-
Flour
-
Baking soda
-
Salt
3. Cut in the Butter
Add cold butter, cut into cubes. Using a pastry cutter (or your fingers):
-
Work the butter into the flour
-
Stop when it resembles pea-sized crumbs
This step creates the flaky layers in the biscuits.
4. Add the Buttermilk
Make a well in the center of the flour mixture.
Pour in the buttermilk.
Stir gently with a fork until just barely combined.
👉 Do NOT overmix.
Overmixing = dense, tough biscuits.
5. Roll and Cut
Turn the dough out onto a floured surface.
Pat gently until about 1 inch thick.
Use a biscuit cutter or a round glass to cut 10–12 biscuits.
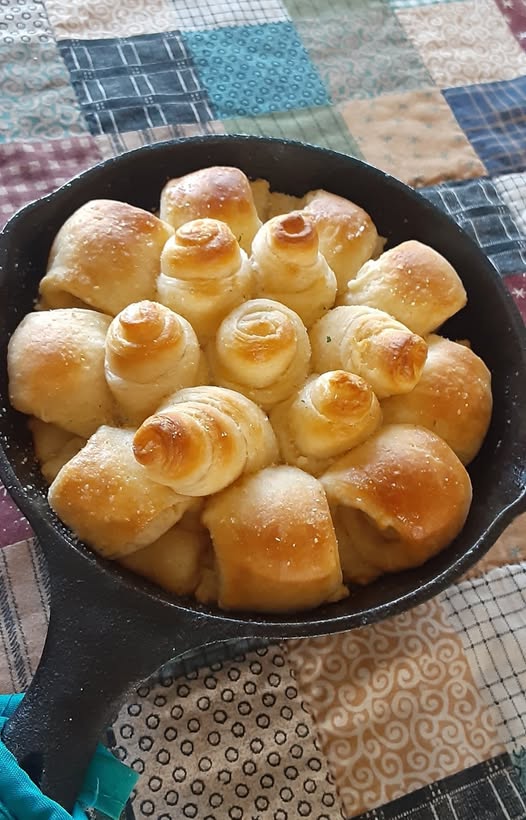
6. Arrange in Cast Iron
Place biscuits so they’re touching — touching helps them rise taller.
7. Bake
Bake at 425°F for 15 minutes until golden brown and puffy.
5. Expert Tips & Troubleshooting
⭐ Keeping Butter Cold is Everything
If your kitchen is warm, freeze the butter for 5 minutes before cutting it in.
⭐ Don’t Twist the Biscuit Cutter
Twisting seals the edges and prevents full rising.
⭐ Biscuits Too Flat?
Likely causes:
-
Butter too warm
-
Dough mixed too much
-
Oven not fully preheated
-
Rolled too thin
⭐ Biscuits Too Crumbly?
Add 1–2 tablespoons extra buttermilk.
⭐ Biscuits Too Hard on the Bottom?
Your cast iron may be preheated too long — reduce preheating time or add parchment.
6. Variations & Add-Ins
-
Buttery tops: Brush with melted butter after baking.
-
Cheddar biscuits: Add ½ cup shredded cheddar to the flour mixture.
-
Herb biscuits: Mix in 1 tsp dried rosemary or thyme.
-
Sweet biscuits: Add 2 tbsp sugar for a sweeter breakfast biscuit.
-
Drop biscuits: Skip rolling — scoop and drop directly into the skillet.
7. Serving Suggestions
Serve these biscuits with…
-
Butter + honey
-
Country ham
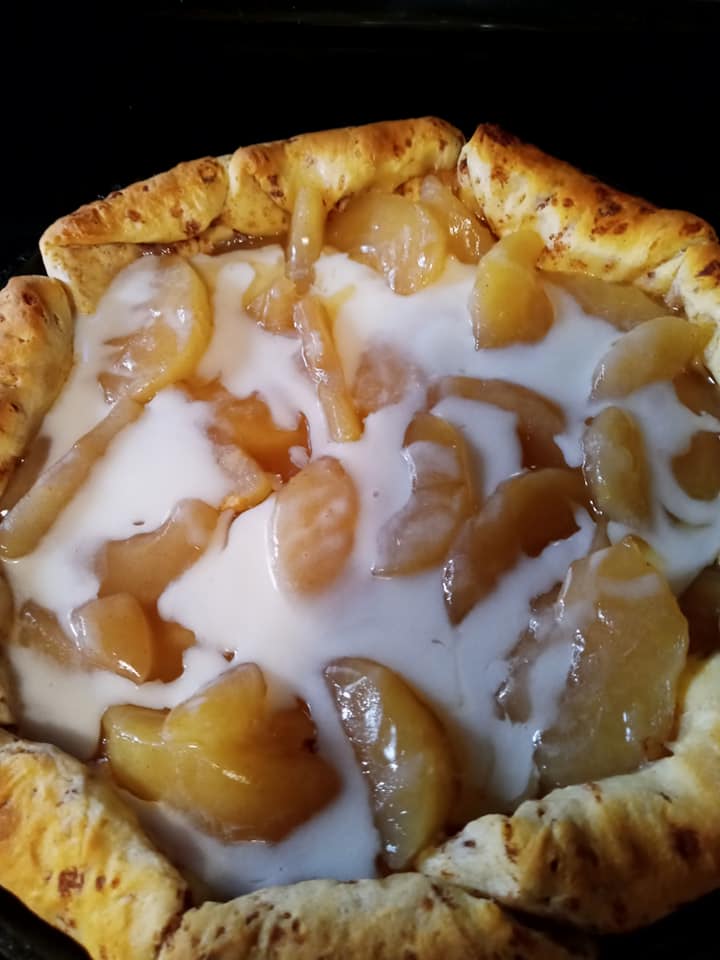
-
Fried apples
-
Homemade jams
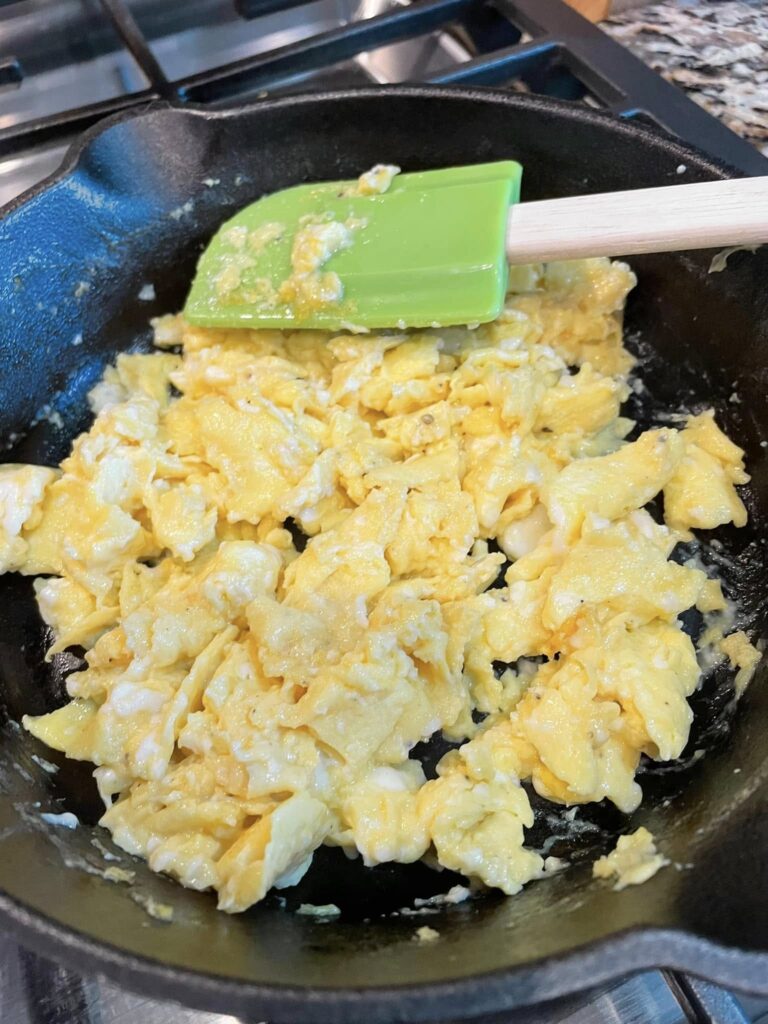
They also make an incredible base for breakfast sandwiches — try fried eggs, cheese, and sausage for a hearty morning meal.
8. Storage, Freezer & Make-Ahead Instructions
Room Temperature
Store in an airtight bag or container for up to 3 days.
Refrigerator
Keeps up to 5 days.
Freezer
Freeze biscuits (baked or unbaked) up to 3 months.
Reheat
-
Microwave: 10–12 seconds
-
Oven: 350°F for 5–7 minutes
-
Air fryer: 350°F for 3 minutes
9. FAQs (Google-Style)
Q: Can I use self-rising flour?
A: Yes, but omit the baking soda and reduce salt to ½ tsp.
Q: Why are my biscuits tough?
A: Overmixed dough or warm butter.
Q: Why didn’t my biscuits rise?
A: Oven not hot enough or cutter was twisted.
Q: Can I prep the dough the night before?
A: Yes — refrigerate covered and bake in the morning.
⭐ Conclusion + Call to Action
There’s nothing quite like the smell of fresh buttermilk biscuits baking in cast iron. They remind us of slow mornings, warm kitchens, and the kind of meals that bring everyone together. Whether you’re topping them with gravy, honey butter, or a slice of country ham, these biscuits are simple, hearty, and downright comforting.
If you try this recipe, please leave a comment and a star rating — it helps other home cooks find it. And don’t forget to share or save it to Pinterest so you can come back to it anytime you need a good, old-fashioned biscuit recipe.
Easy Cast Iron Buttermilk Biscuits
Ingredients
- 2½ cups all-purpose flour
- 1 tablespoon baking soda
- 1 teaspoon salt
- ½ cup cold butter
- 1 cup buttermilk
Instructions
- Preheat oven to 425°F. Lightly flour or grease a cast iron skillet.
- In a large bowl, mix flour, baking soda, and salt.
- Cut in cold butter with a pastry cutter until pea-sized.
- Make a well in the center and add buttermilk.
- Stir gently with a fork until dough just comes together.
- Turn out onto a floured surface; pat to 1-inch thickness.
- Cut 10–12 biscuits and place touching in skillet.
- Bake 15 minutes or until golden brown.
- Brush with butter if desired and serve warm.
Notes