Cherry Blossom Cookies Recipe
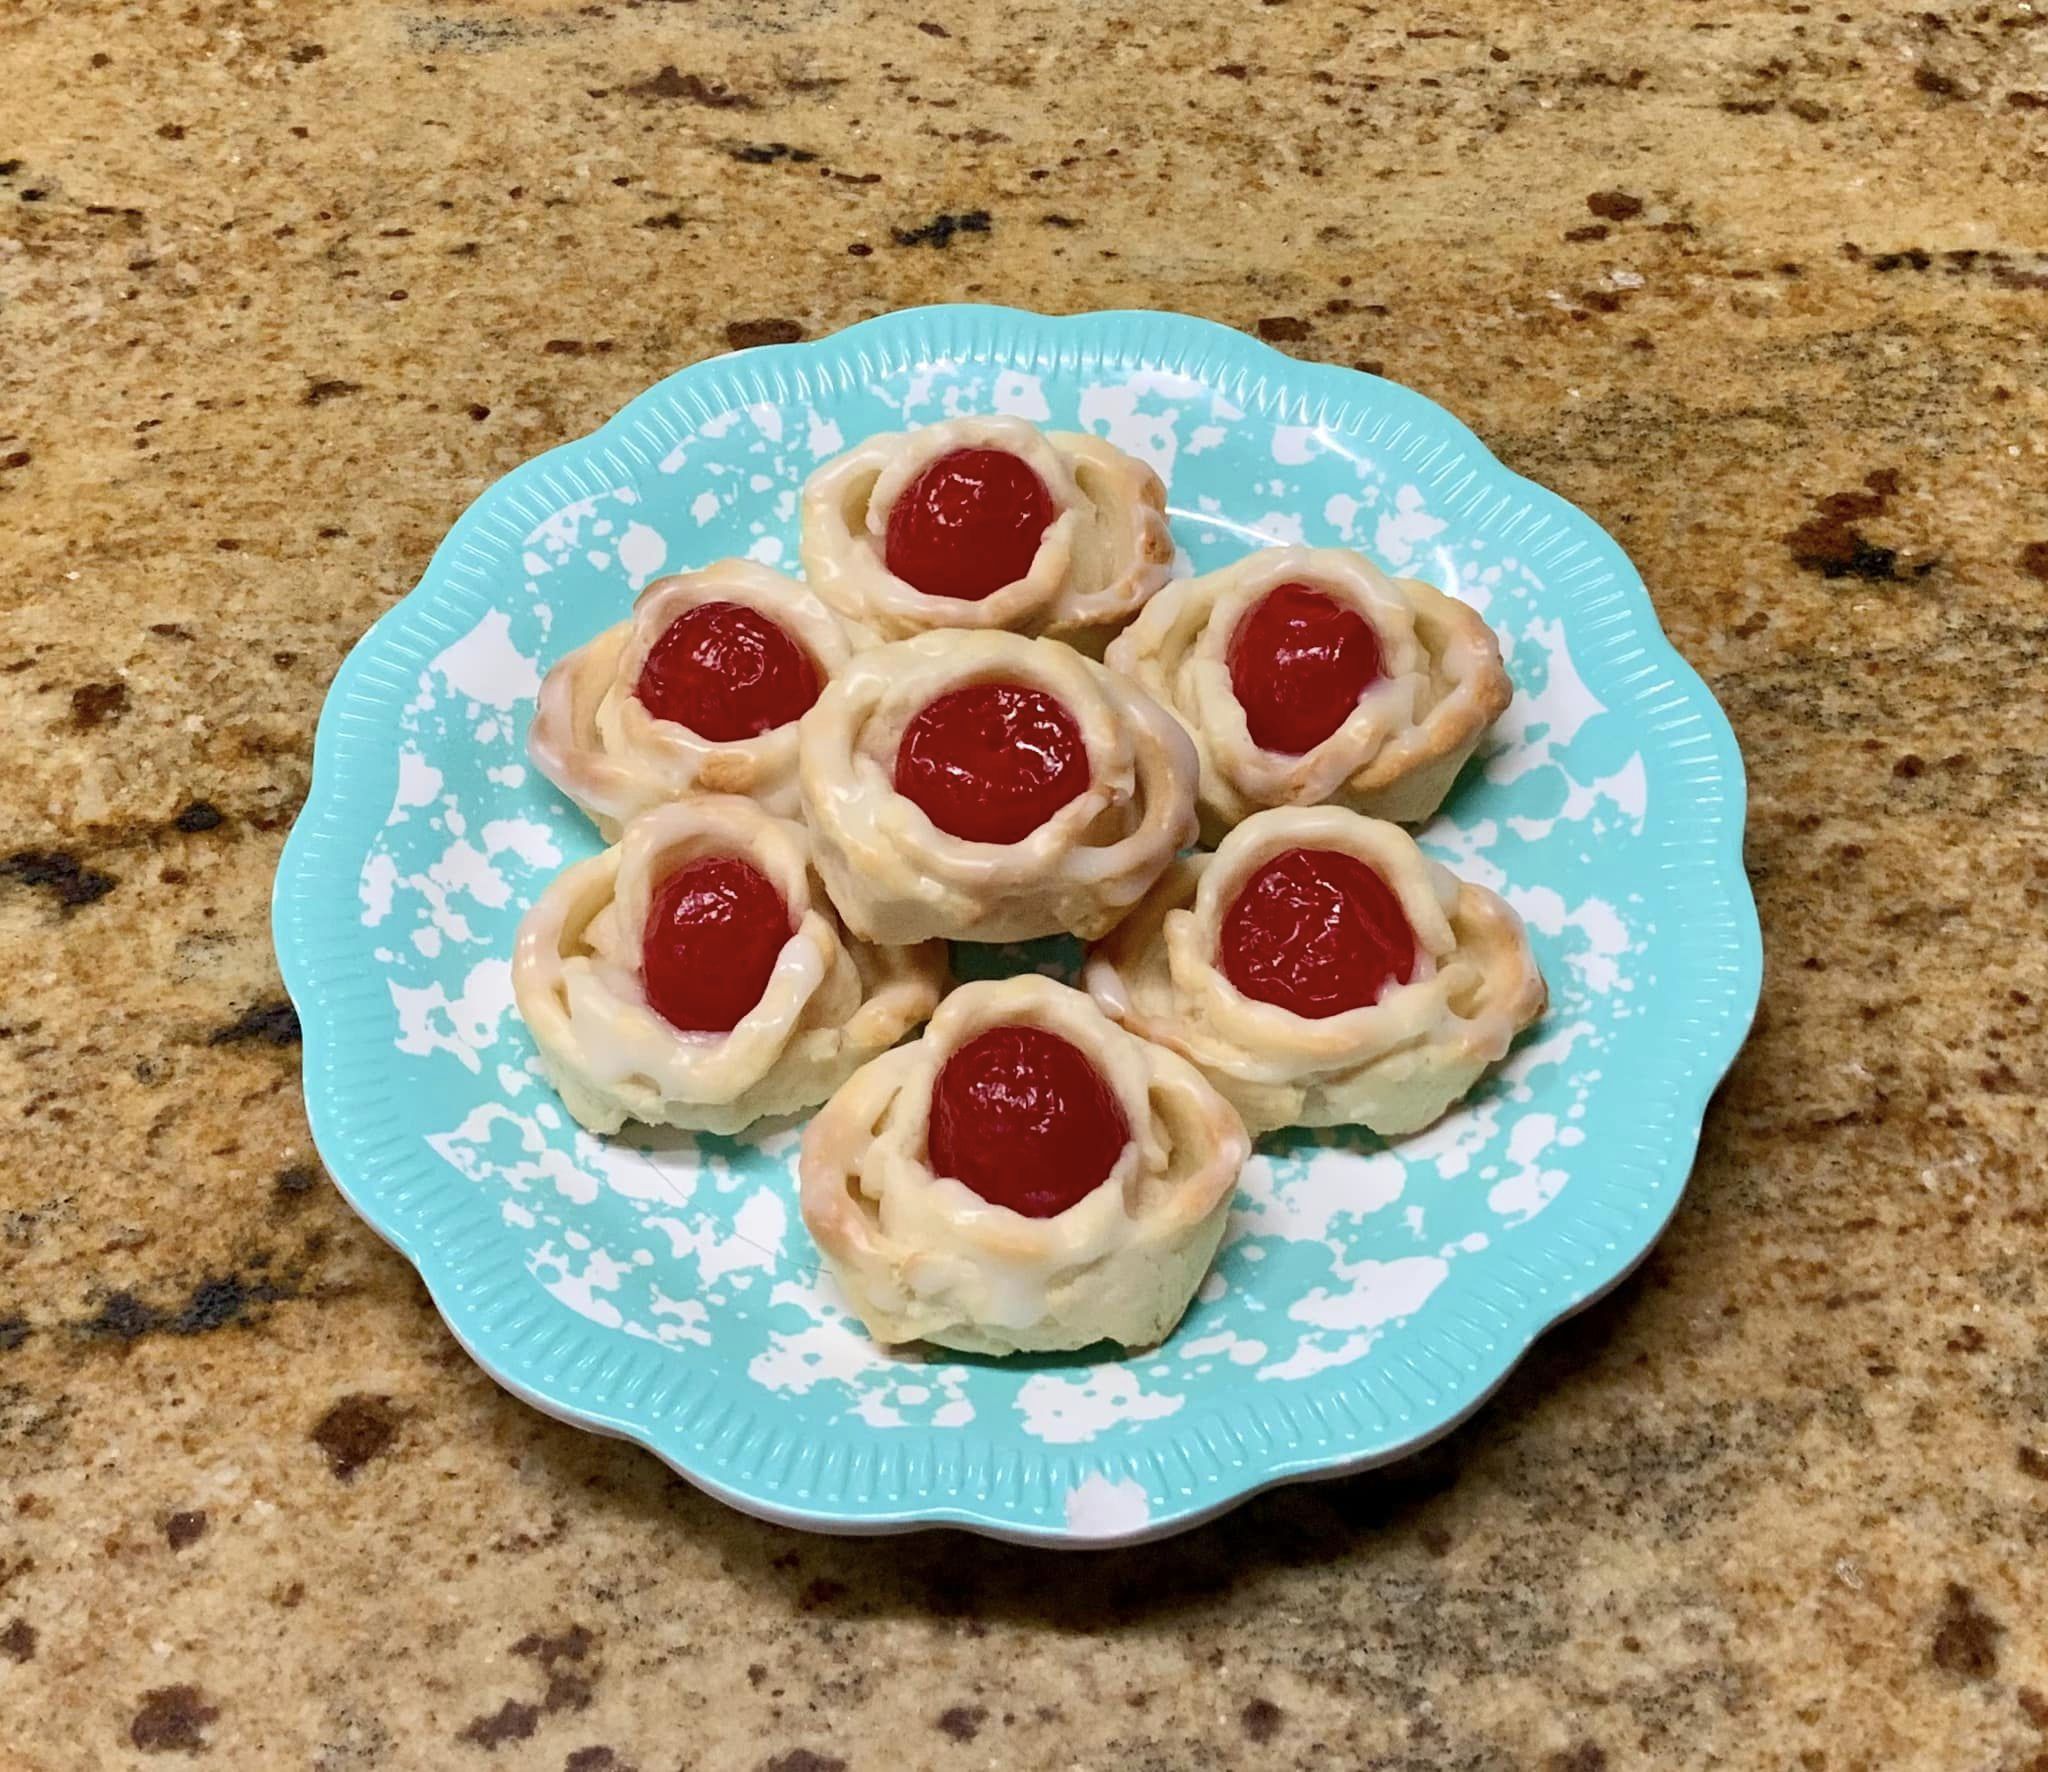
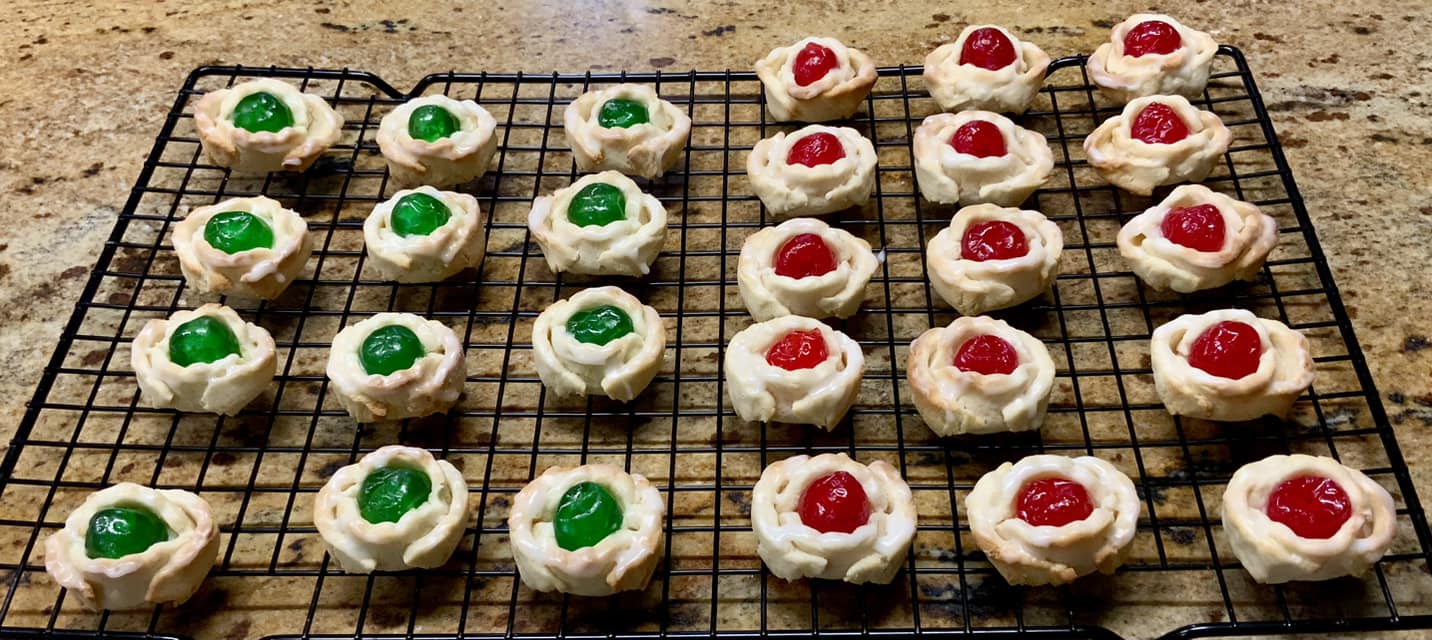
These Cherry Blossom Cookies are as delightful to eat as they are to look at! Imagine a soft, buttery cookie with a touch of vanilla and coconut, a creamy center, and a bright cherry on top. They’re the kind of treat that makes any occasion feel a bit more special, from holidays to an afternoon tea. Plus, they look like little works of art!
If you’re looking to bake something that’s simple yet impressive, these cookies are perfect. Let’s get started!
Ingredients
For the Cream Cheese Filling
- 4 oz cream cheese, softened
- ½ cup sugar
- ½ teaspoon vanilla or almond extract (either works!)
- Maraschino or candied cherries, drained and dried
For the Cookie Dough
- 2 ½ cups all-purpose flour
- ½ cup cornstarch
- 1 tablespoon vanilla powder (or 1 teaspoon vanilla extract)
- Dash of salt
- 1 cup butter, softened
- 1 ½ cups sugar
- 1 egg
- 1 teaspoon vanilla extract
- ½ teaspoon coconut extract (optional, but adds a nice touch!)
Directions
Step 1: Make the Cream Cheese Filling
- In a medium bowl, beat the cream cheese and sugar until smooth and creamy.
- Stir in the vanilla or almond extract. If you’re using a piping bag, make sure the filling is smooth. Set it aside for now.
Step 2: Make the Cookie Dough
- In a separate bowl, whisk together the flour, cornstarch, vanilla powder, and salt. Set aside.
- In a large bowl, cream the butter and sugar until light and fluffy. Add the egg and mix until everything is well combined.
- Add the vanilla and coconut extracts, if you’re using them, and blend in.
- Gradually add the dry ingredients to the butter mixture. Mix until just combined; don’t overdo it, or the cookies might turn out a bit tough.
- Divide the dough into three portions, wrap in plastic wrap, and press each into a disk shape. Pop them in the fridge for at least an hour (or even overnight if you’re planning ahead!).
Step 3: Assemble the Cookies
- Preheat your oven to 350°F (175°C) and line a baking sheet with parchment paper.
- Roll out one of the dough disks on a lightly floured surface to about ¼-inch thickness.
- Use a 2-inch round cookie cutter to cut out circles and place them on the baking sheet.
- Spoon or pipe a bit of cream cheese filling into the center of each circle, then gently press a cherry on top.
- To shape the cookies into “blossoms,” fold up the edges of the dough slightly around the filling, creating petal-like edges.
- Chill the cookies on the baking sheet in the fridge for 15-20 minutes to help them hold their shape when baking.
Step 4: Bake the Cookies
- Bake in the preheated oven for 8-12 minutes, or until the edges just start to turn golden.
- Let the cookies cool on the baking sheet for a few minutes, then transfer to a wire rack to finish cooling.
Optional Touches
For a little extra flair, you can brush the petal edges with a simple powdered sugar glaze (just mix powdered sugar with a splash of water or milk) or dust them with some granulated sugar for a sparkle effect.
Tips for Perfect Cherry Blossoms
- Chill Time: Don’t skip the chilling steps! They help the cookies keep their shape.
- Watch the Bake: These cookies are best with just a hint of golden edges – it keeps them soft and buttery.
Enjoy!
These Cherry Blossom Cookies are sure to turn heads with their adorable look and delicious flavor. They’re perfect for sharing (or keeping all to yourself – no judgment here!). Enjoy every bite, and happy baking!

