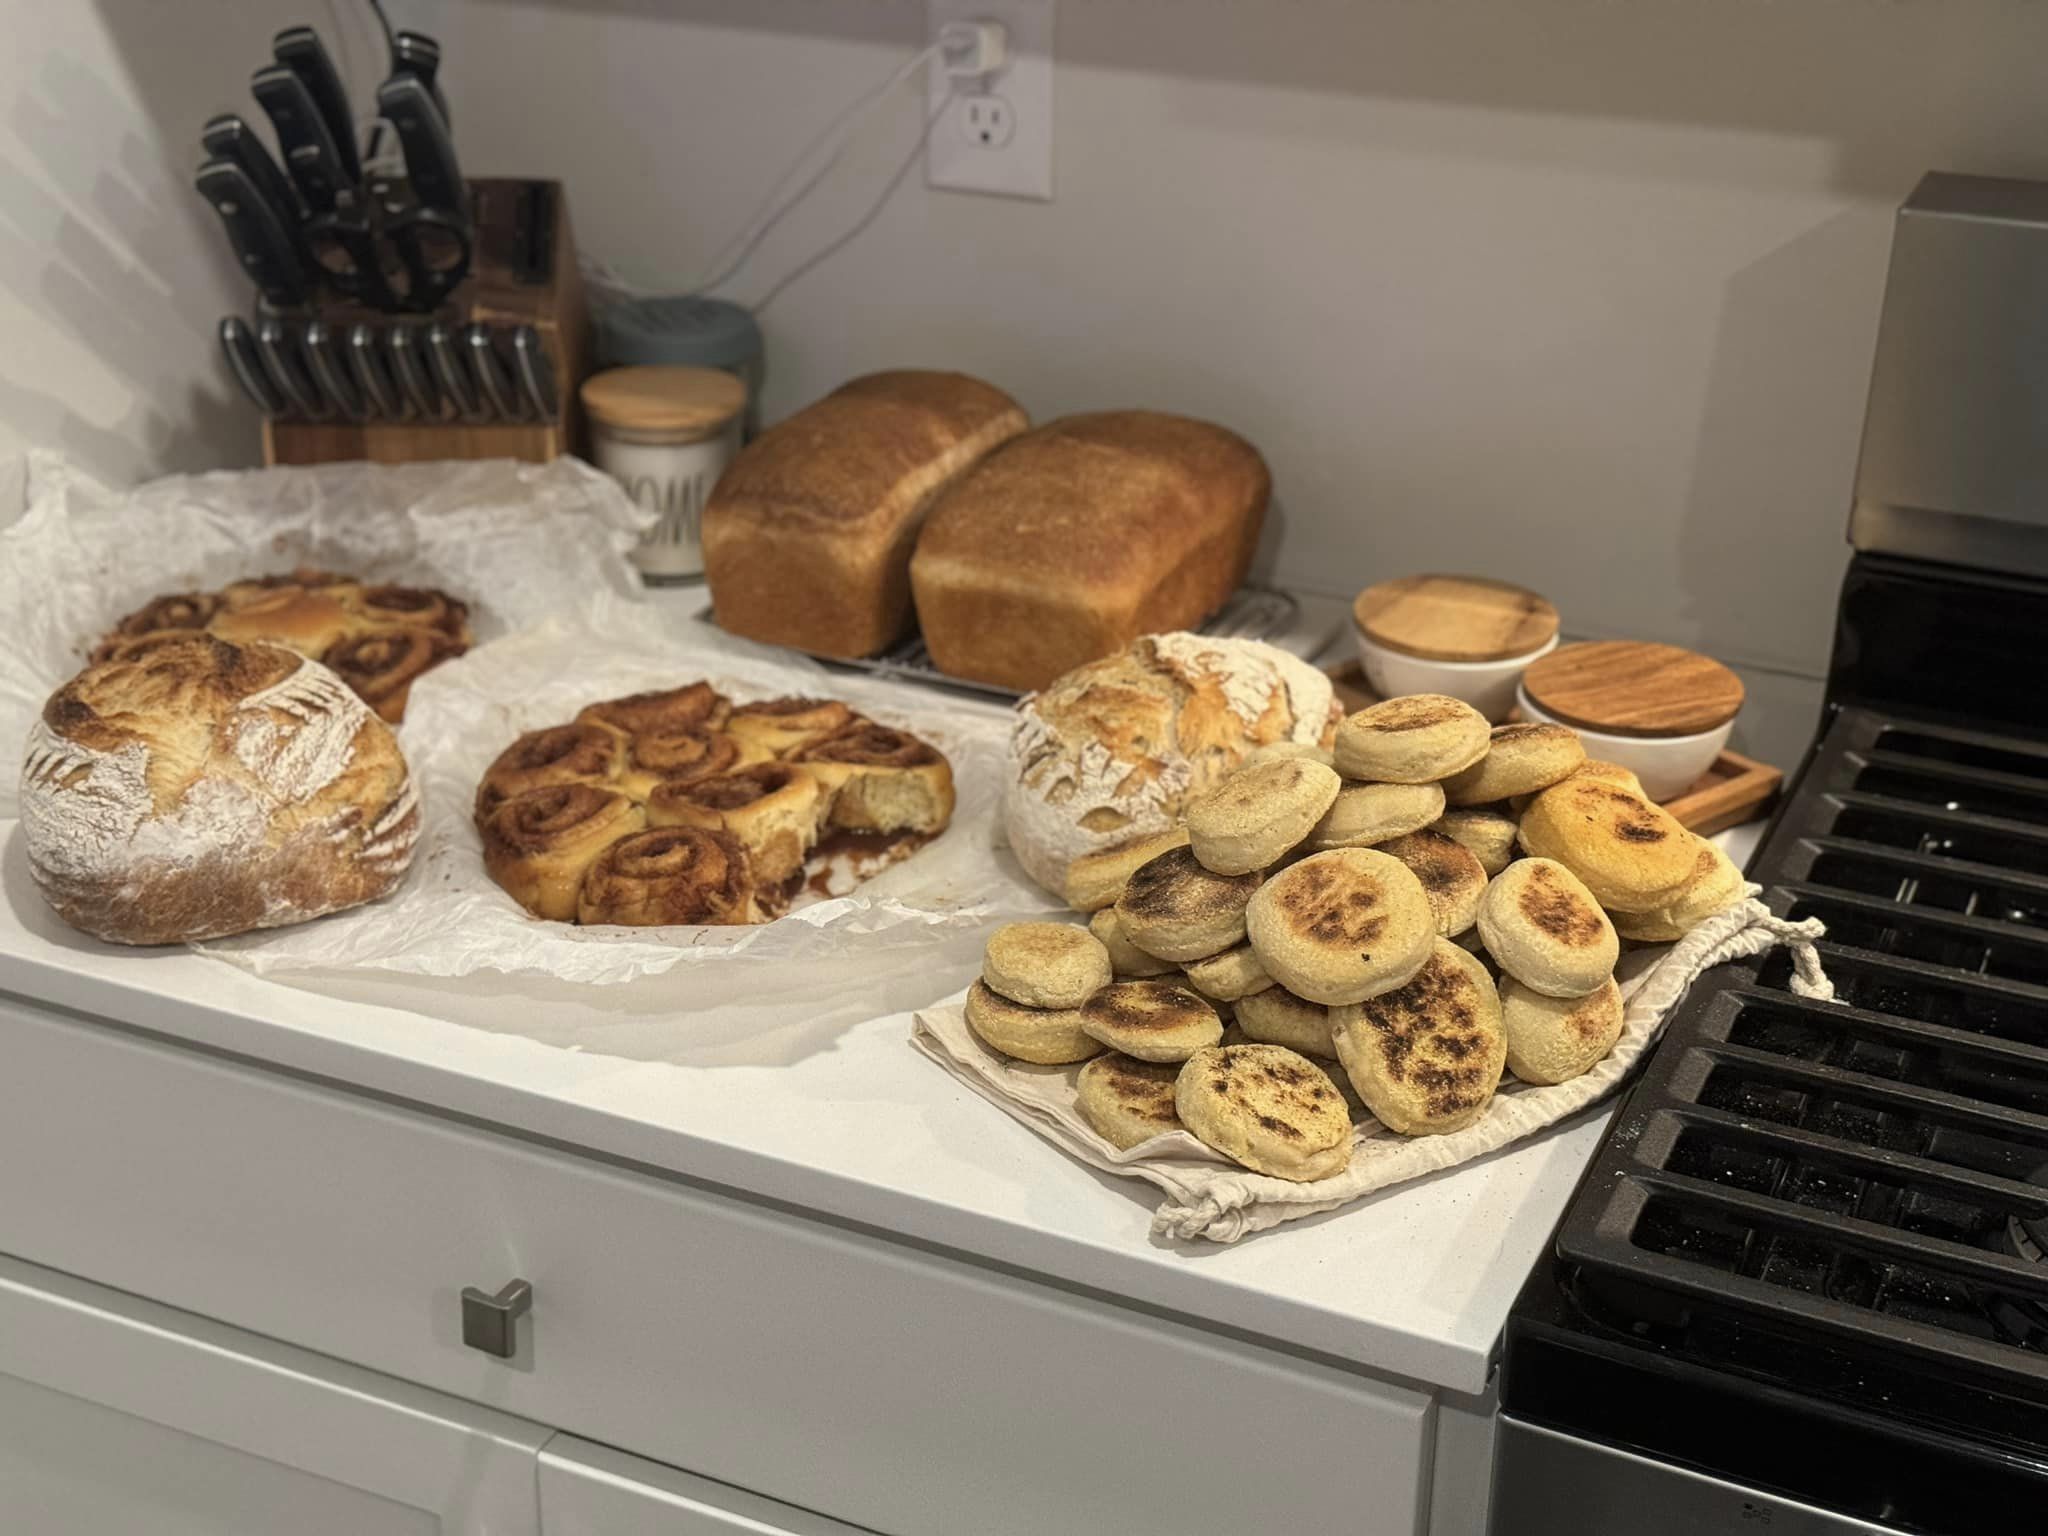
Homemade Sourdough Sandwich Bread – Soft, Flavorful, and Perfect for Beginners
There’s something incredibly satisfying about baking your own bread, and this homemade sourdough sandwich bread is both simple and delicious. Made with all-purpose flour, a touch of butter, and a bubbly sourdough starter, this recipe is straightforward enough for beginner bakers yet yields professional-quality results. The bread’s soft texture and mild sourdough flavor make it ideal for everything from sandwiches to toast, and it freezes beautifully if you want to save some for later.
One of my favorite parts about this recipe is how flexible it is. You can make the dough in the evening, let it rise overnight, and have a fresh loaf ready to enjoy by morning. For those who love a no-fuss routine, this is the perfect recipe to get into a regular baking rhythm.
Why Use a Kitchen Scale?
If you’re not already baking with a kitchen scale, this recipe is a great time to start! Measuring ingredients by weight instead of volume offers a level of consistency that’s hard to achieve with measuring cups. This is especially important with sourdough, as it’s very sensitive to ingredient ratios. For example, when measuring your starter, a ¼ cup might only weigh about 30g if it’s extra bubbly, but this recipe needs 50g. Less starter can lead to a slower rise, so weighing it helps ensure success. The same goes for flour—4 cups might end up weighing more than 500g, depending on how tightly it’s packed, which could make your dough dry.
For reference, I use Whole Foods 365 Everyday all-purpose flour with great results, and King Arthur or Trader Joe’s all-purpose flour works well too. If you’re using a lower-protein flour like Gold Medal or Pillsbury, you might want to reduce the water slightly to keep the dough soft.
Ingredients You’ll Need
- 500g (about 4 cups) all-purpose flour – all-purpose flour keeps the loaf soft, but bread flour also works if you prefer a chewier texture.
- 60g (4 tbsp) unsalted butter – softened and cut into cubes; this gives the bread a soft crumb and mild flavor.
- 12g (1 tbsp) sugar – a touch of sweetness that complements the sourdough flavor.
- 9g fine sea salt – balances the flavors.
- 50g (¼ cup) bubbly, active sourdough starter (100% hydration) – make sure it’s active and bubbly before you start!
- 270g (1 cup + 2 tbsp) warm water – helps activate the starter and form a cohesive dough.
Instructions
- Mix the Dough:
In a large mixing bowl, combine the flour, butter, sugar, salt, starter, and water. Stir the ingredients until they come together into a sticky dough. Knead it briefly by hand or in a stand mixer until the dough is smooth and elastic. - First Rise (Bulk Fermentation):
Cover the bowl with plastic wrap or a damp cloth, and let it rise at room temperature for 8–12 hours. The dough should double in size and become airy. This is why making the dough at night works so well—you can let it rise overnight and continue the recipe in the morning. - Shape the Dough:
Once the dough has risen, turn it out onto a lightly floured surface. Gently shape it into a rectangle and roll it up into a log that fits snugly into your loaf pan. - Second Rise (Proofing):
Place the dough into a greased 8.5×4-inch loaf pan, cover it, and let it rise for another 2–4 hours, or until it rises just above the edge of the pan. In cooler weather, this may take longer. (See “Helpful Tips” below if you need to speed up the process.) - Bake the Bread:
Preheat your oven to 375°F (190°C). Bake the loaf for 30–35 minutes, or until it’s golden brown on top and sounds hollow when tapped. Let the bread cool completely before slicing to get a clean cut. - Enjoy or Freeze for Later:
This bread is delicious fresh, but it also freezes well. Simply slice and store in an airtight bag for up to a month in the freezer.
Helpful Tips for Success
1. Adjusting for Cooler Weather:
If it’s cooler, the second rise may take longer. Here are two ways to adjust the starter and water amounts to help the dough rise more quickly:
- Option 1: Use 100g of starter and reduce water to 255g.
- Option 2: Use 150g of starter and reduce water to 250g.
2. Boosting the Dough’s Rise Time:
If your dough seems sluggish, try creating a warmer environment. Here are two methods that work well:
- Using a Proofing Box: Set the box temperature to around 75–80°F, and place the dough inside to rise.
- The Oven Method: Preheat your oven to around 75–80°F, turn it off, then place the covered dough inside to rise. Just make sure the oven isn’t warmer than 80°F, and avoid using this method overnight as it could overheat.
Why You’ll Love This Sourdough Sandwich Bread
This homemade sourdough sandwich bread is wonderfully versatile. The mild sourdough flavor adds a unique taste, while the soft texture makes it perfect for all your favorite spreads and fillings. Whether you’re making a classic peanut butter and jelly or a fresh veggie sandwich, this bread is a delicious, wholesome base. Plus, since it freezes well, you can easily make extra to have on hand for busy mornings.
Baking your own bread might sound intimidating, but this recipe makes it easy to incorporate homemade sourdough into your routine. I hope you enjoy this recipe as much as I do—it’s a household favorite around here! Happy baking!


