Best Painted Sugar Cookie Recipe (My 20-Year Favorite)
There is a moment every holiday season when baking transitions from a simple kitchen chore into a full-blown art project. For me, that moment arrives when I pull out the flour, the butter, and my collection of Christmas cutters to make my favorite sugar cookies.
I have used this exact recipe for over 20 years. It has seen me through decades of Christmases, school bake sales, and late-night decorating marathons. It is the reliable old friend that never lets me down. But recently, I decided to give this old friend a little “glow up.”
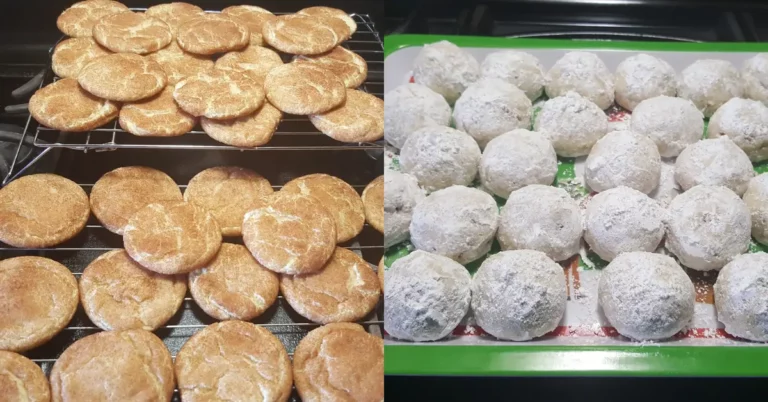
I started adding an extra egg yolk and swapping standard vanilla extract for vanilla bean paste. The result? A cookie that is slightly richer, more tender, and speckled with those beautiful, luxurious little black vanilla seeds.
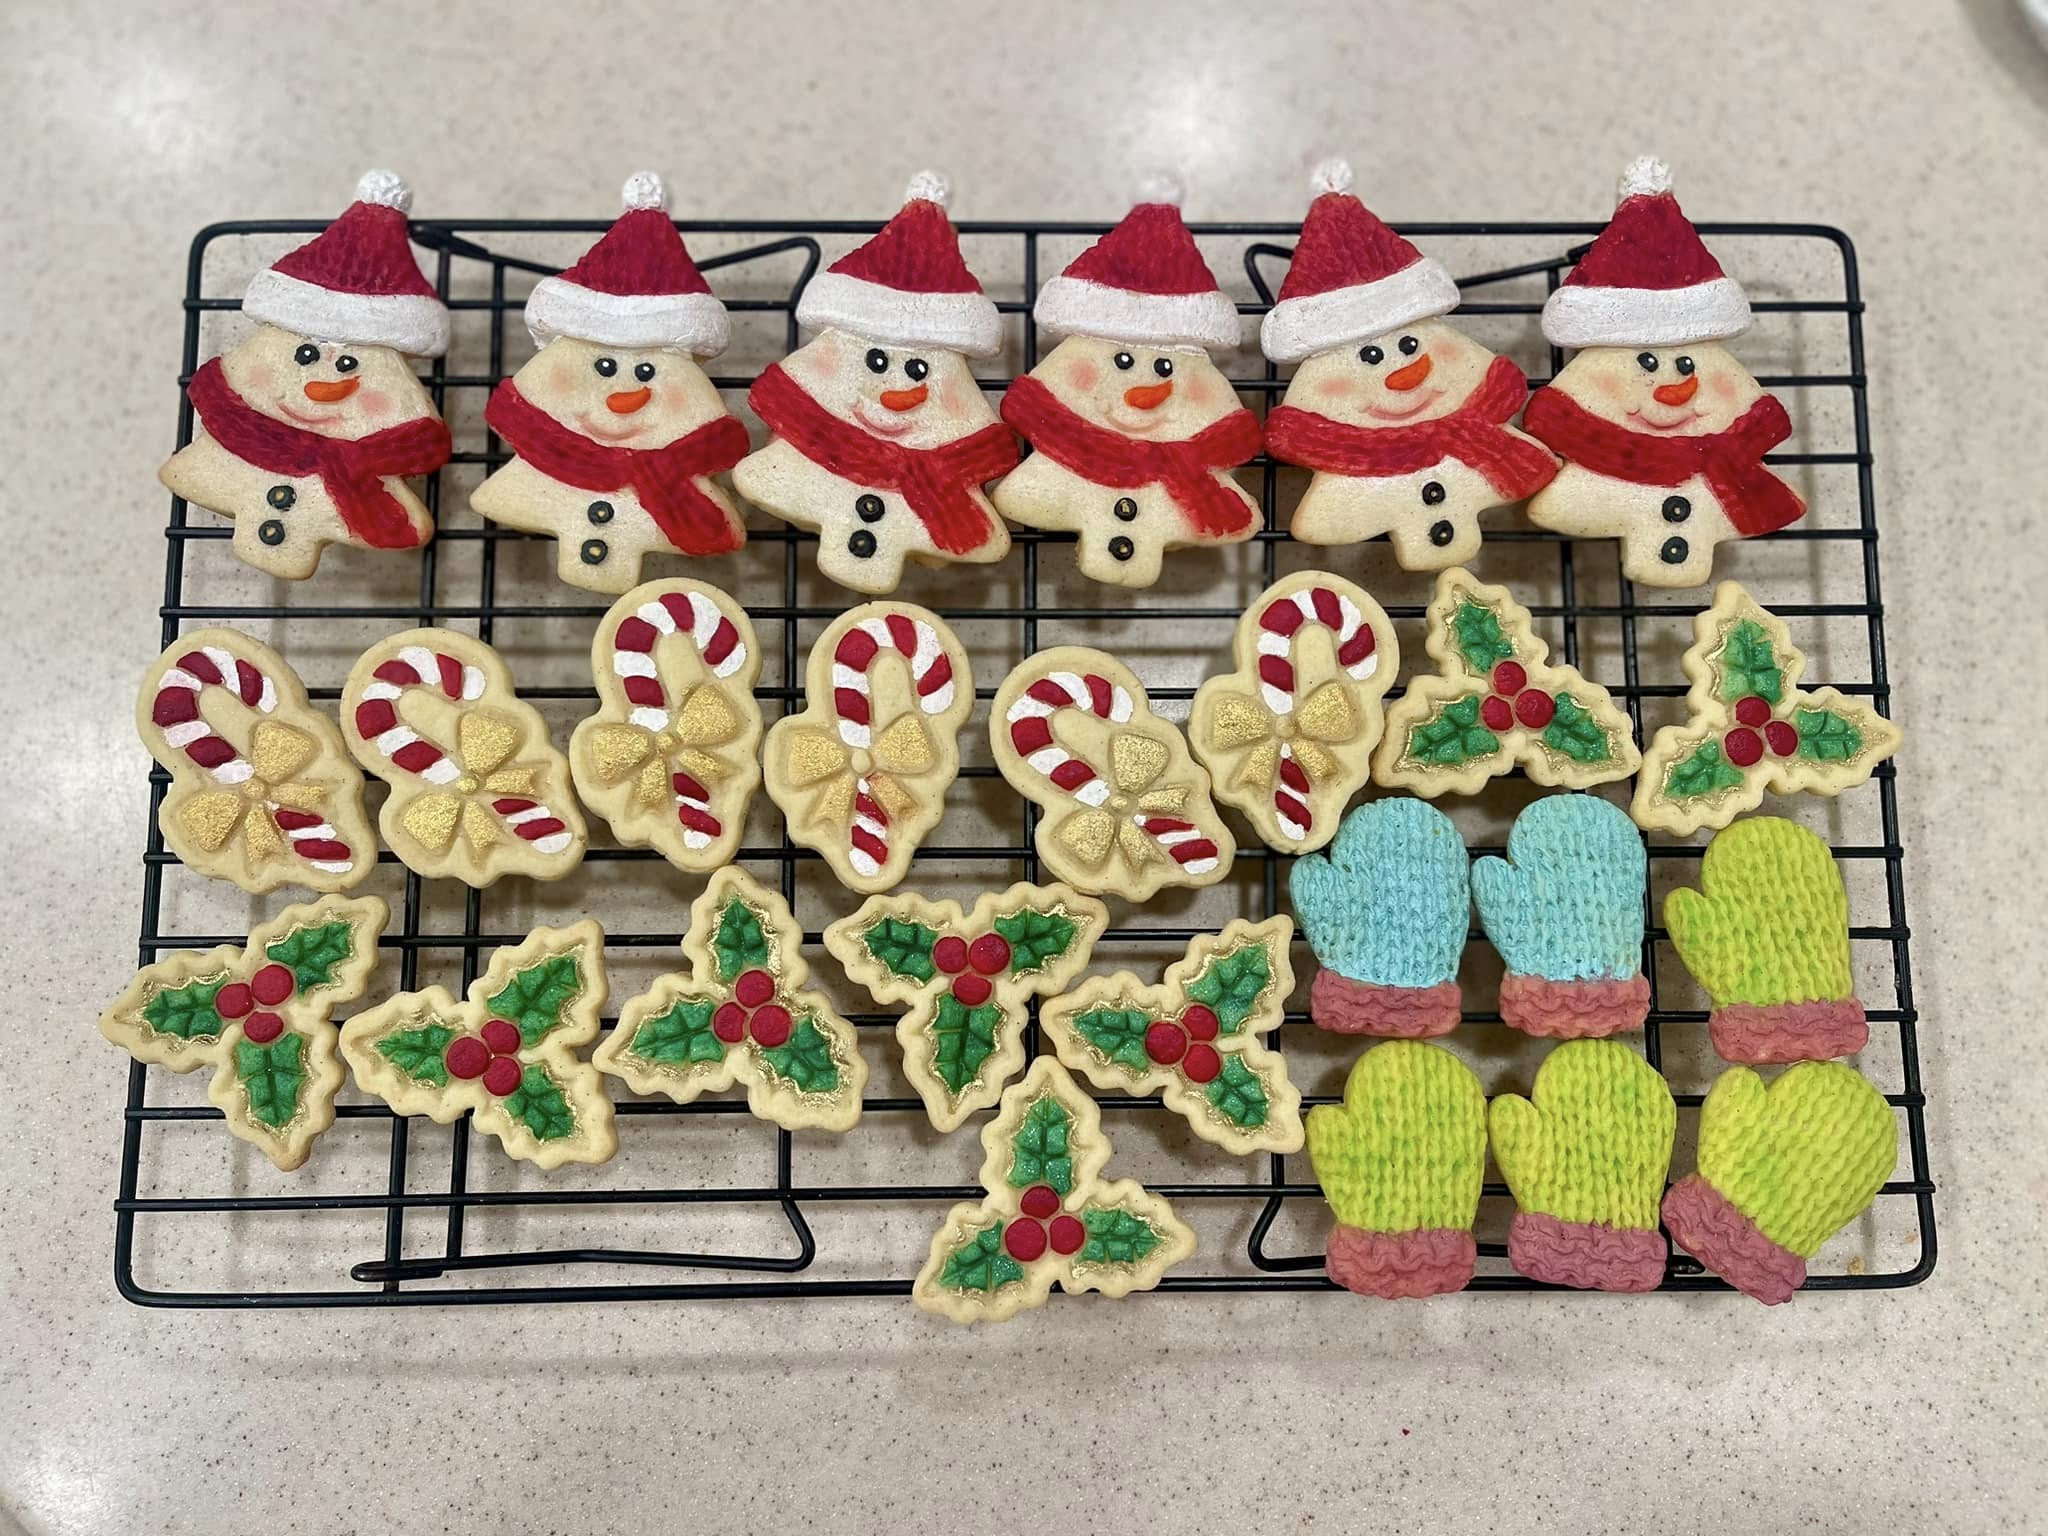
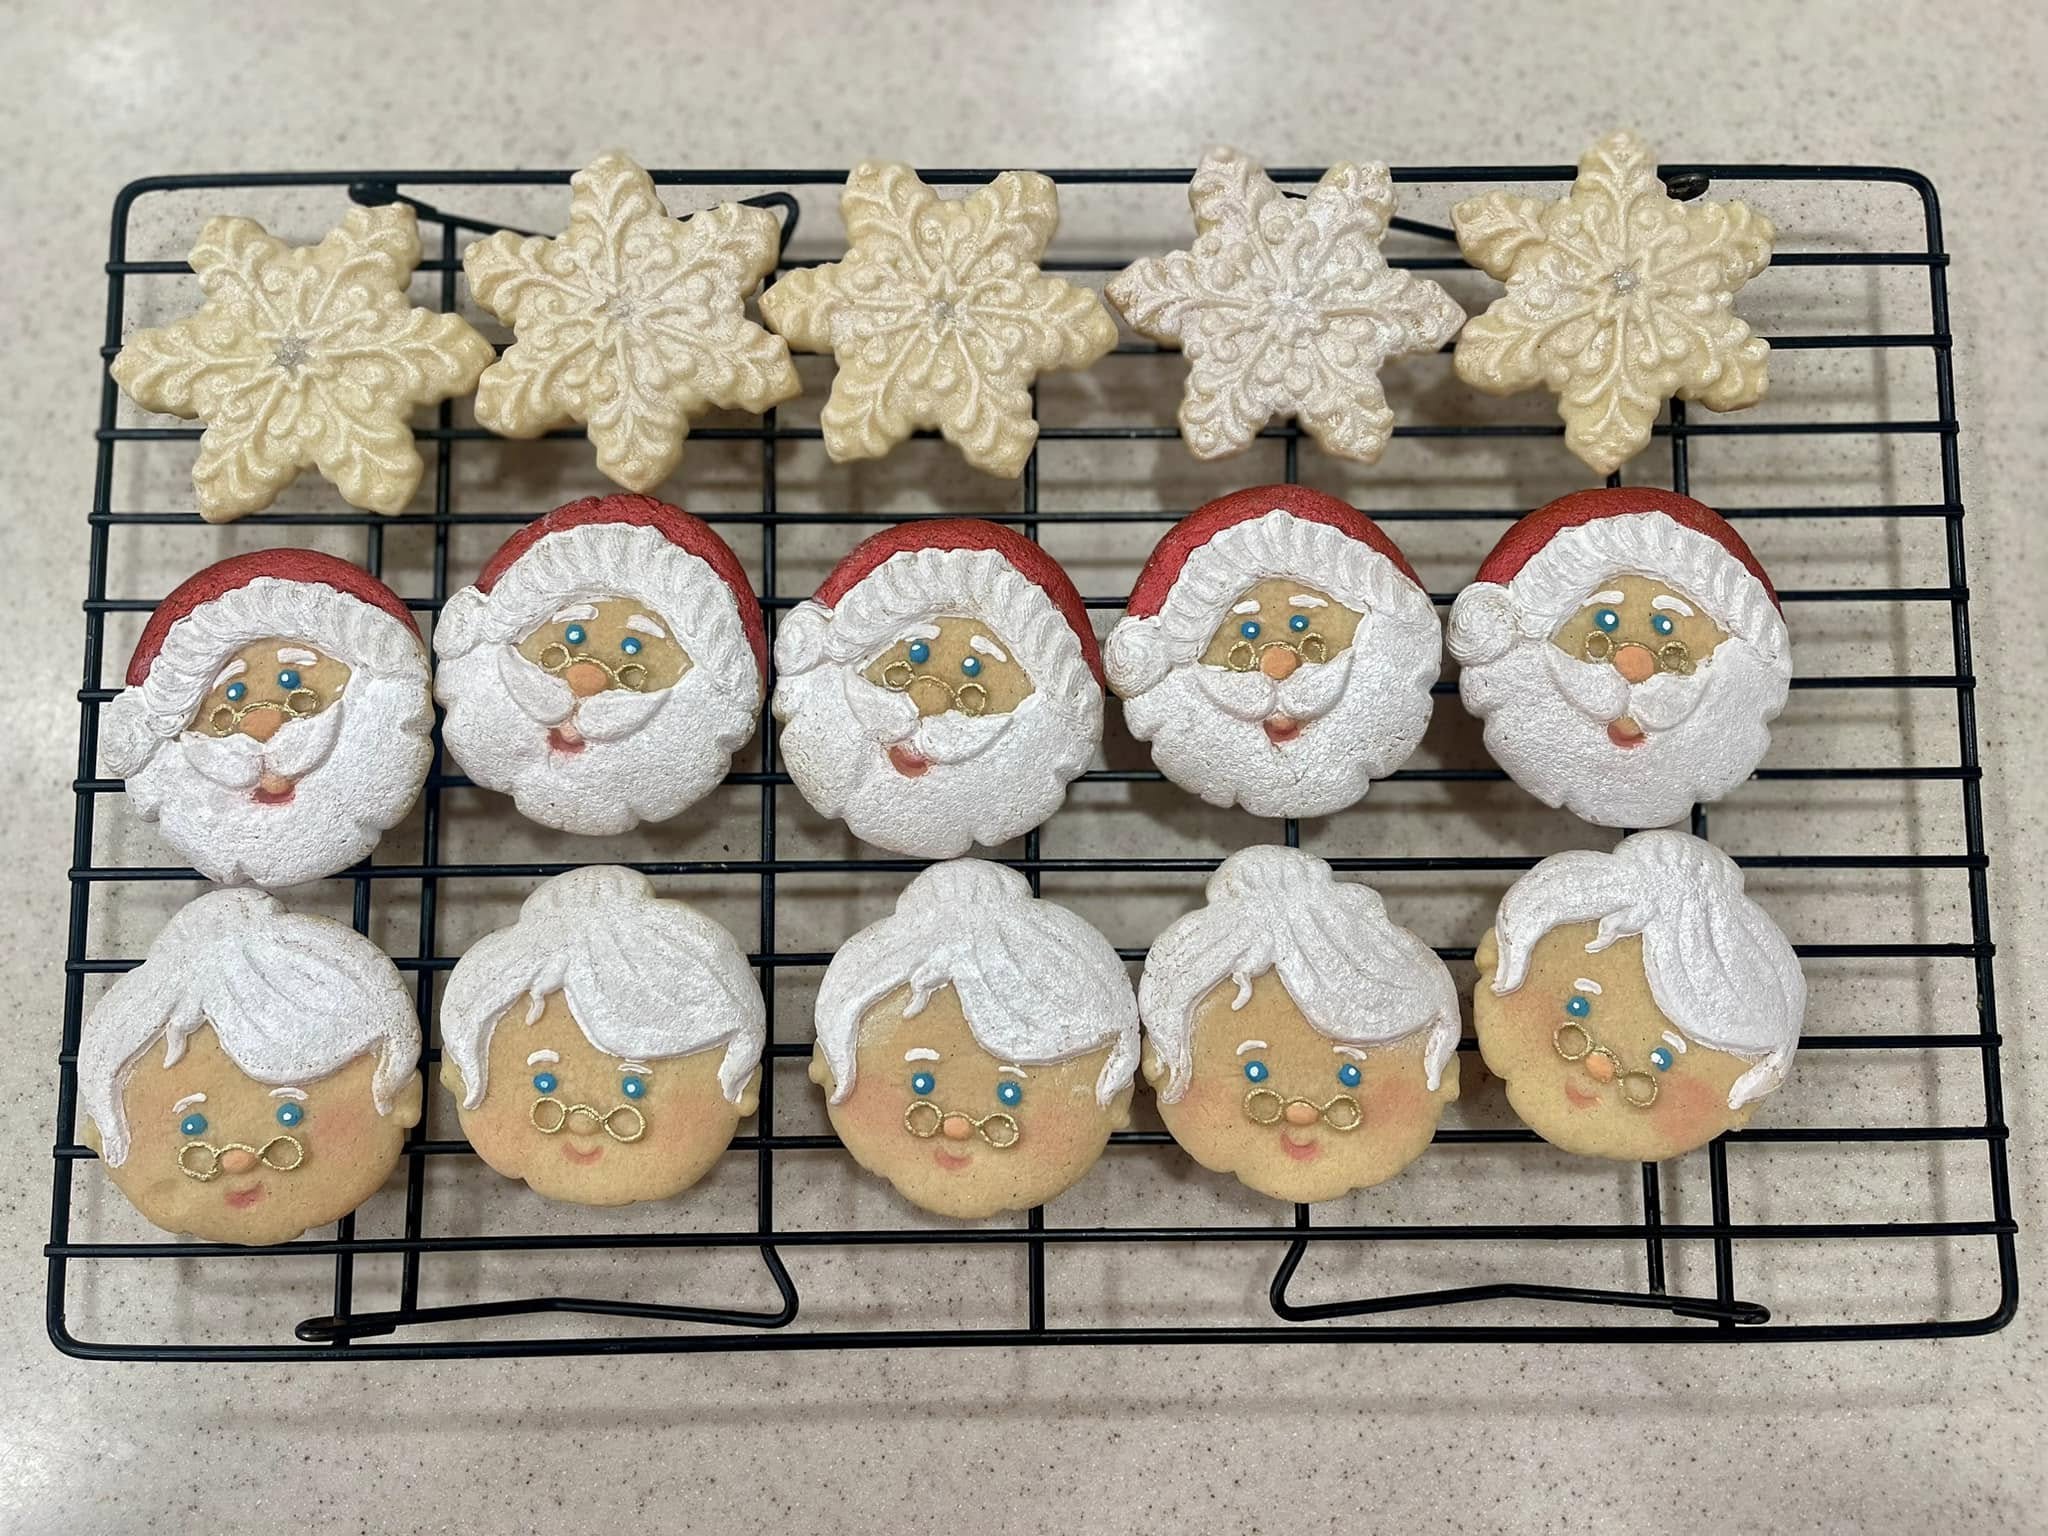
As you can see from the photos, I don’t just frost these cookies—I paint them. Whether it’s creating the cozy texture of a “knit” sweater, the metallic sheen on a Christmas bauble, or the delicate details of a snow globe, you need a sturdy canvas. This Painted Sugar Cookie Recipe does not spread. It holds every sharp edge of your cutter, providing the perfect flat surface for your artistic vision.
If you are looking for the ultimate cut-out cookie that tastes as amazing as it looks, you have found it.
Why You’ll Love This Recipe
You might be wondering why I’ve stuck with this recipe for two decades. Here is why it beats every other dough I’ve tried:
-
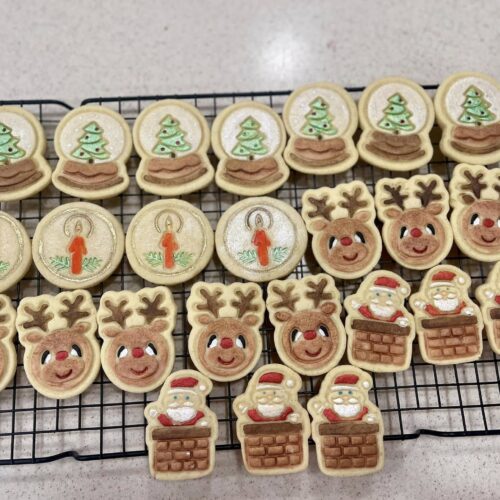
Zero Spread: There is nothing worse than cutting out a reindeer and pulling a “blob” out of the oven. These cookies bake up exactly the same size they went in.
-
The “Canvas” Factor: Because the surface bakes up flat and smooth, it is ideal for royal icing, fondant, or hand-painting with food coloring gels and luster dusts.
-
Rich Flavor: The addition of the extra egg yolk adds a richness that mimics a shortbread, while the baking powder keeps it light enough to bite through easily.
-
No-Mess Rolling: My method of rolling the dough between parchment paper before chilling means you use less flour (so the cookies don’t get tough) and you avoid the sticky mess on your counter.
Ingredients Breakdown
This recipe uses standard pantry staples, but the specific ratios are what make it work so well for detailed shapes.
1. Butter
You need 1 cup of butter, softened to room temperature.
-
Why: The butter provides the structure and the flavor. If it is too soft (oily), the cookies will spread. It should be cool to the touch but leave an indentation when pressed.
2. Sugar
1 cup of white granulated sugar. This provides the classic crisp edge and sweet center. I don’t recommend reducing the sugar here, as it contributes to the crisp texture necessary for decorating.
3. The Eggs (The Secret Weapon)
You will need 1 whole egg and 1 egg yolk.
-
The Twist: I recently started adding the extra yolk, though the original recipe works fine without it. The yolk adds fat and emulsifiers, making the cookie more tender and “bakery-style” soft rather than rock-hard crunchy.
4. Flavoring
1 teaspoon of vanilla bean paste.
-
Why Paste? I absolutely love to see the little black flecks of the vanilla bean in the dough. It signals to everyone eating them that these are high-quality treats. If you don’t have paste, good quality extract works too.
5. Dry Ingredients
-
3 cups of All-Purpose Flour: This provides the structure.
-
2 tsp Baking Powder: This gives just enough lift to make the cookie bite-able, but not so much that it puffs up and distorts the shape.
Step-by-Step Instructions
The process is straightforward, but the technique of rolling and chilling is what guarantees professional results.
Step 1: Prep the Dry Mix
Sift your flour and baking powder together into a medium bowl.
-
Baker’s Note: Sifting is important here to ensure the baking powder is evenly distributed. You don’t want one cookie to rise like a balloon while another stays flat. Set this aside.
Step 2: Cream the Butter and Sugar
In the bowl of your stand mixer (or using a hand mixer), beat the softened butter and sugar together until soft and fluffy. You aren’t looking for a huge volume increase like a cake, but it should be pale yellow and creamy.
Step 3: Add the Wet Ingredients
Add the whole egg, the extra egg yolk (if using), and the vanilla bean paste. Beat well, stopping to scrape down the sides of the bowl with a spatula. You want to make sure the egg is fully emulsified into the butter.
Step 4: Make the Dough
Gradually add the sifted flour mixture to the wet ingredients. Mix on low speed just until it becomes a dough and pulls away from the sides of the bowl.
-
Caution: Do not overmix! Once the flour disappears, stop. Overworking the dough develops gluten, which leads to tough cookies.
Step 5: The “No-Mess” Rolling Trick
Here is how I save time and cleanup: Take a portion of the dough and place it between two large sheets of parchment paper (or Saran wrap). Roll the dough out to your desired thickness while it is sandwiched between the paper.
-
Thickness: I prefer about 1/4 inch thick for decorated cookies so they are sturdy enough to handle icing.
Step 6: Chill
Place the rolled-out slabs of dough (still in the paper) onto a cookie sheet and refrigerate until firm.
-
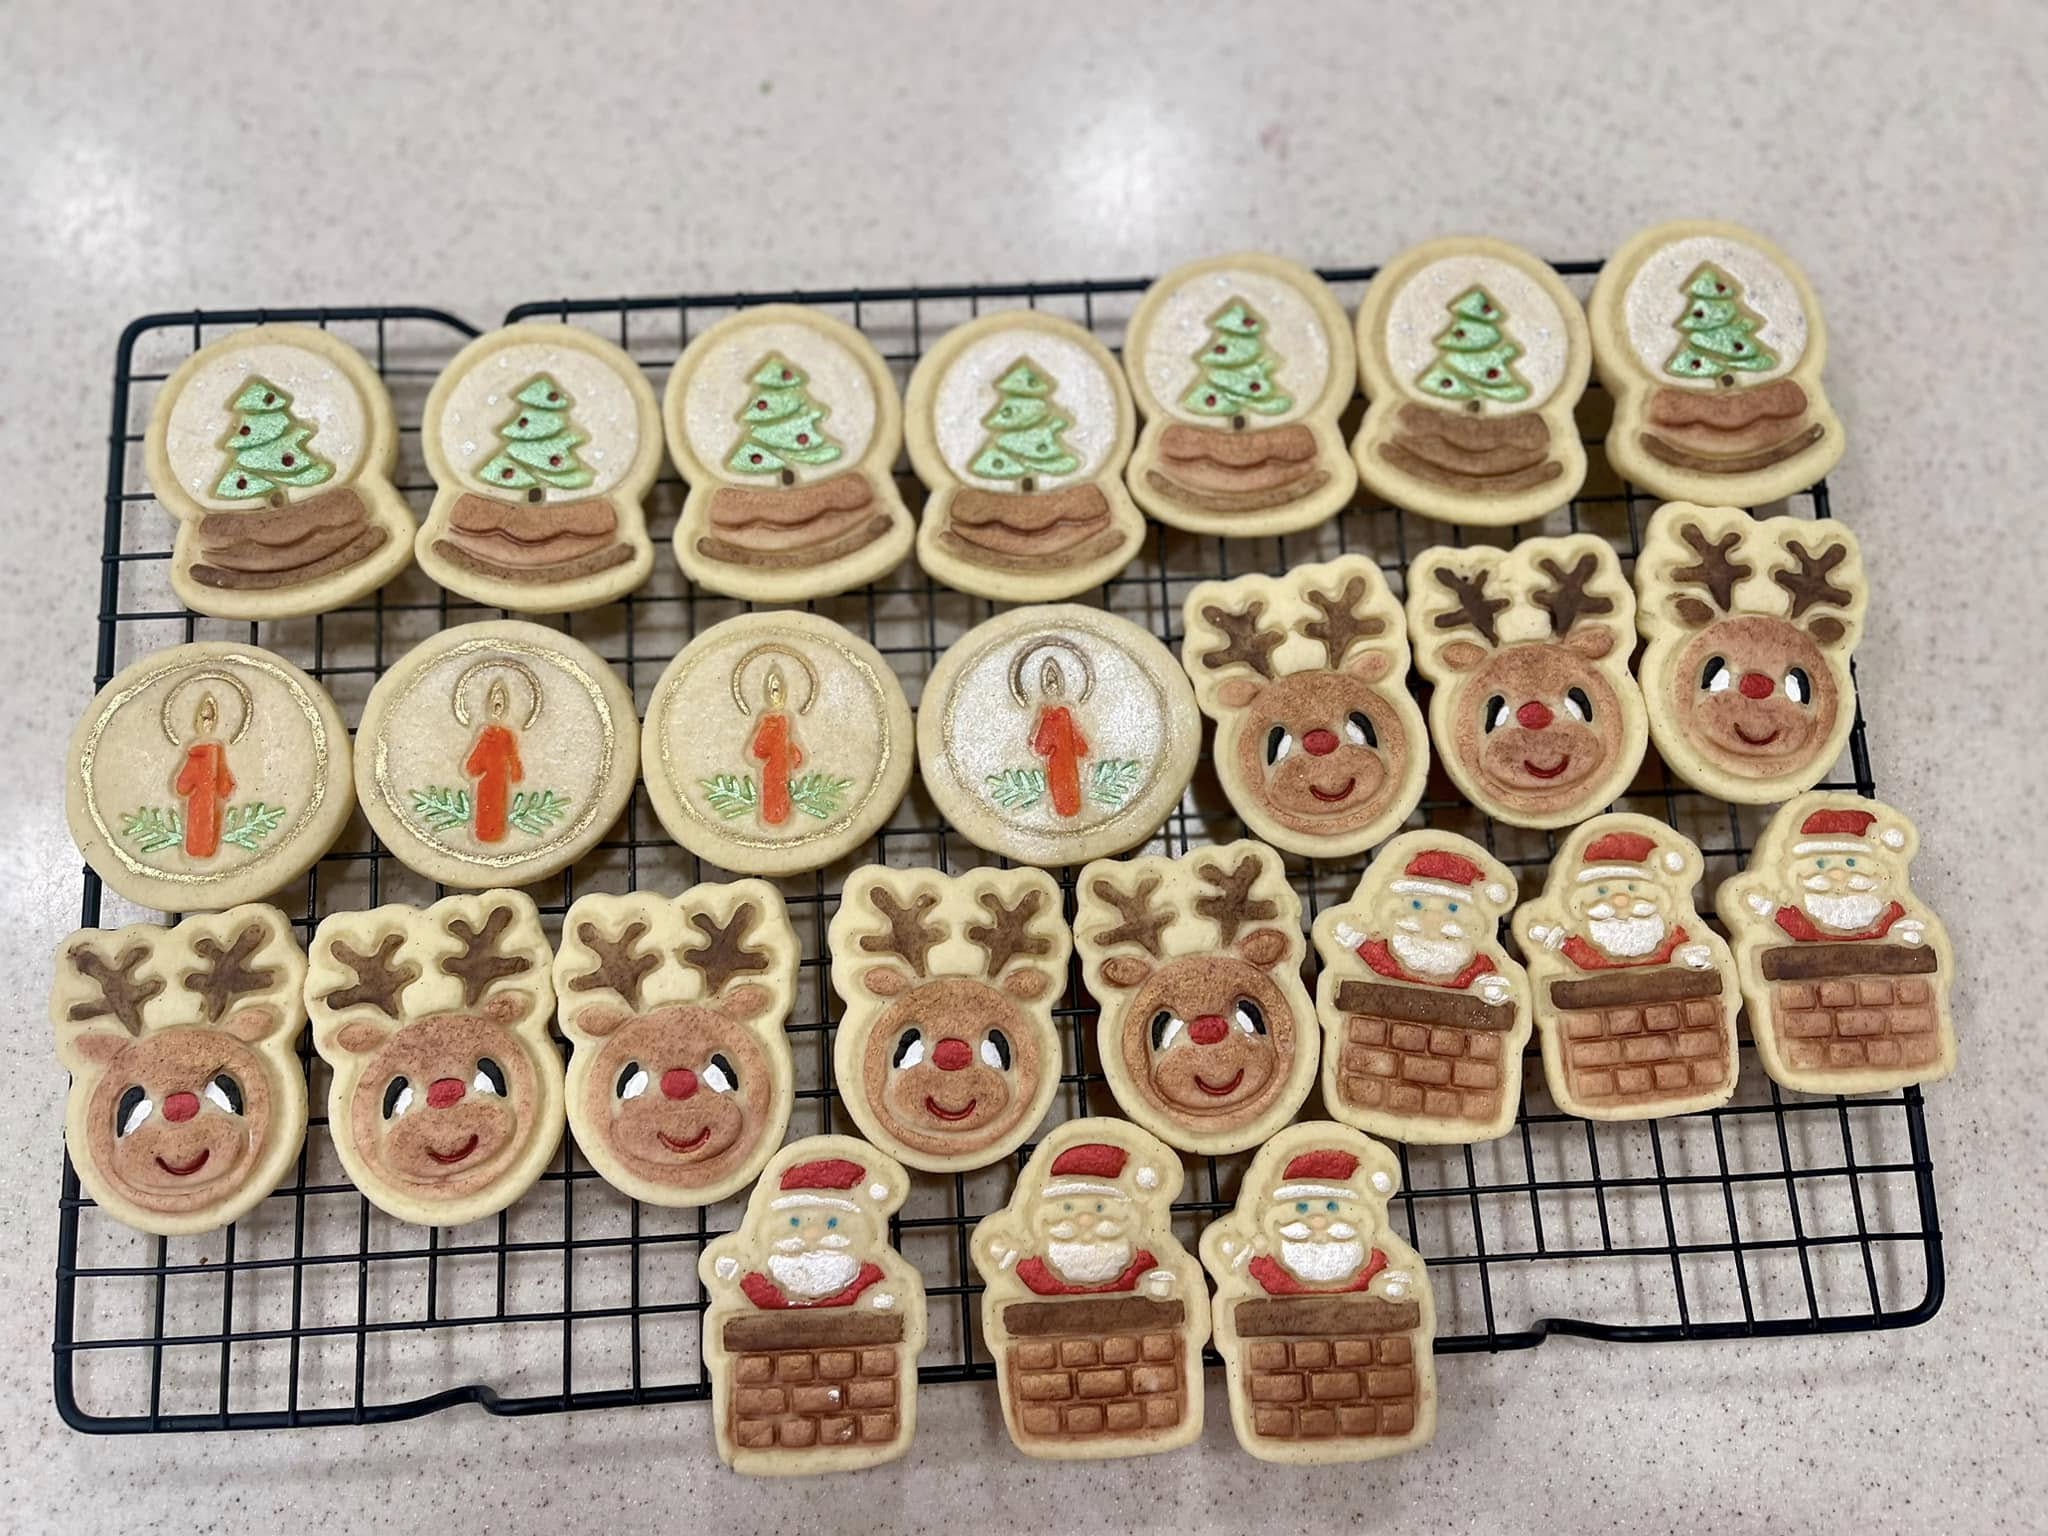
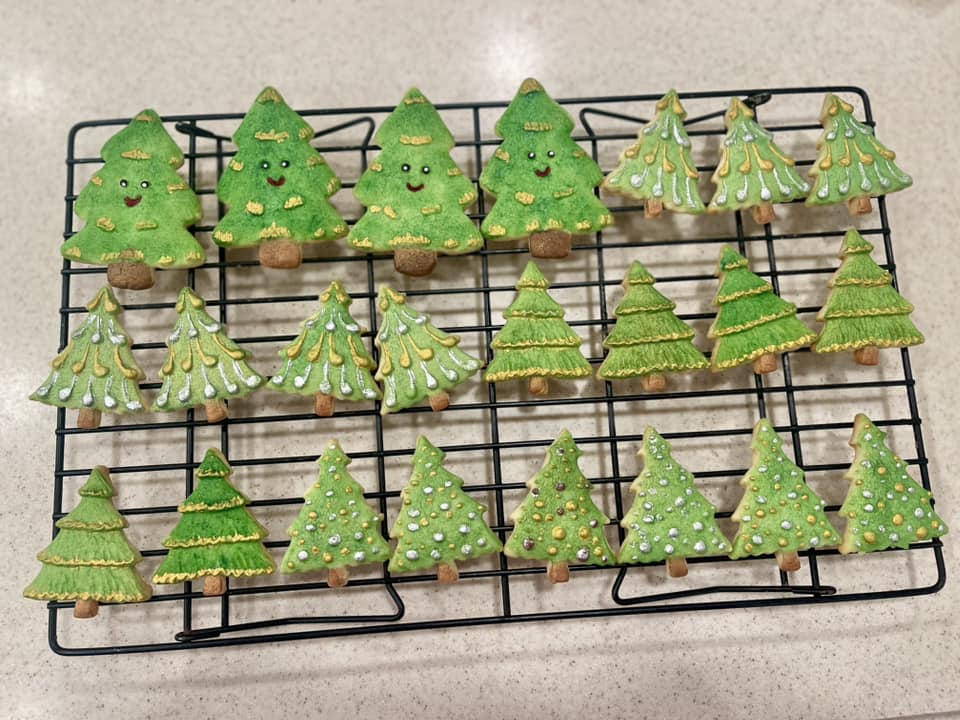
Why chill? Cold dough cuts cleaner sharp lines. If you try to cut soft dough, your reindeer antlers will drag and distort. It creates perfectly crisp shapes like the trees and snowmen shown below.
Step 7: Cut and Bake
Preheat your oven to 370°F (185°C).
-
Note: This specific temperature (370°F) is my sweet spot. It sets the edges quickly to stop spreading. Remove the dough from the fridge, peel off the top paper, and cut out your shapes. Place them on a parchment-lined cookie sheet. Bake for 12–14 minutes, or until the bottom is just starting to turn golden. Let them cool completely on the pan for 5 minutes before transferring to a wire rack. They need to be 100% cool before you start painting or icing.
Decorating: The Painted Look
As you can see in my photos, I love to go beyond basic sprinkles. These cookies are a canvas.
-
The “Knit” Texture: To achieve the sweater look on the mitten cookies or the little boy/girl faces, I use stiff royal icing piping to create small “V” shapes or lines that mimic yarn.
-
Metallic Accents: For the gold stars or the shimmer on the ornaments, I use edible luster dust mixed with a tiny drop of vodka (which evaporates quickly) to create a metallic paint.
-
Snow Globes: By piping a border and flooding the center, you can create a smooth surface to paint little trees or snowmen directly onto the dried icing.
Expert Tips for Perfect Shapes
-
Don’t Skip the Chill: If your dough gets soft while you are cutting out shapes, pop it back in the fridge for 10 minutes. Cold dough = sharp edges.
-
Keep Thickness Uniform: If some cookies are thin and others are thick, they will bake unevenly. Rolling guides (rings on your rolling pin) are a great investment.
-
Room Temp Eggs: Cold eggs can curdle the butter batter. Set them out with your butter 30 minutes before you start.
Variations to Try
While vanilla bean is my classic go-to, this dough takes flavor extracts beautifully.
-
Almond: Swap half the vanilla for almond extract for that classic “wedding cookie” flavor.
-
Lemon: Add the zest of one lemon to the butter/sugar mixture for a bright citrus note.
-
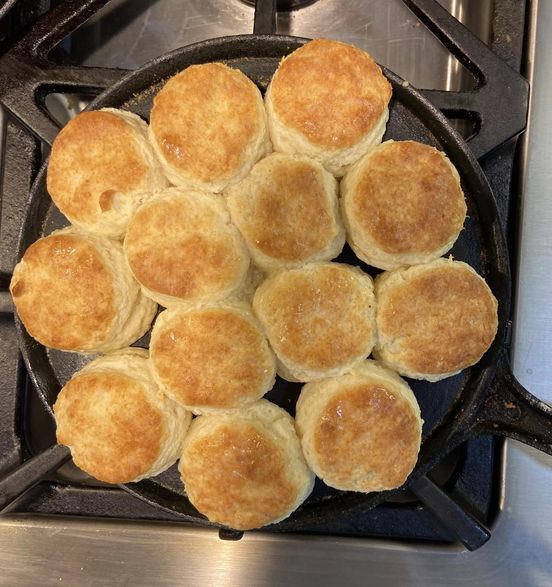
Spiced: Add a teaspoon of cinnamon and a pinch of nutmeg for a warm holiday spice flavor, similar to my Cast Iron Sugar Cookies with Royal Icing which have a lovely depth to them.
Storing Your Masterpieces
Unfrosted Cookies: These can be stored in an airtight container at room temperature for up to a week. They also freeze beautifully for up to 3 months.
Decorated Cookies: Once the icing or paint is completely dry, stack them in an airtight container with wax paper between the layers.
Freezing Dough: You can freeze the rolled-out slabs of dough! Just wrap them well. When you are ready to bake, let them thaw for just a few minutes until you can cut through them, cut your shapes, and bake. This is a huge time saver during the busy holiday rush.
If you love making holiday treats in bulk, you might also want to try my Italian Butter Cookies with Cherry Centers or explore my list of 3 Christmas Cookie Recipes You’ll Love for more inspiration.
FAQs
Why did my cookies spread? If they spread, the butter was likely too warm or the dough wasn’t chilled enough. Make sure your oven is fully preheated to 370°F before the pan goes in.
Do I have to use the extra yolk? No, you don’t have to. As I mentioned, I used this recipe for nearly 20 years with just one whole egg. However, if you want a slightly softer, richer crumb, the yolk makes a lovely difference.
Can I re-roll the scraps? Yes! Gather the scraps, press them together (don’t knead too much), roll them out between parchment, and chill them again before cutting.
What icing do you recommend? For the detailed painting and textures shown in the photos, you want a icing that dries hard. Royal icing is the standard. You can see how I use it for different effects in my Perfect Macarons & Royal Icing guide.
Conclusion
Whether you are painting intricate snow globes or just letting the kids go wild with sprinkles, this recipe is the foundation you need. It has been a part of my family for 20 years, and with the new little tweak of the egg yolk, I think it’s better than ever.
I hope you have as much fun decorating these as I did! If you try this recipe, please leave a comment below and let me know how it turned out. And don’t forget to pin these designs to your Christmas Cookie board for inspiration!
My 20-Year Painted Sugar Cookie Recipe
Ingredients
- 1 cup butter softened (room temperature)
- 1 cup white granulated sugar
- 1 large egg
- 1 large egg yolk optional, for richness
- 1 tsp vanilla bean paste or vanilla extract
- 2 tsp baking powder
- 3 cups all-purpose flour
Instructions
- Prep: Preheat your oven to 370°F (185°C). Sift the flour and baking powder into a medium bowl and set aside.
- Cream: In a large bowl or stand mixer, beat the softened butter and sugar until soft, pale, and fluffy.
- Wet Ingredients: Add the whole egg, the extra egg yolk (if using), and the vanilla bean paste. Beat well, scraping down the sides of the bowl to ensure everything is incorporated.
- Combine: Gradually add the sifted flour mixture to the wet ingredients. Mix on low speed just until a dough forms and pulls away from the sides. Do not overmix.
- Roll: Divide the dough in half. Place each half between two sheets of parchment paper (or plastic wrap). Roll out to approximately 1/4 inch thickness.
- Chill: Place the rolled-out dough sheets (still in the paper) onto a cookie sheet and refrigerate for at least 30-60 minutes until firm.
- Cut: Peel off the top layer of paper. Use cookie cutters to cut out your desired shapes. Place them on a parchment-lined baking sheet. (Re-roll scraps and chill again if they get soft).
- Bake: Bake at 370°F for 12–14 minutes. You are looking for the bottoms to be lightly golden, but the tops should remain pale.
- Cool: Allow to cool on the baking sheet for 5 minutes, then transfer to a wire rack to cool completely before decorating.
Notes