Old Fashioned Pecan Tassies: The Best “No-Mess” Method
If you browse through enough vintage recipe boxes, you are bound to find a card titled “Pecan Tassies” or “Tea-Time Tassies.” They are a holiday staple for a reason—essentially bite-sized pecan pies wrapped in a tender, tangy cream cheese pastry.
But if you have ever made them the traditional way, you know the struggle: pressing sticky dough balls into tiny muffin tins with your thumbs until your hands cramp, and then spooning gooey filling that inevitably drips everywhere and burns onto the pan.
Today, I’m sharing my family’s version of this classic. While the recipe card itself—titled simply “My Favorite Recipe”—is rudimentary, the method I use has been upgraded. I’ve ditched the thumb-pressing for a faster roll-and-cut technique, and I have a secret weapon for the filling (a condiment bottle!) that makes the process completely mess-free.
Whether you call them tassies, nut cups, or mini pecan pies, these are about to become the easiest cookie on your holiday tray.
Why You’ll Love This Smarter Method
This recipe keeps all the vintage flavor but fixes the clumsy workflow of the past.
-
The “Condiment Bottle” Hack: This is the game-changer. By putting the filling in a squeeze bottle, you can fill 50 tart shells in seconds with zero drips.
-
Uniform Crusts: Instead of pressing balls of dough (which leads to thick bottoms and thin sides), we roll the dough and cut it. This guarantees every bite has the perfect ratio of crust to filling.
-
No Mixer Required for Filling: To keep the tops from cracking, we treat the filling gently. No heavy beating means a silky, smooth texture.
-
Cream Cheese Pastry: The crust is essentially a rugelach dough—only three ingredients (butter, cream cheese, flour)—making it rich and flaky without being fussy.
Ingredients for Old Fashioned Tassies
The original card calls for “oleo” (margarine), which was standard for mid-century baking, but we strictly use butter for the best flavor.
-
Cream Cheese: Use full-fat brick cream cheese, softened to room temperature so it blends seamlessly with the butter.
-
Butter: You need butter for both the crust and the filling. Salted or unsalted works, but if you use unsalted, add a pinch of salt to the dough.
-
Flour: Standard all-purpose flour works perfectly. Note: I have also had great success making these gluten-free using a 1:1 gluten-free flour blend (like King Arthur Measure for Measure).
-
Brown Sugar: This creates that deep caramel flavor reminiscent of classic pecan pie.
-
Eggs: Four large eggs give the filling its custard-like structure.
-
Nuts: Finely chopped pecans are traditional, but walnuts work beautifully too.
-
Flavor Enhancers: While the original card didn’t list them, I always add a splash of vanilla extract and a pinch of flake salt to the filling. It cuts the sweetness and adds depth.
If you love these rich, nutty flavors, you might also want to try my Bourbon Pecan Pie Recipe, which offers a similar taste in a full-sized dessert.
Step-by-Step Instructions
1. Make the Cream Cheese Dough
In a medium bowl, mix together the softened butter, cream cheese, and flour until a soft dough forms. You don’t need to chill this dough—it is ready to work with immediately!
2. Roll and Cut (The Better Way)
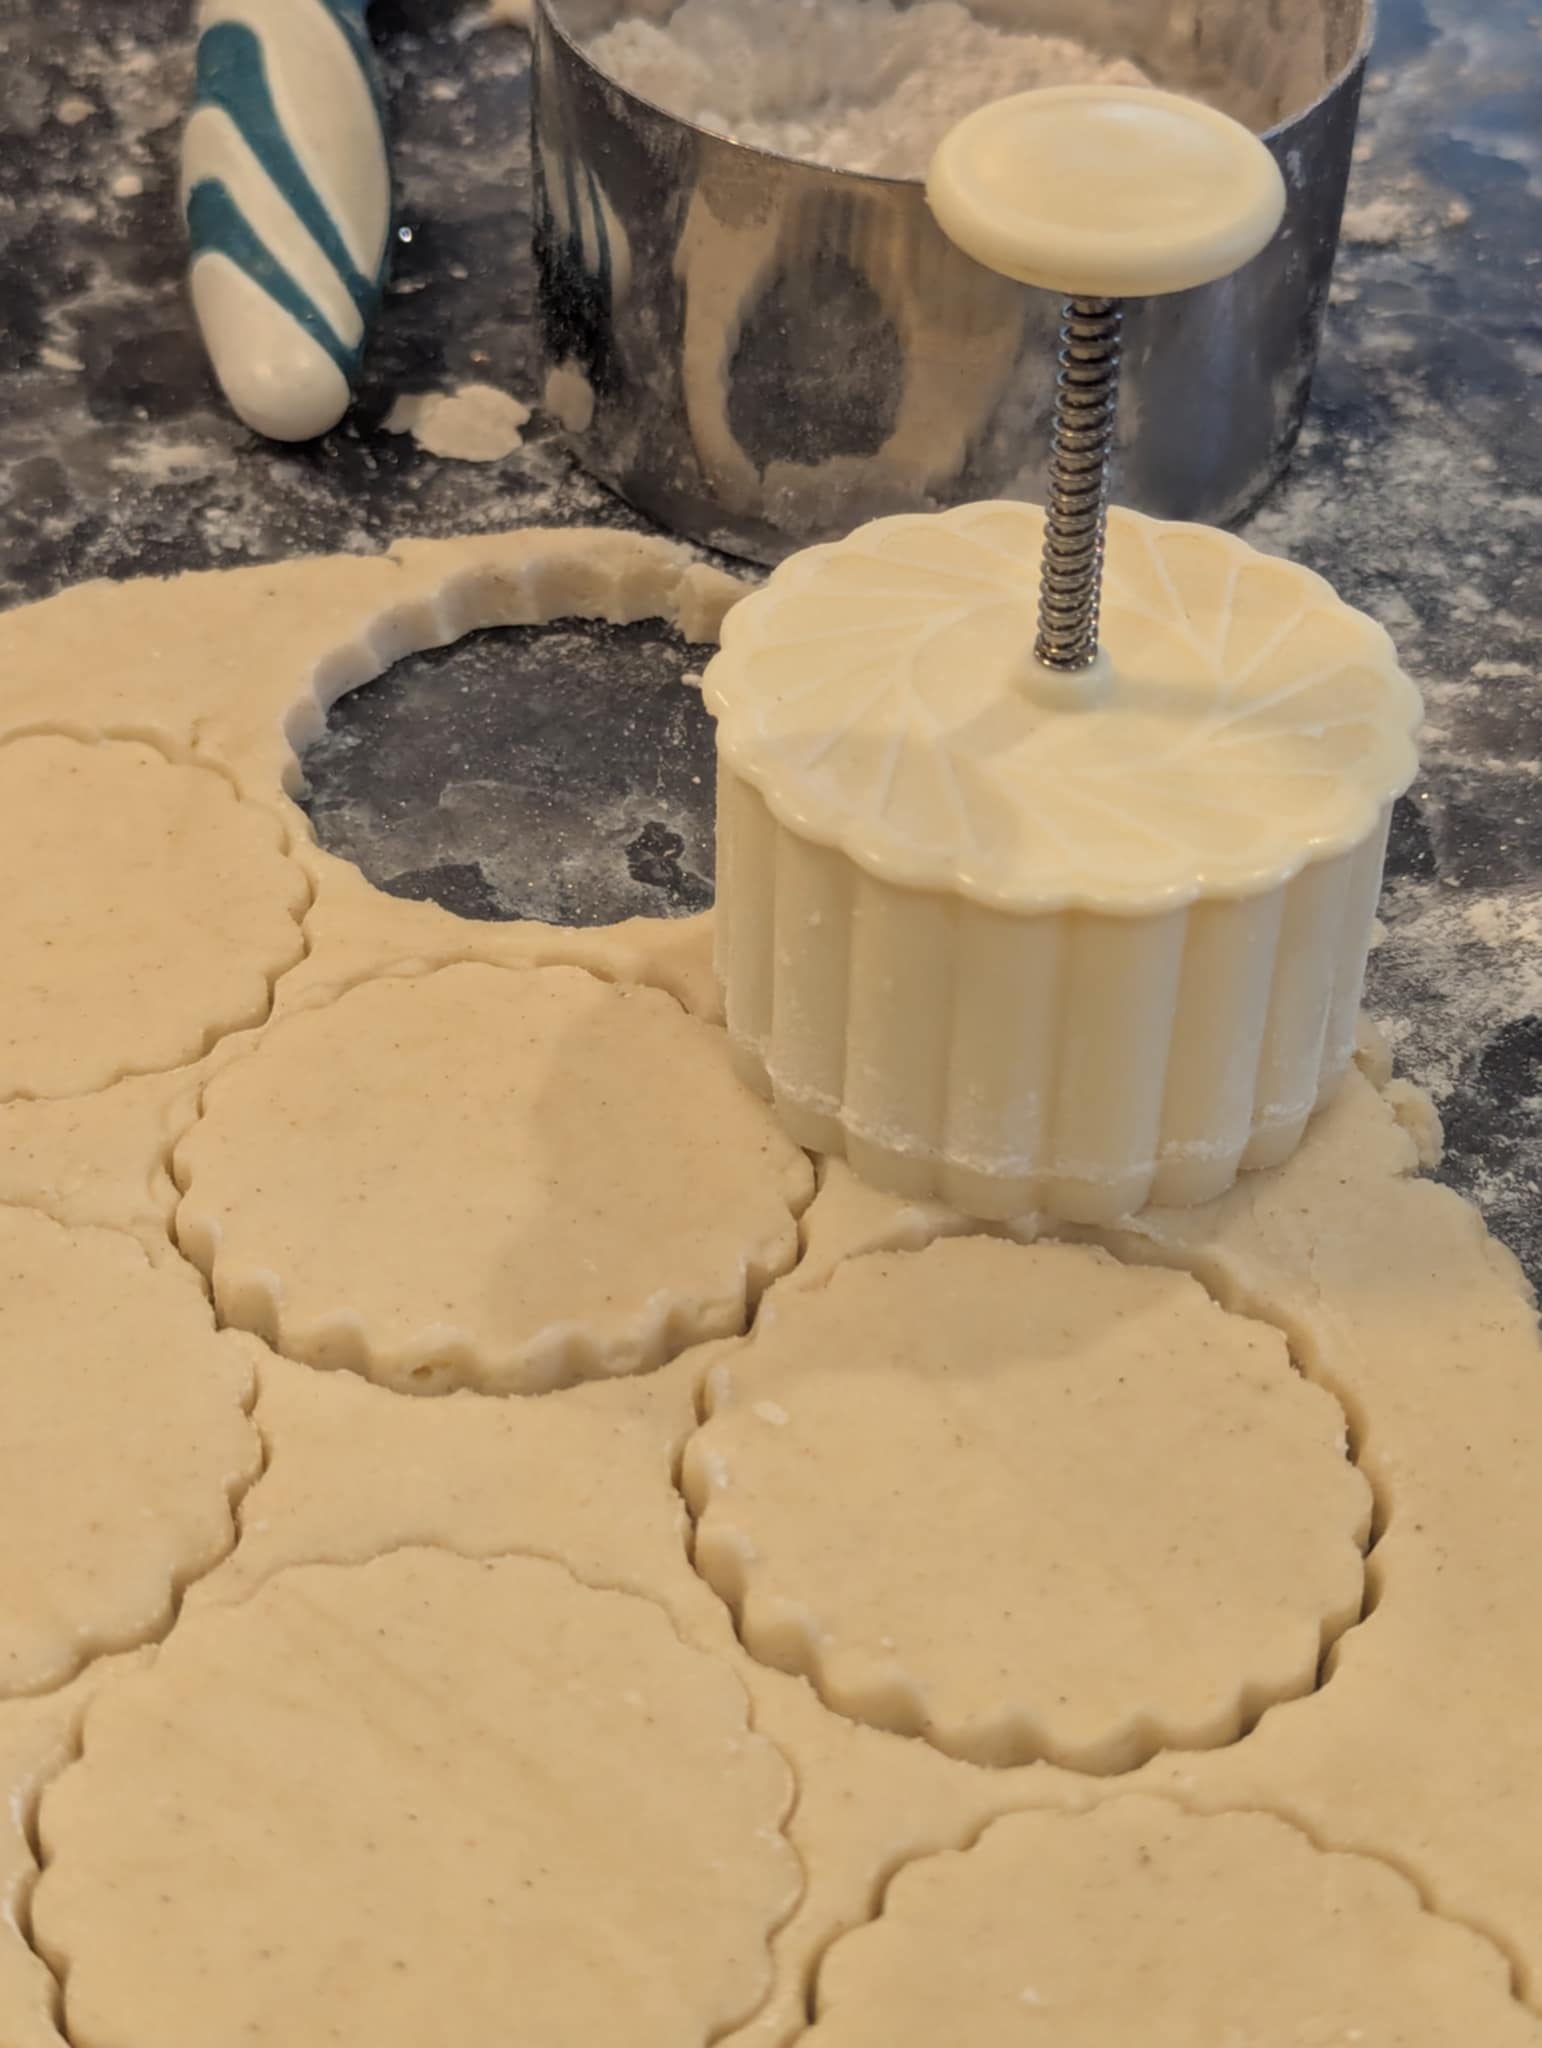
Instead of pinching off balls of dough, dust your surface with flour and roll the dough out to approximately 1/8-inch thickness. Using a 2-inch round cutter (scalloped or plain), cut out your circles. The flour on the bottom of the dough helps the baked tassies pop right out of the pan later.
Tip: If you enjoy using cutters for festive treats, check out my Christmas Cookie Recipes Family Tradition for more holiday baking ideas.
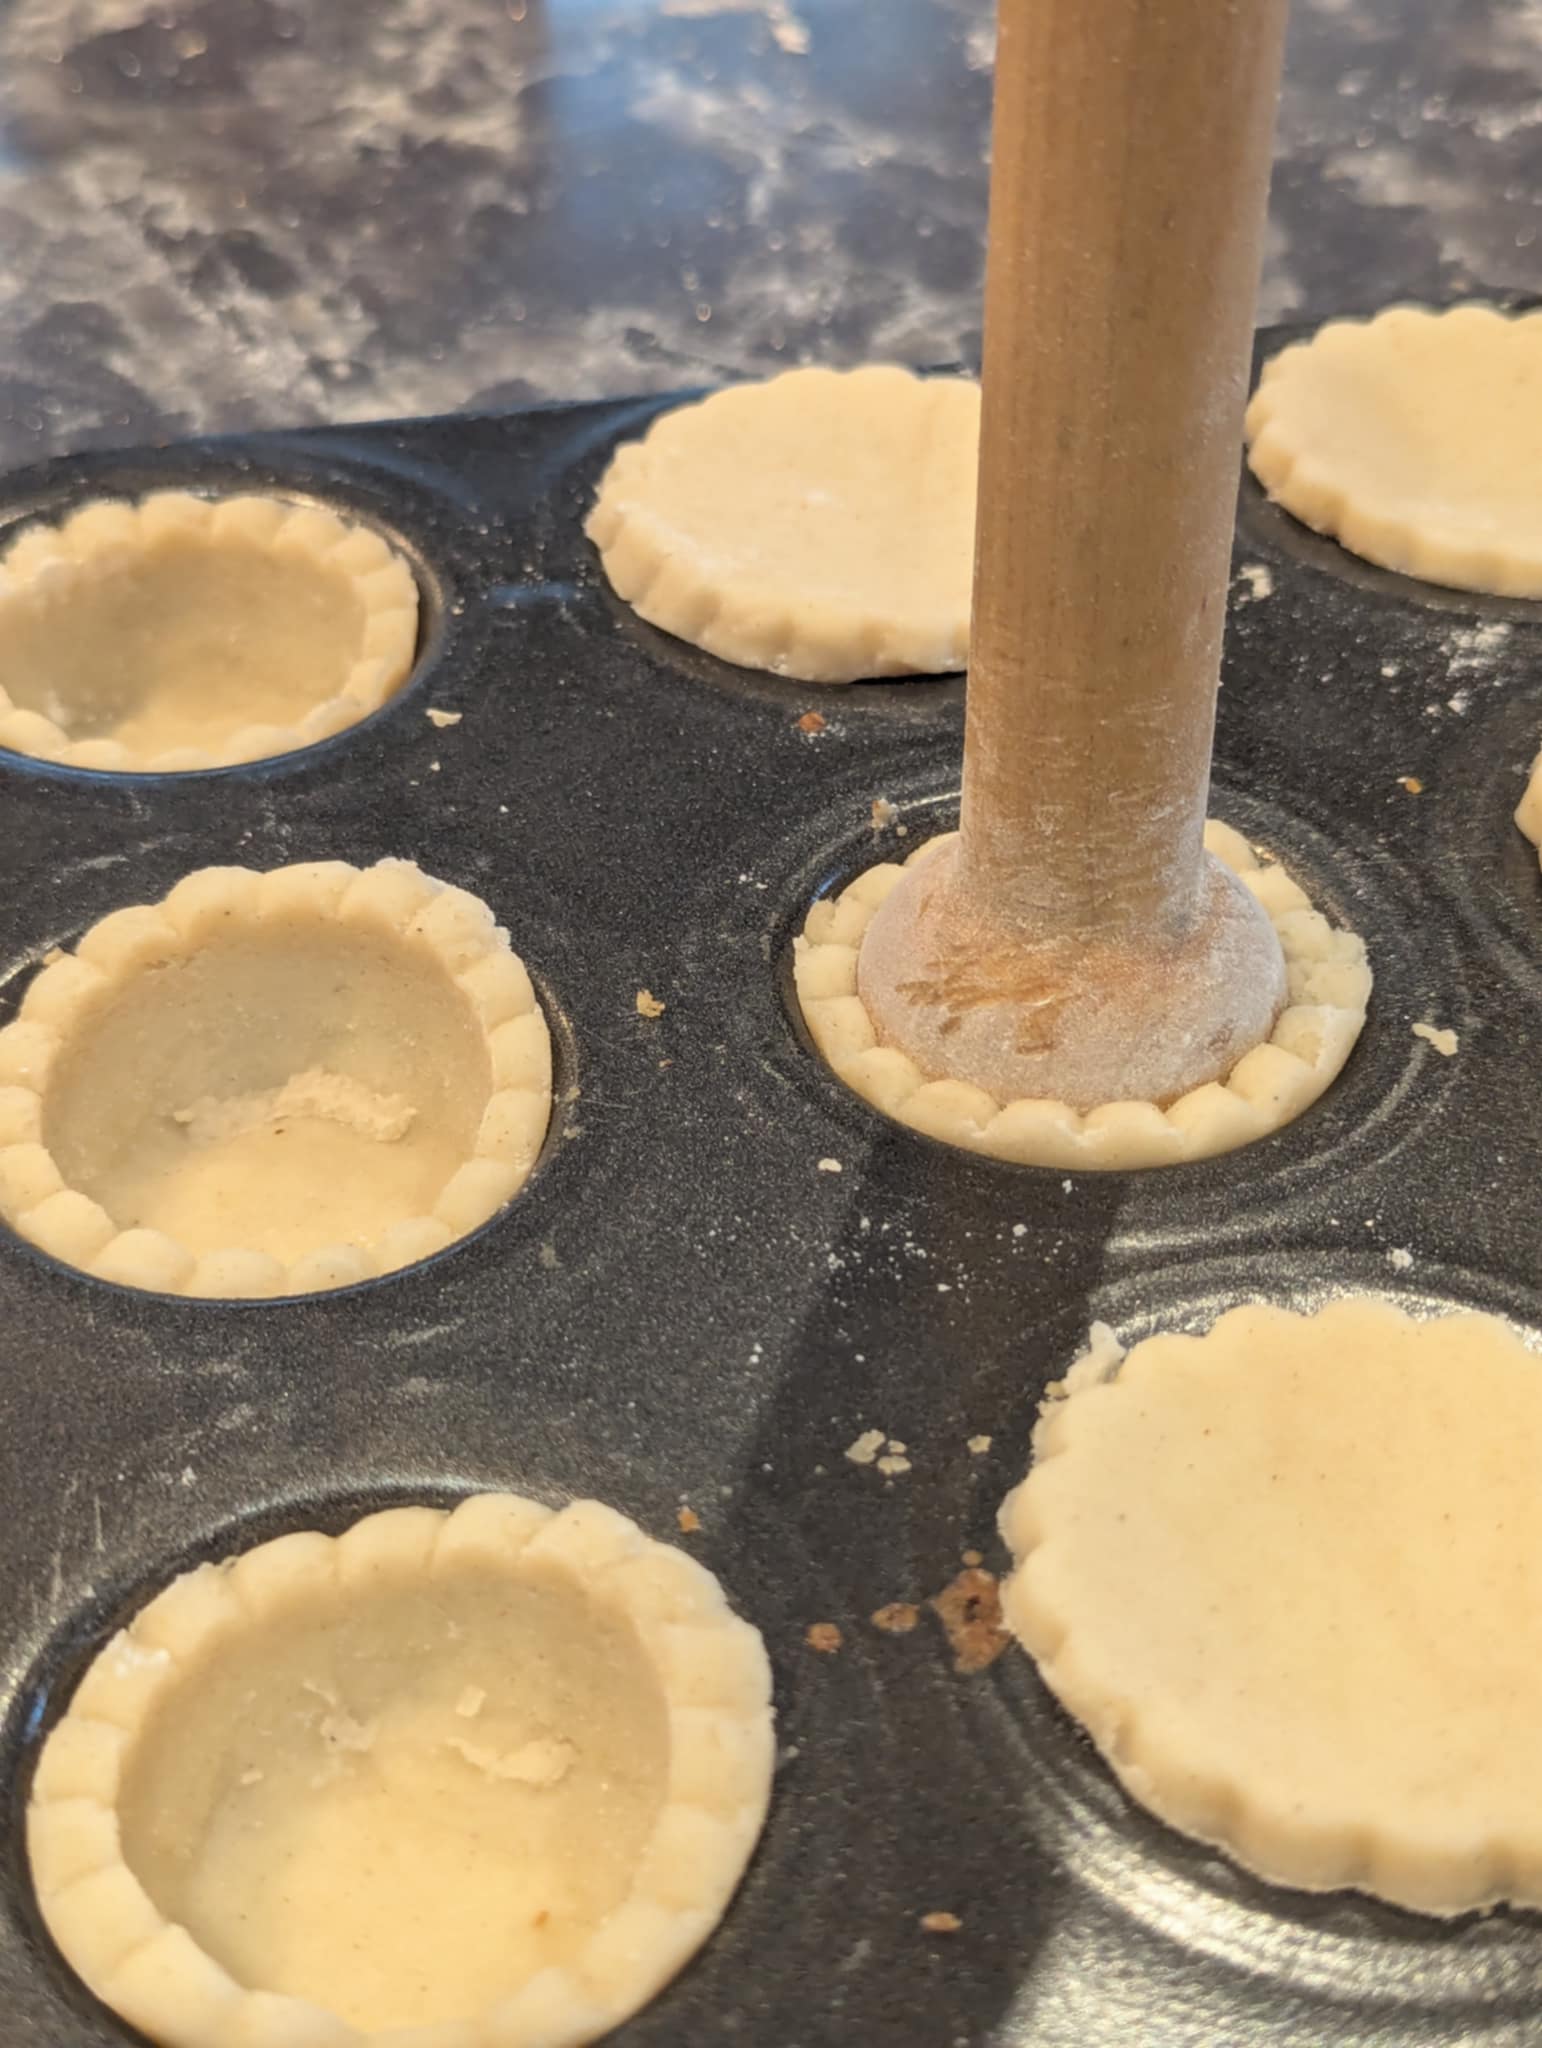
3. Shape the Tarts
Place a dough circle over each cavity of your mini muffin pan. Use a tart tamper (or the back of a measuring spoon/your thumb) to gently press the dough down into the bottom and up the sides. Because you rolled it, the thickness will be perfectly even.
4. The “No-Air” Filling
In a bowl, combine the eggs, brown sugar, melted butter (2 tbsp), vanilla, and salt. Crucial Step: Do not use an electric mixer. Whisk gently by hand. Incorporating too much air causes the filling to puff up rapidly in the oven and then collapse, leading to cracked, sunken tops. We want a dense, gooey custard.
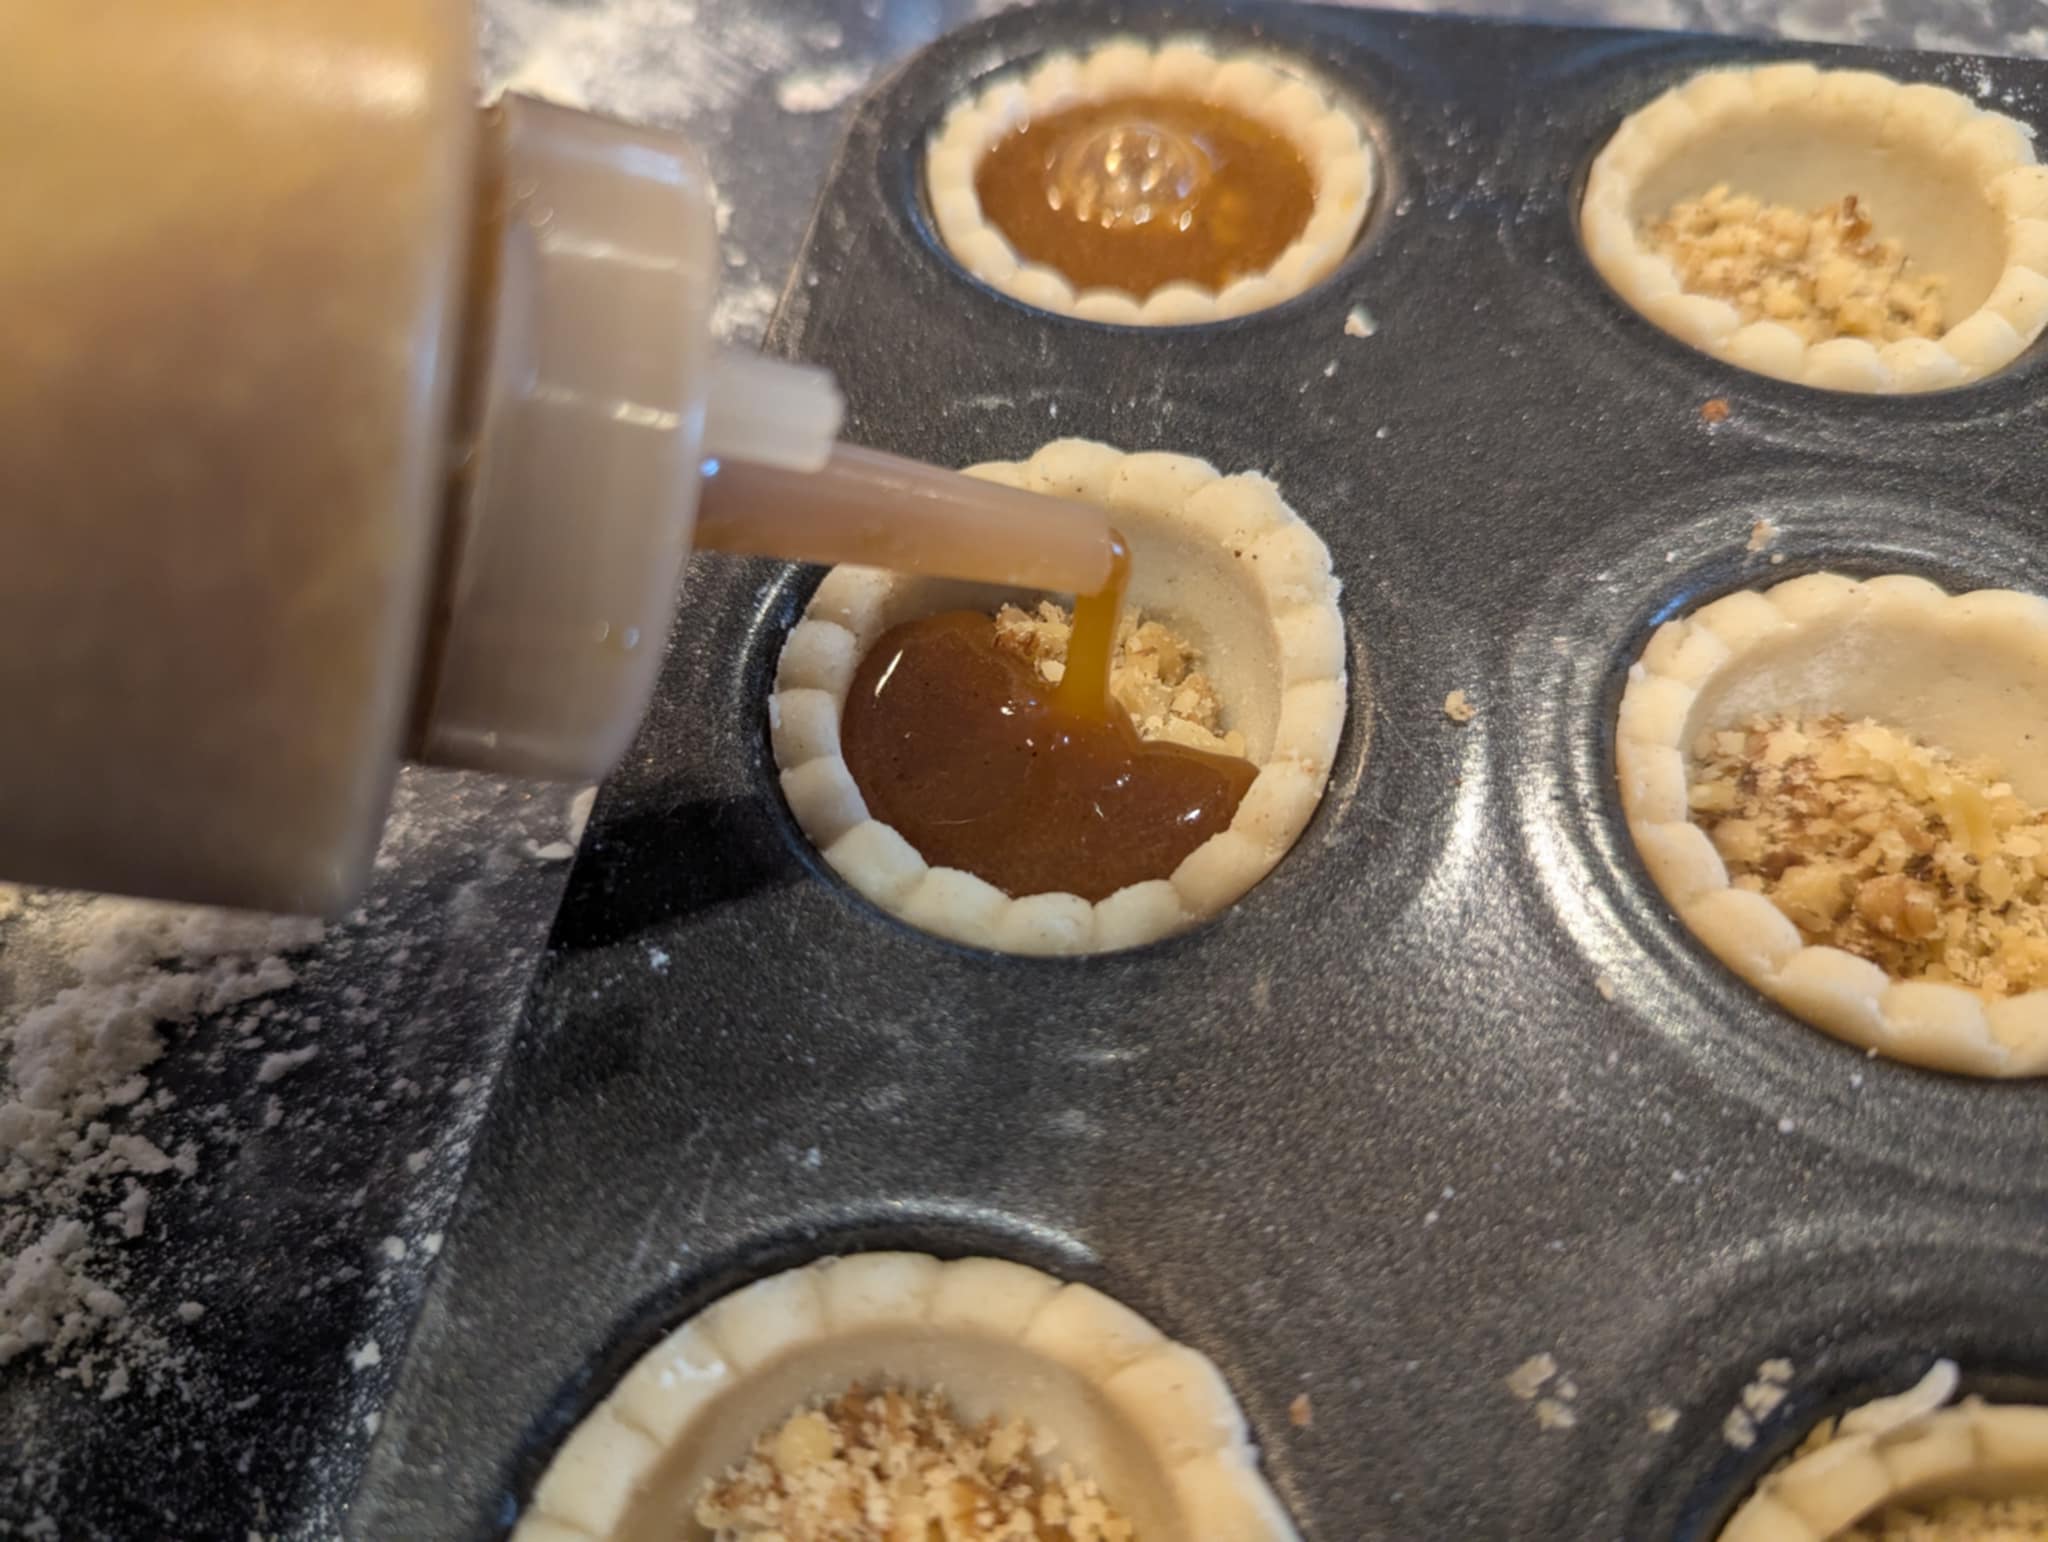
5. The Condiment Bottle Trick
Pour your filling into a plastic condiment squeeze bottle. You will likely need a funnel for this—if your nuts are in the filling, you’d need a wide tip, but I prefer the method below:
The Two-Step Fill:
-
Place about 1 teaspoon of chopped nuts directly into the bottom of each unbaked crust.
-
Snip the tip of your condiment bottle to make the opening wider if needed.
-
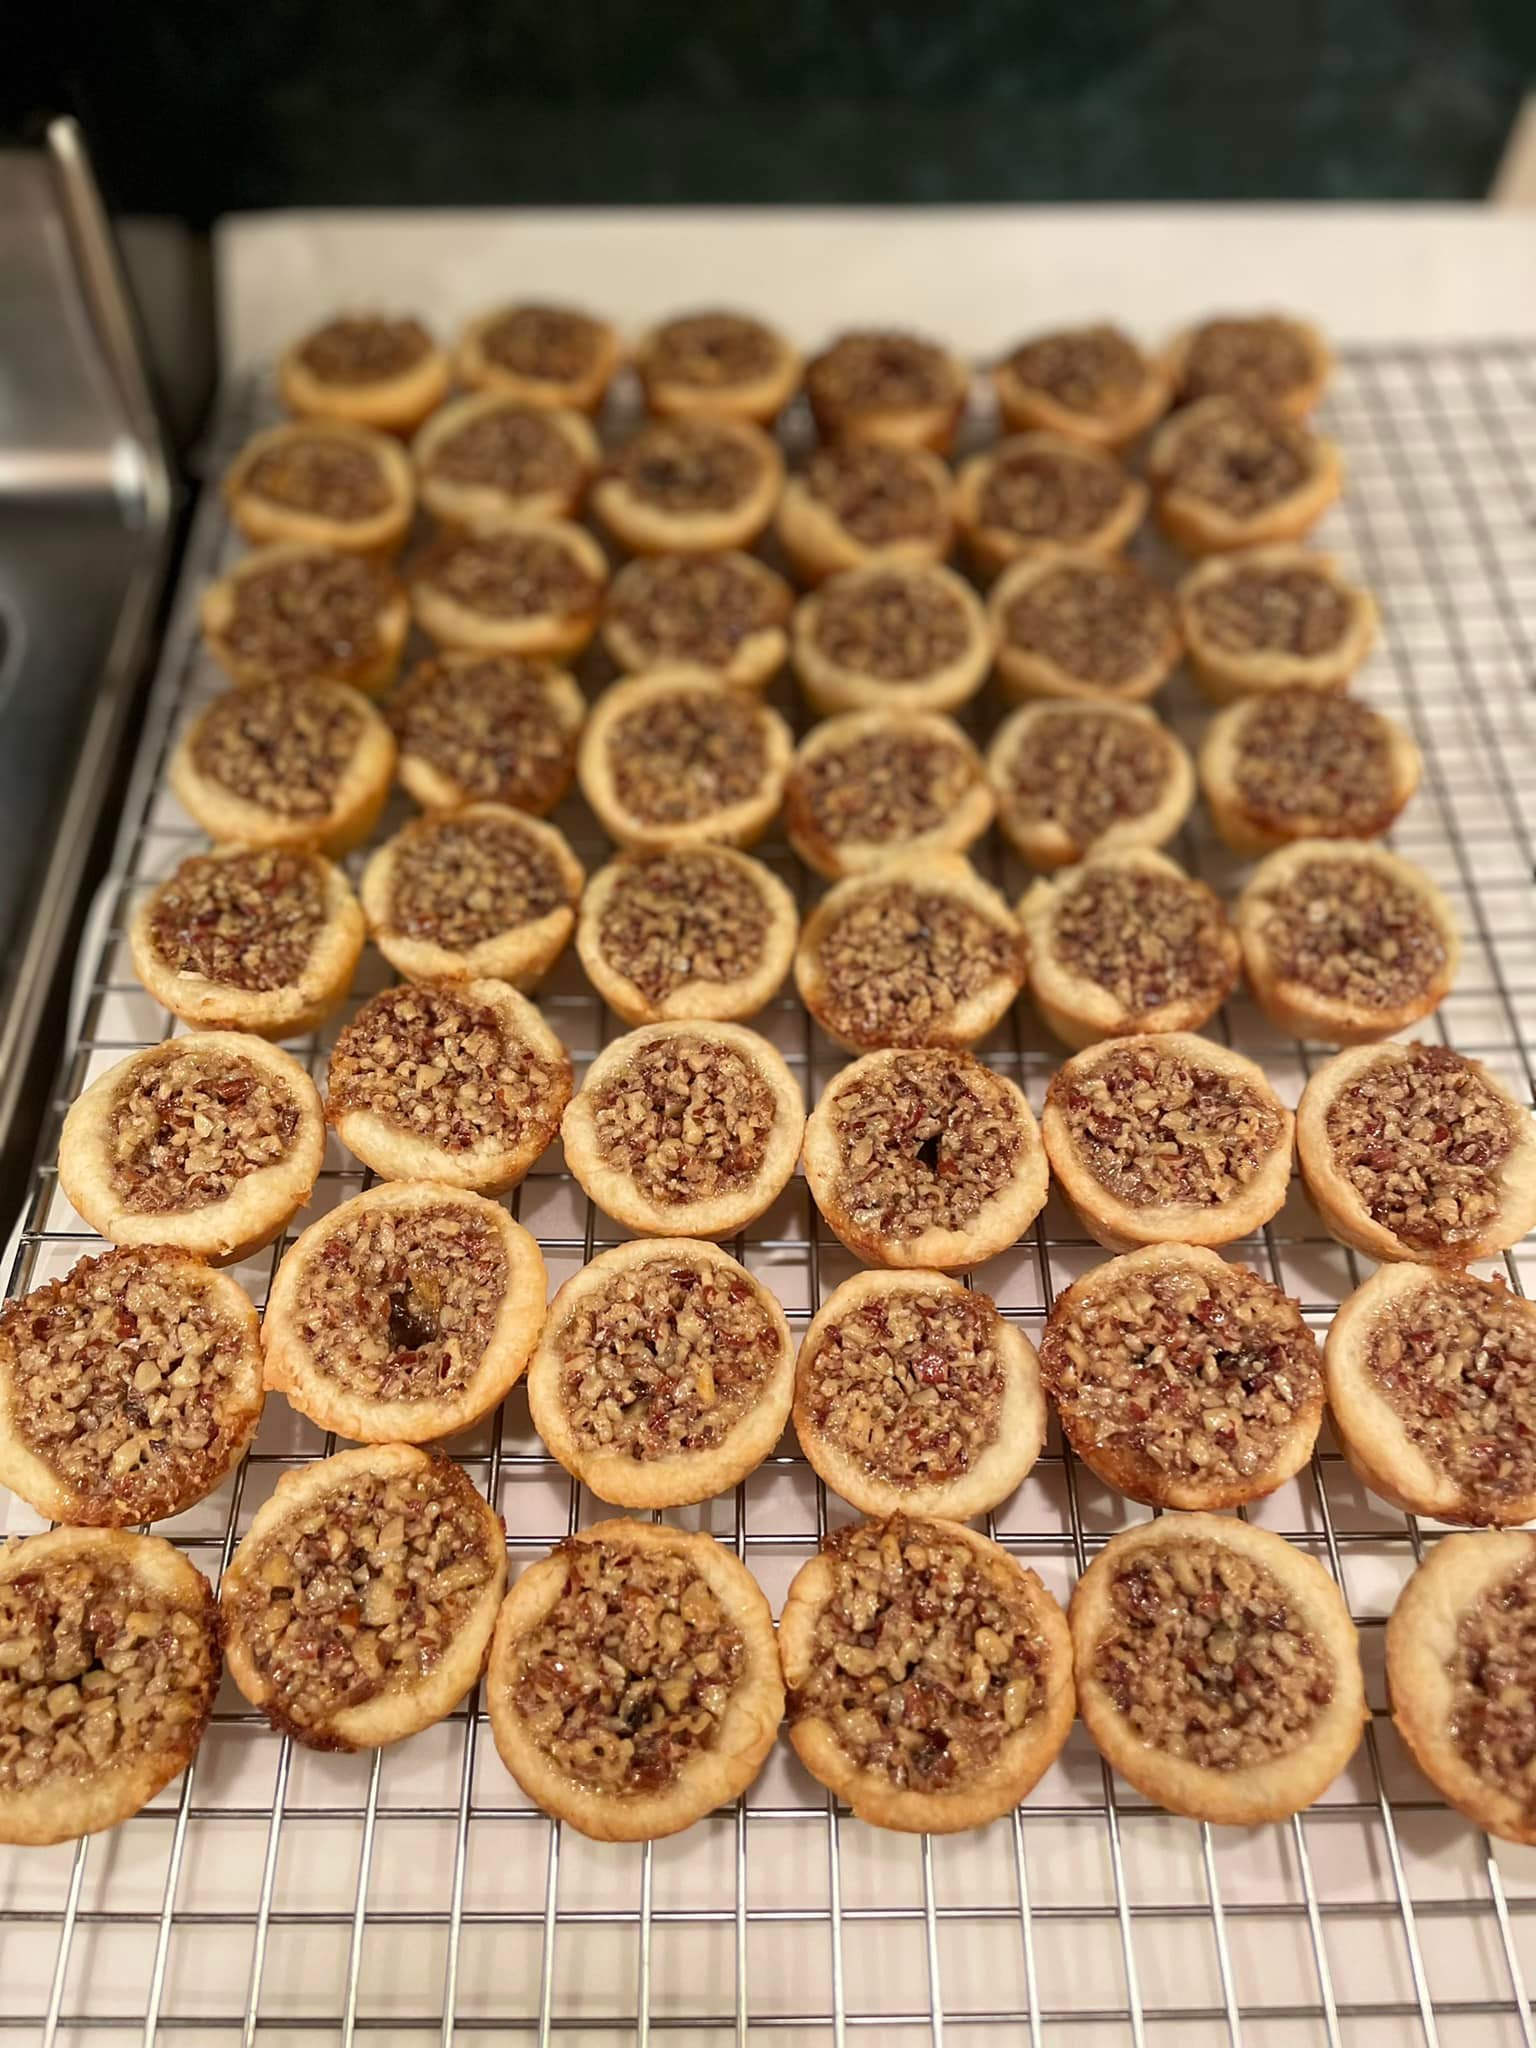
Squeeze the filling over the nuts, filling each cup quite high (see photos). The liquid will settle around the nuts.
6. Bake
Bake at 350°F for 15–20 minutes. Keep an eye on the crust edges. When they are light golden brown, they are done. I like to use the tip of a sharp knife to gently lift one tassie just to peek—if the bottom crust is golden, they are ready.
Expert Tips for Success
-
Gluten-Free Friendly: As mentioned, I made the batch pictured here with gluten-free flour. You may need to roll the dough slightly thicker than standard flour, but the cream cheese keeps it pliable and delicious.
-
Don’t Over-Bake: Over-baking makes the filling chewy rather than gooey. Pull them when the center is still slightly soft; they will set as they cool.
-
Removal: Let them cool in the pan for about 10 minutes. If you used enough flour when rolling, they should twist right out. If any filling dripped and caramelized on the pan, run a thin knife around the edge while they are still warm.
If you have leftover cream cheese, you can use it up by making these Easy Sausage Balls with Cream Cheese for a savory counterpoint to the sweet tassies.
Variations
-
Chocolate Tassies: Place a few mini chocolate chips in the bottom with the pecans for a “Derby Pie” vibe.
-
Coconut: Swap the pecans for shredded coconut.
-
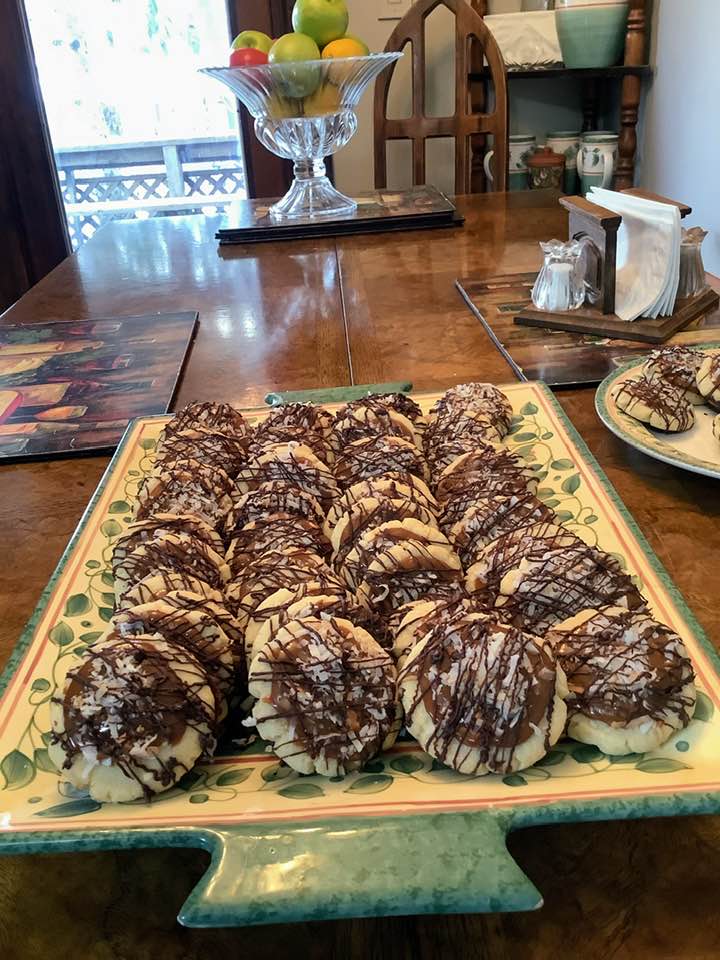
Salted Caramel: Drizzle the finished (cooled) tassies with a little salted caramel sauce.
Storage and Freezing
These are one of the best “make-ahead” cookies for the holidays.
-
Room Temperature: Store in an airtight container for up to 5 days.
-
Freezing: Tassies freeze beautifully. Place them in a single layer in a freezer container with parchment paper between layers. They can be frozen for up to 3 months. Thaw on the counter for 30 minutes before serving.
FAQs
Q: Can I use a regular muffin tin? A: This recipe is designed for mini muffin tins (tassie pans). If you use a standard muffin tin, you will need to adjust the baking time (likely 25+ minutes) and you will get far fewer tarts.
Q: Why did my filling sink? A: Usually, this is due to mixing too much air into the eggs (using an electric mixer) or under-baking them slightly.
Q: Can I use walnuts instead? A: Absolutely. Walnuts are a very traditional substitute and cut the sweetness slightly more than pecans.
Conclusion
This Old Fashioned Pecan Tassie recipe proves that you don’t have to reinvent the wheel to make it roll smoother. With the condiment bottle hack and a trusty rolling pin, you can churn out dozens of these buttery, nutty gems in record time.
Do you have a favorite “smart hack” for holiday baking? Let me know in the comments below! And if you try this no-mess method, I’d love a star rating.

Old Fashioned Pecan Tassies (No-Mess Method)
Ingredients
- For the Cream Cheese Crust:
- 1 cup 2 sticks butter, softened (do not use margarine/oleo)
- 6 oz cream cheese softened
- 2 cups all-purpose flour or 1:1 Gluten Free blend
- For the Pecan Filling:
- 4 large eggs
- 2 cups brown sugar packed
- 2 tbsp butter melted
- 1 tsp vanilla extract
- Pinch of flake salt
- 1 cup finely chopped pecans or walnuts
Instructions
- Preheat: Preheat your oven to 350°F (175°C).
- Make the Dough: In a medium bowl, mix the softened butter, cream cheese, and flour until a soft dough forms. (No need to chill!)
- Roll and Cut: On a floured surface, roll the dough out to approximately 1/8-inch thickness. Using a 2-inch round cutter (scalloped or plain), cut out your circles.
- Shape: Place a dough circle over each cavity of an ungreased mini muffin pan. Use a tart tamper (or your thumb/measuring spoon) to gently press the dough into the bottom and up the sides.
- Mix Filling (By Hand): In a separate bowl, whisk together the eggs, brown sugar, melted butter, vanilla, and salt. Do not use an electric mixer, as adding too much air will cause the tops to crack.
- Fill: Place about 1 teaspoon of chopped nuts into the bottom of each unbaked crust. Pour the filling mixture into a plastic condiment squeeze bottle (using a funnel). Squeeze the filling over the nuts, filling each cup almost to the top.
- Bake: Bake for 15–20 minutes. They are done when the crust edges are light golden brown. (You can gently lift one with a knife tip to check if the bottom is golden).
- Cool: Let them cool in the pan for about 10 minutes, then twist gently to remove. Transfer to a wire rack to cool completely.
Notes