No-Bake Little Debbie Christmas Tree Cake Balls
The Ultimate Holiday Nostalgia in a Single Bite
When the holiday season rolls around, there is one iconic treat that instantly brings back the magic of childhood: Little Debbie Christmas Tree Cakes. Unwrapping that crinkly plastic to reveal the soft, vanilla-coated, tree-shaped cake is a beloved seasonal tradition. This year, we are taking that classic nostalgic flavor and transforming it into an elegant, bakery-style truffle that will completely steal the show at your next holiday party.
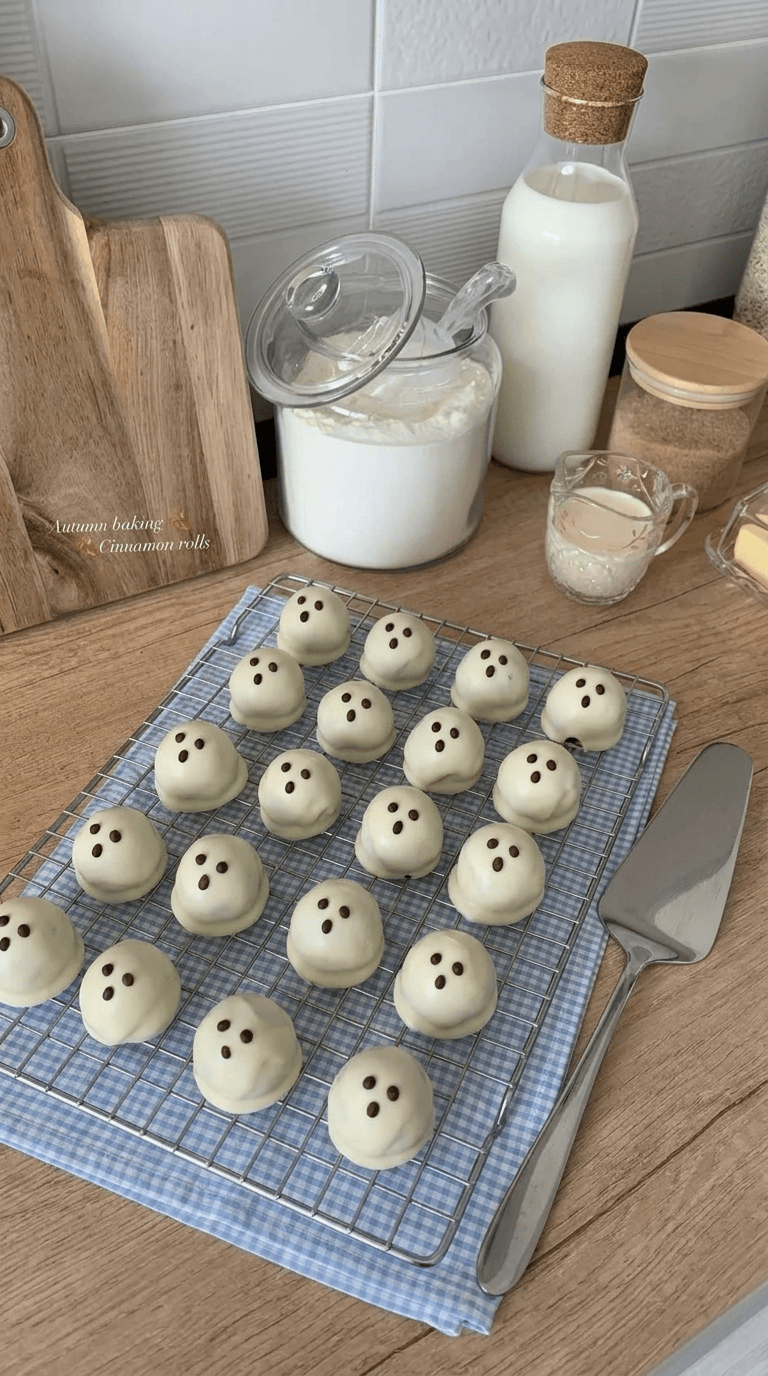
These Little Debbie Christmas Tree Cake Balls take everything you love about the original snack cake and upgrade it into a rich, decadent bite. By mashing the pre-made snack cakes with a touch of softened cream cheese, you create a dense, gooey, and perfectly sweet cake truffle interior. They are then dipped in a smooth white chocolate coating and finished with a festive red drizzle and a sprinkle of green sugar crystals to mimic the iconic look of the original trees.
The absolute best part about this recipe is that it is completely no-bake. When your oven is already working overtime roasting turkeys and baking classic holiday pies, having a stunning, fuss-free dessert in your arsenal is a lifesaver. It is also a fantastic, messy-in-a-good-way kitchen project to share with family—my daughter absolutely loves helping crumble the soft cakes and rolling the sticky dough into perfect little rounds.
Why You’ll Love This Recipe
-
Zero Baking Required: Free up your valuable oven space! These truffles rely entirely on store-bought snack cakes and a quick chill in the freezer.
-
Only 4 Ingredients: You only need a box of snack cakes, cream cheese, candy melts, and some festive sprinkles to pull these together.
-
Make-Ahead Friendly: These cake balls store beautifully in the refrigerator or freezer, making them the perfect prep-ahead holiday party dessert.
-
Kid-Friendly Project: Rolling the dough and adding the green sprinkle topping is incredibly fun and easy for little hands.
-
Iconic Flavor: They deliver that exact, nostalgic vanilla and frosting flavor of the classic Christmas trees, just in a richer, denser, and creamier format.
Ingredients
-
Little Debbie Christmas Tree Cakes: One standard 5-pack box of the classic vanilla Christmas tree cakes. You do not need to scrape the frosting off; use the entire cake.
-
Cream Cheese: Three to four ounces of full-fat cream cheese, softened to room temperature. This binds the cake crumbs together and cuts through the sweetness.
-
White Candy Melts: One 12-ounce bag of white candy melts or white vanilla almond bark. This melts much smoother than standard white chocolate chips for dipping.
-
Red Candy Melts: A small handful of red candy melts or red decorating icing to create the signature zig-zag drizzle over the top.
-
Green Sanding Sugar: Classic green sugar sprinkles to add that iconic sparkling finish just before the chocolate sets.
Step-by-Step Instructions
Step 1: Prepare Your Station
Start by lining a large baking sheet with parchment paper or a silicone baking mat. Having a non-stick surface ready to go is crucial because once you start rolling and dipping the sticky cake balls, you won’t want to stop to prep a pan.
Step 2: Crumble the Snack Cakes
Unwrap all five of the Little Debbie Christmas Tree Cakes and place them into a large mixing bowl. Using your hands, break the soft cakes apart into rough pieces. You want to crumble them up entirely, including the white coating, the cake interior, and the creamy filling.
Step 3: Mix with Cream Cheese
Add the softened cream cheese to the bowl with the crumbled cakes. Grab a sturdy stainless steel spatula and aggressively fold and press the mixture together. Keep mixing and mashing until the cream cheese is completely seamlessly incorporated and a thick, sticky dough forms. You should not see any large white streaks of unmixed cream cheese.
Step 4: Scoop and Roll
Using a small cookie scoop or a measuring spoon, portion out mounds of dough that are about one tablespoon in size. Roll the dough briefly and gently between the palms of your hands to create perfectly smooth, round balls. Place the formed cake balls onto your prepared baking sheet.
Step 5: Chill the Cake Balls
Place the baking sheet full of cake balls directly into the freezer for 30 to 45 minutes. Do not skip this step! The cake balls must be very cold and firm before dipping, otherwise, they will fall apart and melt into the warm candy coating.
Step 6: Melt the White Coating
Just before taking the cake balls out of the freezer, melt your white candy melts. Place the candy melts in a microwave-safe bowl and heat in 30-second intervals, stirring thoroughly after each interval until completely smooth and fluid. If the melted candy seems too thick, stir in a half teaspoon of coconut oil to thin it out.
Step 7: Dip the Cake Balls
Take the firm cake balls out of the freezer. Drop one ball at a time into the melted white chocolate. Use a fork to gently roll it around until fully coated. Lift the cake ball out with the fork, tap the fork gently against the edge of the bowl to let the excess chocolate drip off, and carefully slide the truffle back onto the parchment paper.
Step 8: Decorate with Red and Green
Once all the cake balls are dipped and the white coating has set, melt your red candy melts in a small bowl. Transfer the melted red candy to a small zip-top bag and snip off a tiny corner. Pipe a fluid, zig-zag drizzle of red candy over the top of each white cake ball. Immediately sprinkle the green sanding sugar over the wet red drizzle so it sticks beautifully.
Step 9: Set and Serve
Let the finished cake balls sit at room temperature for about 10 minutes, or pop them in the refrigerator, until the red drizzle is completely firm and set. Arrange them on a festive holiday platter and watch them disappear!
Expert Cooking Tips
-
Soften the cream cheese: If your cream cheese is too cold, it will not mix smoothly with the cakes, leaving you with unpleasant, tart white lumps inside your sweet truffles.
-
Do not use chocolate chips: Standard white chocolate chips contain stabilizers that prevent them from melting smoothly for dipping. Always opt for candy melts, almond bark, or high-quality couverture chocolate.
-
Work in small batches: If your kitchen is very warm, take only half of the cake balls out of the freezer to dip at a time. If they get too warm, they will crumble into the dipping bowl.
-
Use a toothpick for clean edges: If the melted white chocolate pools around the bottom of the cake ball on the parchment paper, run a toothpick around the base while it is still wet to clean up the edge.
-
Decorate quickly: Candy melts harden very fast. If you are adding the green sprinkles, make sure you apply them immediately after piping the red drizzle, or they will bounce right off the hardened surface.
Variations to Try
-
Chocolate Zebra Cake Balls: Swap the Christmas Tree Cakes for classic Little Debbie Zebra Cakes, and use milk or dark chocolate candy melts for the outer coating.
-
Gingerbread Truffles: During the holidays, Little Debbie often releases seasonal Gingerbread soft cookies. Use those instead of the vanilla trees, and top with a sprinkle of crushed ginger snaps.
-
Peppermint Crunch: Mix a half teaspoon of peppermint extract into the cake mixture, and swap the green sugar sprinkles for finely crushed candy canes.
What to Serve With Little Debbie Cake Balls
These rich, sweet cake balls are the ultimate addition to any holiday dessert grazing board. Serve them arranged alongside classic snickerdoodles, fresh berries, and shortbread cookies. Because they are quite sweet, they pair beautifully with a strong cup of dark roast coffee, an unsweetened espresso, or a tall glass of ice-cold milk to wash them down.
Storage & Reheating
Refrigerator
Because these cake balls contain fresh cream cheese, they must be stored in the refrigerator. Place the fully set truffles into an airtight container, separating layers with a sheet of wax paper or parchment paper. They will stay fresh, moist, and delicious in the fridge for up to one week.
Freezer
These truffles freeze incredibly well and make a perfect make-ahead dessert. Store the fully decorated and set cake balls in an airtight, freezer-safe container for up to 2 months. When you are ready to serve them, simply let them thaw in the refrigerator overnight.
Frequently Asked Questions
Why is my cake ball mixture too sticky to roll?
If your mixture feels entirely too sticky or mushy, you likely added too much cream cheese. The exact moisture level of the snack cakes can vary slightly. Next time, start with just 2 ounces of cream cheese and only add more if the crumbs aren’t holding together. To fix a sticky batch, pop the bowl in the fridge for 20 minutes before rolling.
How do I get my melted candy coating thinner?
If your melted white candy melts feel thick, gloopy, and difficult to dip into, the easiest fix is to stir in a small amount of solid vegetable shortening or refined coconut oil. Add about a half teaspoon at a time, stirring vigorously, until it reaches a smooth, pourable consistency. Never add water, as it will cause the candy to seize and harden.
Can I use store-bought frosting instead of cream cheese?
You technically can, but it is highly recommended to stick with cream cheese. The Little Debbie cakes are already incredibly sweet and covered in frosting. Adding more frosting makes the cake balls cloyingly sweet. The slight tang of the cream cheese perfectly balances the sugar.
Why did my cake balls crack after dipping?
Cracking usually occurs if the cake balls are too cold when dipped into the warm candy melts. The extreme temperature difference causes the outer chocolate shell to expand and then crack as it cools. If you froze your cake balls for longer than an hour, let them sit at room temperature for 5 minutes before dipping.
Do I have to use the vanilla Christmas trees?
Not at all! You can absolutely use the chocolate variety of the Little Debbie Christmas Tree Cakes if you prefer a rich, fudgy interior. Just keep in mind the dark interior will peek through slightly if your white chocolate coating is applied too thin.
Final Thoughts
The holidays are busy enough without having to stress over complicated, multi-step dessert recipes. These Little Debbie Christmas Tree Cake Balls deliver all the festive cheer and nostalgic flavor of your favorite childhood treat with an elegant, elevated presentation. They look like they came straight from a fancy chocolatier, but require just a few simple ingredients and practically zero active cooking skills. Whip up a batch for your next cookie exchange or holiday party, and watch them become the most talked-about treat on the table!
No-Bake Little Debbie Christmas Tree Cake Balls
The ultimate holiday nostalgia in a single bite! These easy, no-bake cake truffles use classic Little Debbie Christmas Tree Cakes for a festive, bakery-style party dessert.
Ingredients
- 1 box 5 cakes Little Debbie Christmas Tree Cakes (Vanilla)
- 3 oz Cream cheese softened to room temperature
- 12 oz White candy melts or vanilla almond bark
- 1/4 cup Red candy melts for drizzle
- 1 tbsp Green sanding sugar for topping
Instructions
- Line a large baking sheet with parchment paper or a silicone baking mat.
- Unwrap the Little Debbie Christmas Tree Cakes and place them into a large mixing bowl. Crumble them thoroughly with your hands.
- Add the softened cream cheese to the bowl. Use a stainless steel spatula to aggressively fold and mash the mixture together until a cohesive, sticky dough forms and no streaks of cream cheese remain.
- Using a small cookie scoop, portion the dough and roll it between your palms to form smooth, 1-tablespoon-sized balls. Place them on the prepared baking sheet.
- Place the baking sheet in the freezer for 30 to 45 minutes until the cake balls are very firm.
- In a microwave-safe bowl, melt the white candy melts in 30-second intervals, stirring smoothly after each until fully fluid.
- Remove the firm cake balls from the freezer. Drop them one by one into the white candy melts, rolling with a fork to coat. Tap off the excess and return to the parchment paper.
- Once all cake balls are coated and set, melt the red candy melts. Transfer to a small zip-top bag, snip a tiny corner, and pipe a zig-zag drizzle over each ball.
- Immediately sprinkle the green sanding sugar over the wet red drizzle so it adheres.
- Let the cake balls set completely at room temperature or in the fridge before serving.
Notes
Ensure your cream cheese is softened to room temperature so it blends smoothly without leaving lumps.
Do not skip the freezer step; the cake balls must be firm to hold up in the warm candy coating.
Store leftovers in an airtight container in the refrigerator for up to 1 week.