Easy Fry Bread Recipe – Traditional & Delicious Comfort Food
Growing up, some of my fondest memories are of my grandmother standing by the stove, expertly flipping pieces of fry bread. The scent alone was enough to draw every kid—and adult—into the kitchen. It was our signal that dinner was close and happiness was only a few minutes away. This easy fry bread recipe has been passed down through generations, from my Great Grandma Keka down to my own kitchen, and now, to yours.
My grandma always laughed at me as I struggled to flip dough between my hands the way she did. I’ve accepted that rolling pins are more my speed. But whether flipped or rolled, fry bread brings warmth and comfort like nothing else. It’s a staple in many Native American households, often topped with beans, meat, cheese, or even honey for a sweet twist.
Whether you’re new to fry bread or grew up on it like I did, this easy recipe promises tender, crispy-on-the-outside results every time. Let’s keep those traditions alive and create new kitchen memories!

Why You’ll Adore This Easy Fry Bread Recipe
- Quick to prepare: Ready to fry in less than 30 minutes.
- Versatile: Great as a bread substitute or even dessert!
- Budget-friendly: Simple pantry ingredients you already have on hand.
- Family favorite: Kids love helping shape the dough—and of course, eating it.
Ingredients You Need
- 2 cups of Blue Bird Flour (or your preferred all-purpose flour)
- 4 teaspoons of baking powder
- 1 teaspoon of salt
- 2 tablespoons of lard
- 2/3 cup warm water
- Oil or additional lard for frying
Step-by-Step Instructions
Step 1: Make the Dough
In a large mixing bowl, combine flour, baking powder, and salt. Add lard and blend it into the flour mixture by hand until it resembles coarse crumbs.
Step 2: Add Water
Slowly pour in warm water, mixing gently until the dough forms into a soft, workable ball. If dough is too dry, add a little more water; too sticky, sprinkle in more flour.
Step 3: Rest the Dough
Cover your dough with a clean kitchen towel and let it rest for 20 minutes. This resting period helps relax the gluten for tender bread.
Step 4: Shape the Bread
After resting, divide dough into fist-sized balls. Traditionally, dough is shaped by flipping between hands until it forms a circle about 1/4″ to 1/2″ thick. If flipping isn’t your forte (no shame!), gently roll dough balls with a rolling pin.
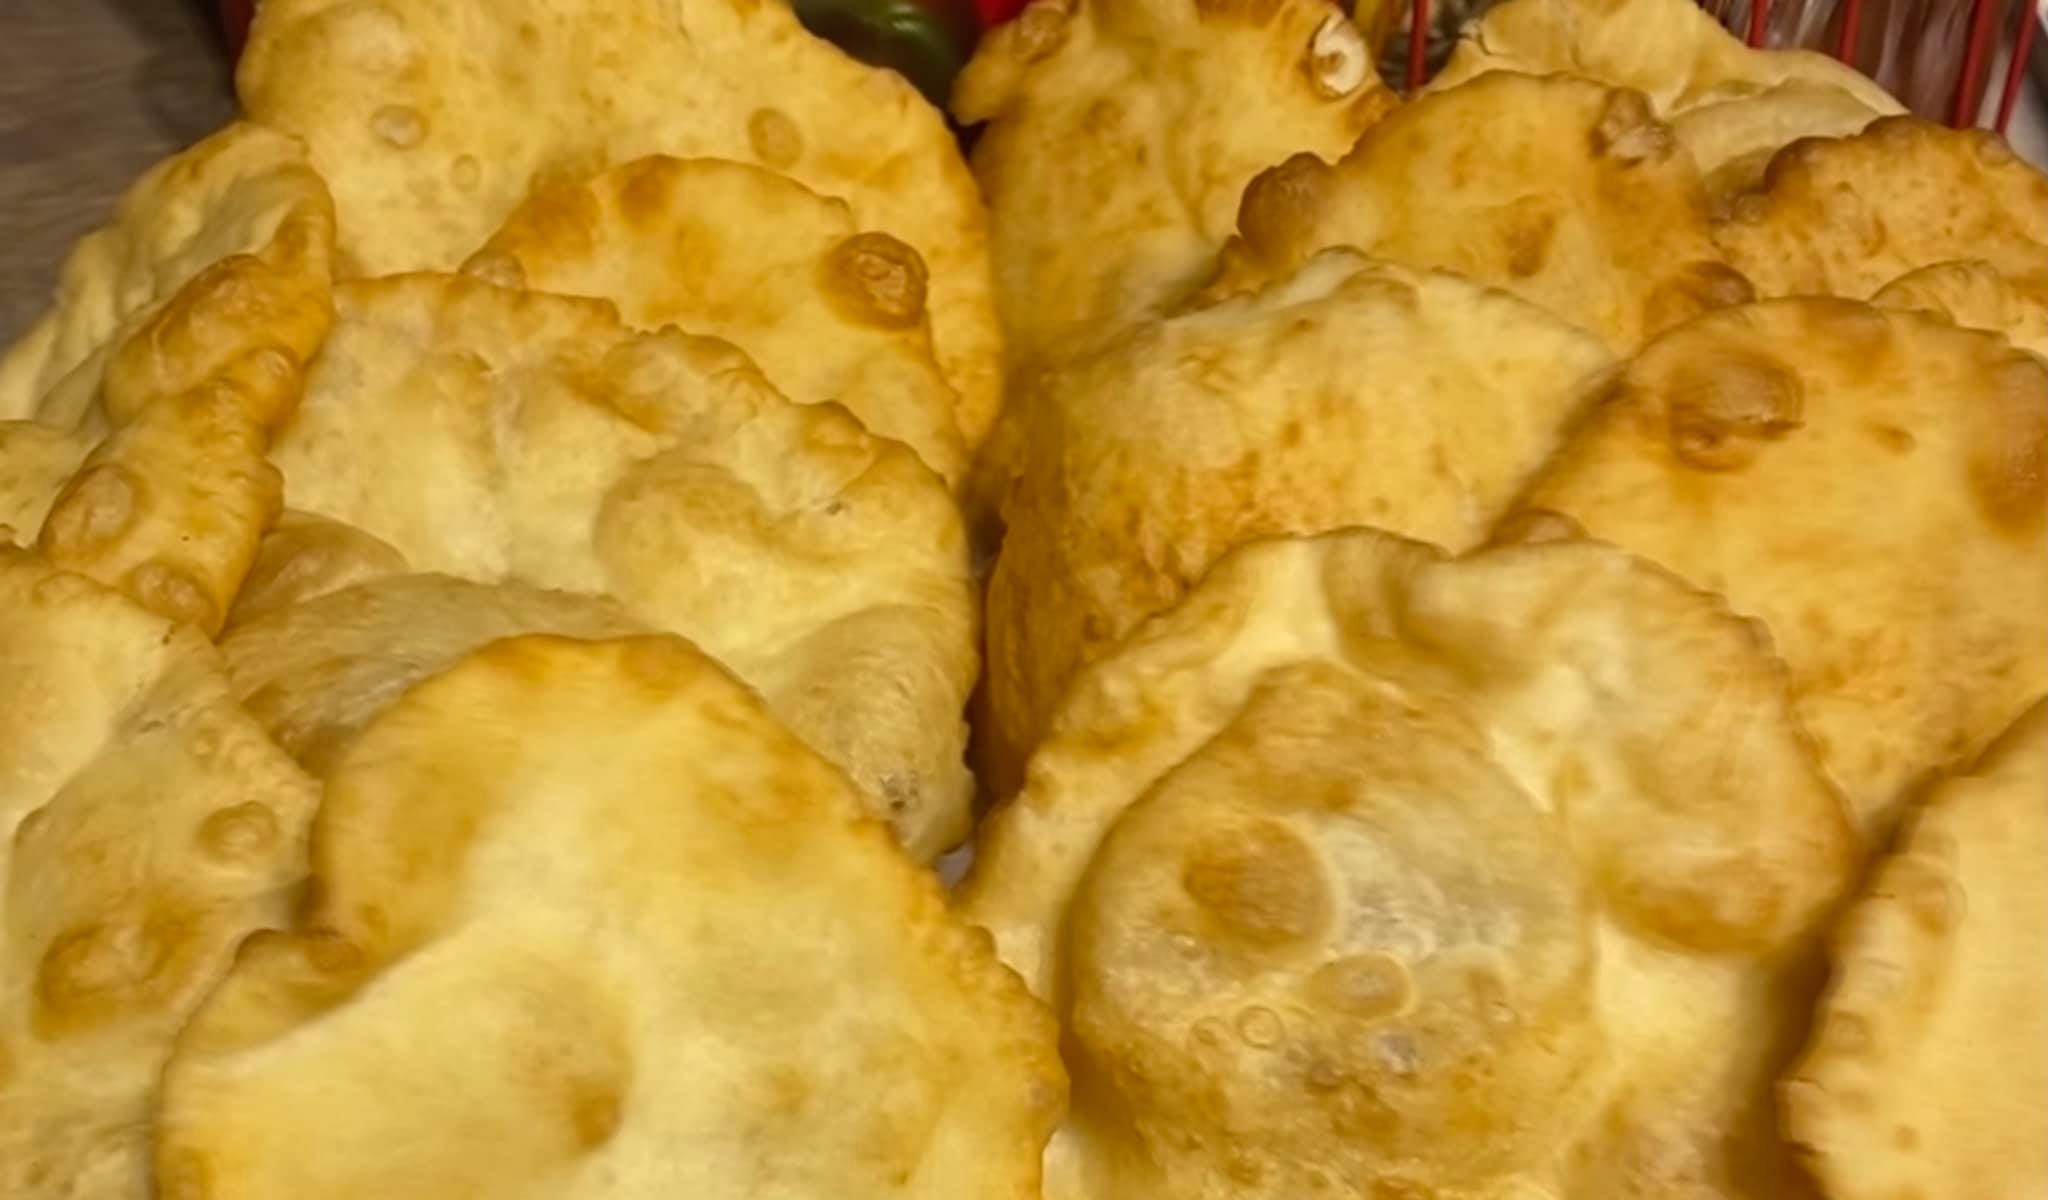
Step 5: Fry Until Golden
Heat oil or lard in a skillet or heavy-bottom pan over medium-high heat. Carefully place each dough circle in hot oil and fry for about 1–2 minutes per side, or until beautifully golden and crisp.
Transfer cooked fry bread to paper towels to absorb excess oil.
Serving Suggestions
Here are a few favorite ways to serve this delightful easy fry bread:
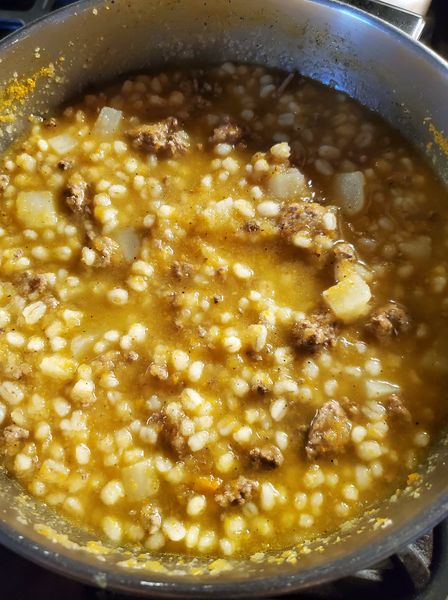
- Classic Indian Tacos: Layer warm fry bread with seasoned ground beef, beans, shredded lettuce, cheese, salsa, and sour cream.
- Sweet Treat: Drizzle with honey, dust with powdered sugar, or spread with jam for a sweet dessert.
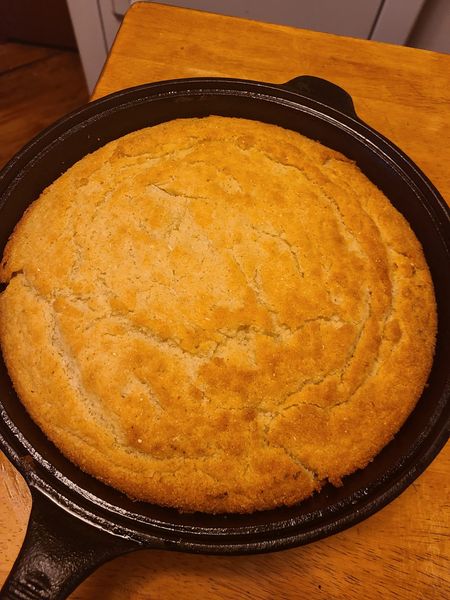
- Side Dish: Perfect accompaniment to hearty dishes like my Traditional Southern Cornbread or Creamed Chipped Beef.
Kitchen Tips & Variations
- Texture tip: Hand-flipping dough creates softer, fluffier fry bread compared to rolling.
- Flavor enhancement: Try adding herbs or spices to your dough for a flavorful twist. Garlic powder or a sprinkle of rosemary works wonderfully.
- Gluten-free option: Substitute your favorite gluten-free flour blend; add a teaspoon of xanthan gum for elasticity.
Nostalgia Corner
What’s your fondest fry bread memory? Do you flip your dough like Grandma or roll it out? Share your stories and techniques in the comments below!
Frequently Asked Questions
Q1: Can I prepare fry bread dough ahead of time?
Absolutely! Prepare the dough, cover tightly, and refrigerate for up to 24 hours. Let it come to room temperature before frying.
Q2: What’s the best oil for frying bread?
Vegetable oil or lard works best. They handle higher temperatures well and give your fry bread a deliciously crispy exterior.
Q3: How do I store leftover fry bread?
Store in an airtight container at room temperature for up to two days. Reheat briefly in the oven or toaster oven to regain crispiness.
Easy Fry Bread
Ingredients
- - 2 cups flour
- - 4 tsp baking powder
- - 1 tsp salt
- - 2 tbsp lard
- - ⅔ cup warm water
- - Oil or lard for frying
Instructions
- Combine flour, baking powder, and salt; mix well.
- Hand-mix lard into flour until crumbly.
- Add warm water; form a soft dough. Cover and rest 20 min.
- Shape dough into fist-sized balls; flatten by flipping or rolling.
- Fry each side 1–2 min until golden; drain on paper towels.
Notes
- For gluten-free, use gluten-free flour plus xanthan gum.
- Great topped savory or sweet!