How to Cook Scrambled Eggs in Cast Iron (That Don’t Stick!)
There is a pervasive myth in the cooking world that cast iron skillets are only for searing steaks or baking cornbread. If you ask a beginner cook about making Scrambled Eggs in Cast Iron, they usually look at you with fear. They imagine a nightmare of scrubbing stuck-on yellow gunk for hours.
I am here to tell you: It is not rocket science.
Cooking eggs in cast iron doesn’t require a skillet that has been passed down for five generations. It doesn’t require a pan with 100 layers of seasoning. And it certainly doesn’t require drowning your breakfast in half a cup of oil.
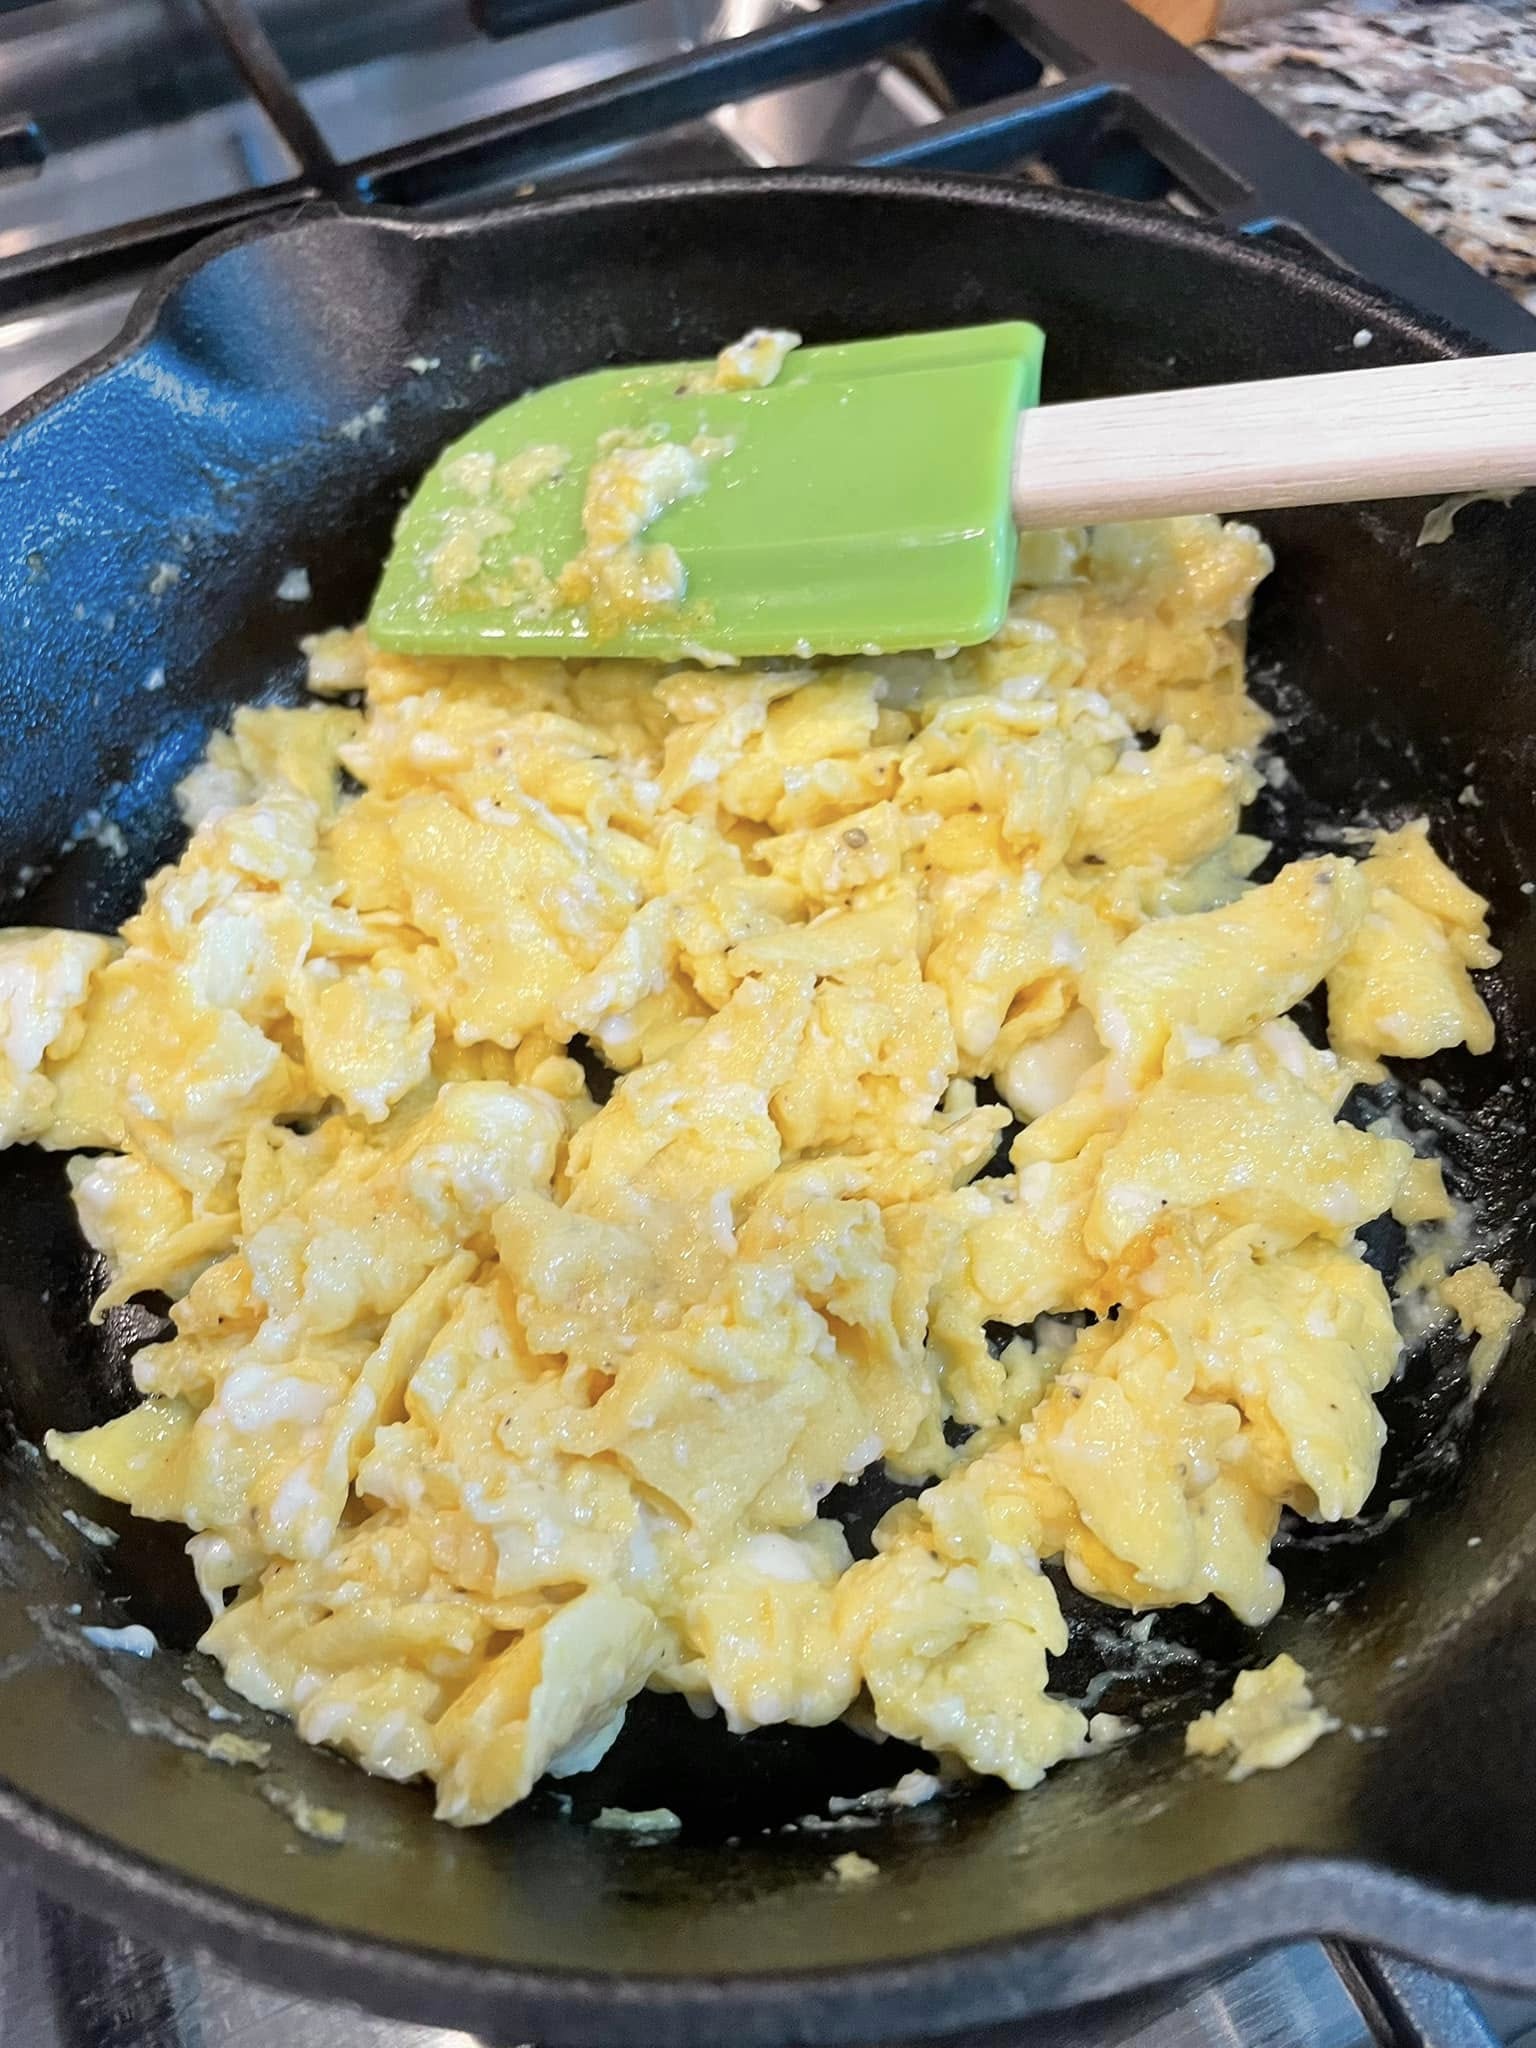
I made the fluffy, perfectly released eggs you see in these photos in an 8-inch Victoria skillet that was seasoned only once when I first got it. The secret isn’t magic; it is simply cooking technique.
Specifically, it is about heat control and patience. If you treat your cast iron like a modern non-stick pan, you will fail. But if you respect the iron and understand how it holds heat, you can make the best eggs of your life—and clean up in under 60 seconds.
Why Cook Eggs in Cast Iron?
In a world full of Teflon and ceramic-coated pans, why bother with heavy iron for a simple breakfast?
-
Health & Safety: Non-stick coatings can scratch and flake off over time. Cast iron is natural, durable, and actually adds a tiny bit of dietary iron to your food.
-
Flavor & Texture: There is something about the way iron radiates heat that cooks eggs more evenly. They come out fluffier and less rubbery than they do on thin aluminum pans.
-
Durability: I am using an 8-inch Victoria skillet here. It is a workhorse. I don’t have to worry about scratching it with a fork or overheating it.
-
The “Slide” Factor: Once you master this technique, watching eggs slide around the pan is incredibly satisfying. It proves you have mastered your kitchen tools.
The Myth of the “Seasoning”
Let’s address the elephant in the room. You will read online that you can’t cook eggs until your pan is “glass smooth” or has been used daily for a year.
That is false.
While a well-seasoned pan helps, the real culprit for sticking is almost always heat. Cast iron holds onto heat aggressively. If you crank the burner to “High,” you aren’t just cooking the eggs; you are welding them to the metal.
As I always say: You don’t need to cook them on the same temperature your pan was forged in.
Ingredients & Equipment
You don’t need much. This is a “back to basics” breakfast.
The Ingredients
-
Eggs: I use 4 large eggs for my 8-inch skillet. This is the perfect amount to cover the bottom without overcrowding the pan.
-
Butter: I use about 1 tablespoon of butter. Butter is my fat of choice for eggs because the water content in butter creates a tiny layer of steam that helps lift the proteins away from the iron. Plus, it tastes better than oil.
-
Seasoning: Just a little salt and pepper, added at the end or whisked in, depending on your preference.
The Equipment
-
The Skillet: I am using an 8-inch Victoria Cast Iron Skillet. It has a slightly longer handle than some other brands, which I like. An 8-inch or 10-inch is ideal for eggs. A 12-inch is usually too big for a single serving of scrambled eggs (the eggs spread too thin and cook too fast).
-
The Spatula: A silicone spatula (like the lime green one in my photos) or a nylon scraper is perfect. It allows you to sweep the curves of the pan easily.
Step-by-Step Instructions
Follow these steps exactly, and I promise your eggs won’t stick.
Step 1: The Preheat (Crucial!)
Place your clean, dry skillet on the stove. Turn the burner to medium-low. Do not walk away. Let the pan heat up for a few minutes. You want the entire pan to be warm, not just the spot directly over the flame.
-
How to test: Hover your hand a few inches above the metal. It should radiate a gentle heat.
Step 2: Butter and Temperature Drop
Once the pan is warm, add your 1 tablespoon of butter. It should melt and bubble gently. If it turns brown instantly, your pan is too hot. Take it off the heat for a minute. Here is the trick: Once the butter is melted and coats the bottom and slightly up the sides, drop your heat slightly lower. Cast iron retains heat so well that you don’t need to keep pumping energy into it. Lowering the flame prevents the pan from getting hotter and hotter while you cook.
Step 3: Pour and Wait
Whisk your 4 eggs in a bowl (don’t crack them directly into the pan—you want the yolks and whites combined before they hit the heat). Pour the eggs into the center of the pan. Stop. Do not touch them immediately. Be patient for about 20–30 seconds. You want to see the edges just start to set. This initial “searing” of the egg protein creates a barrier against the metal.

Step 4: The Gentle Scramble
Once the bottom layer has set slightly, take your spatula and gently push the eggs from the outside in. You should see the cooked egg lift cleanly from the pan, leaving no residue behind. Continue to gently fold the eggs. Don’t hack at them. Just move the cooked parts to the center and let the raw liquid flow to the edges.
Step 5: Carryover Cooking
When the eggs look almost done but still slightly wet, turn off the heat. The cast iron holds so much heat that the eggs will continue cooking for another minute even with the flame off. If you wait until they look perfectly dry in the pan, they will be rubbery on the plate.

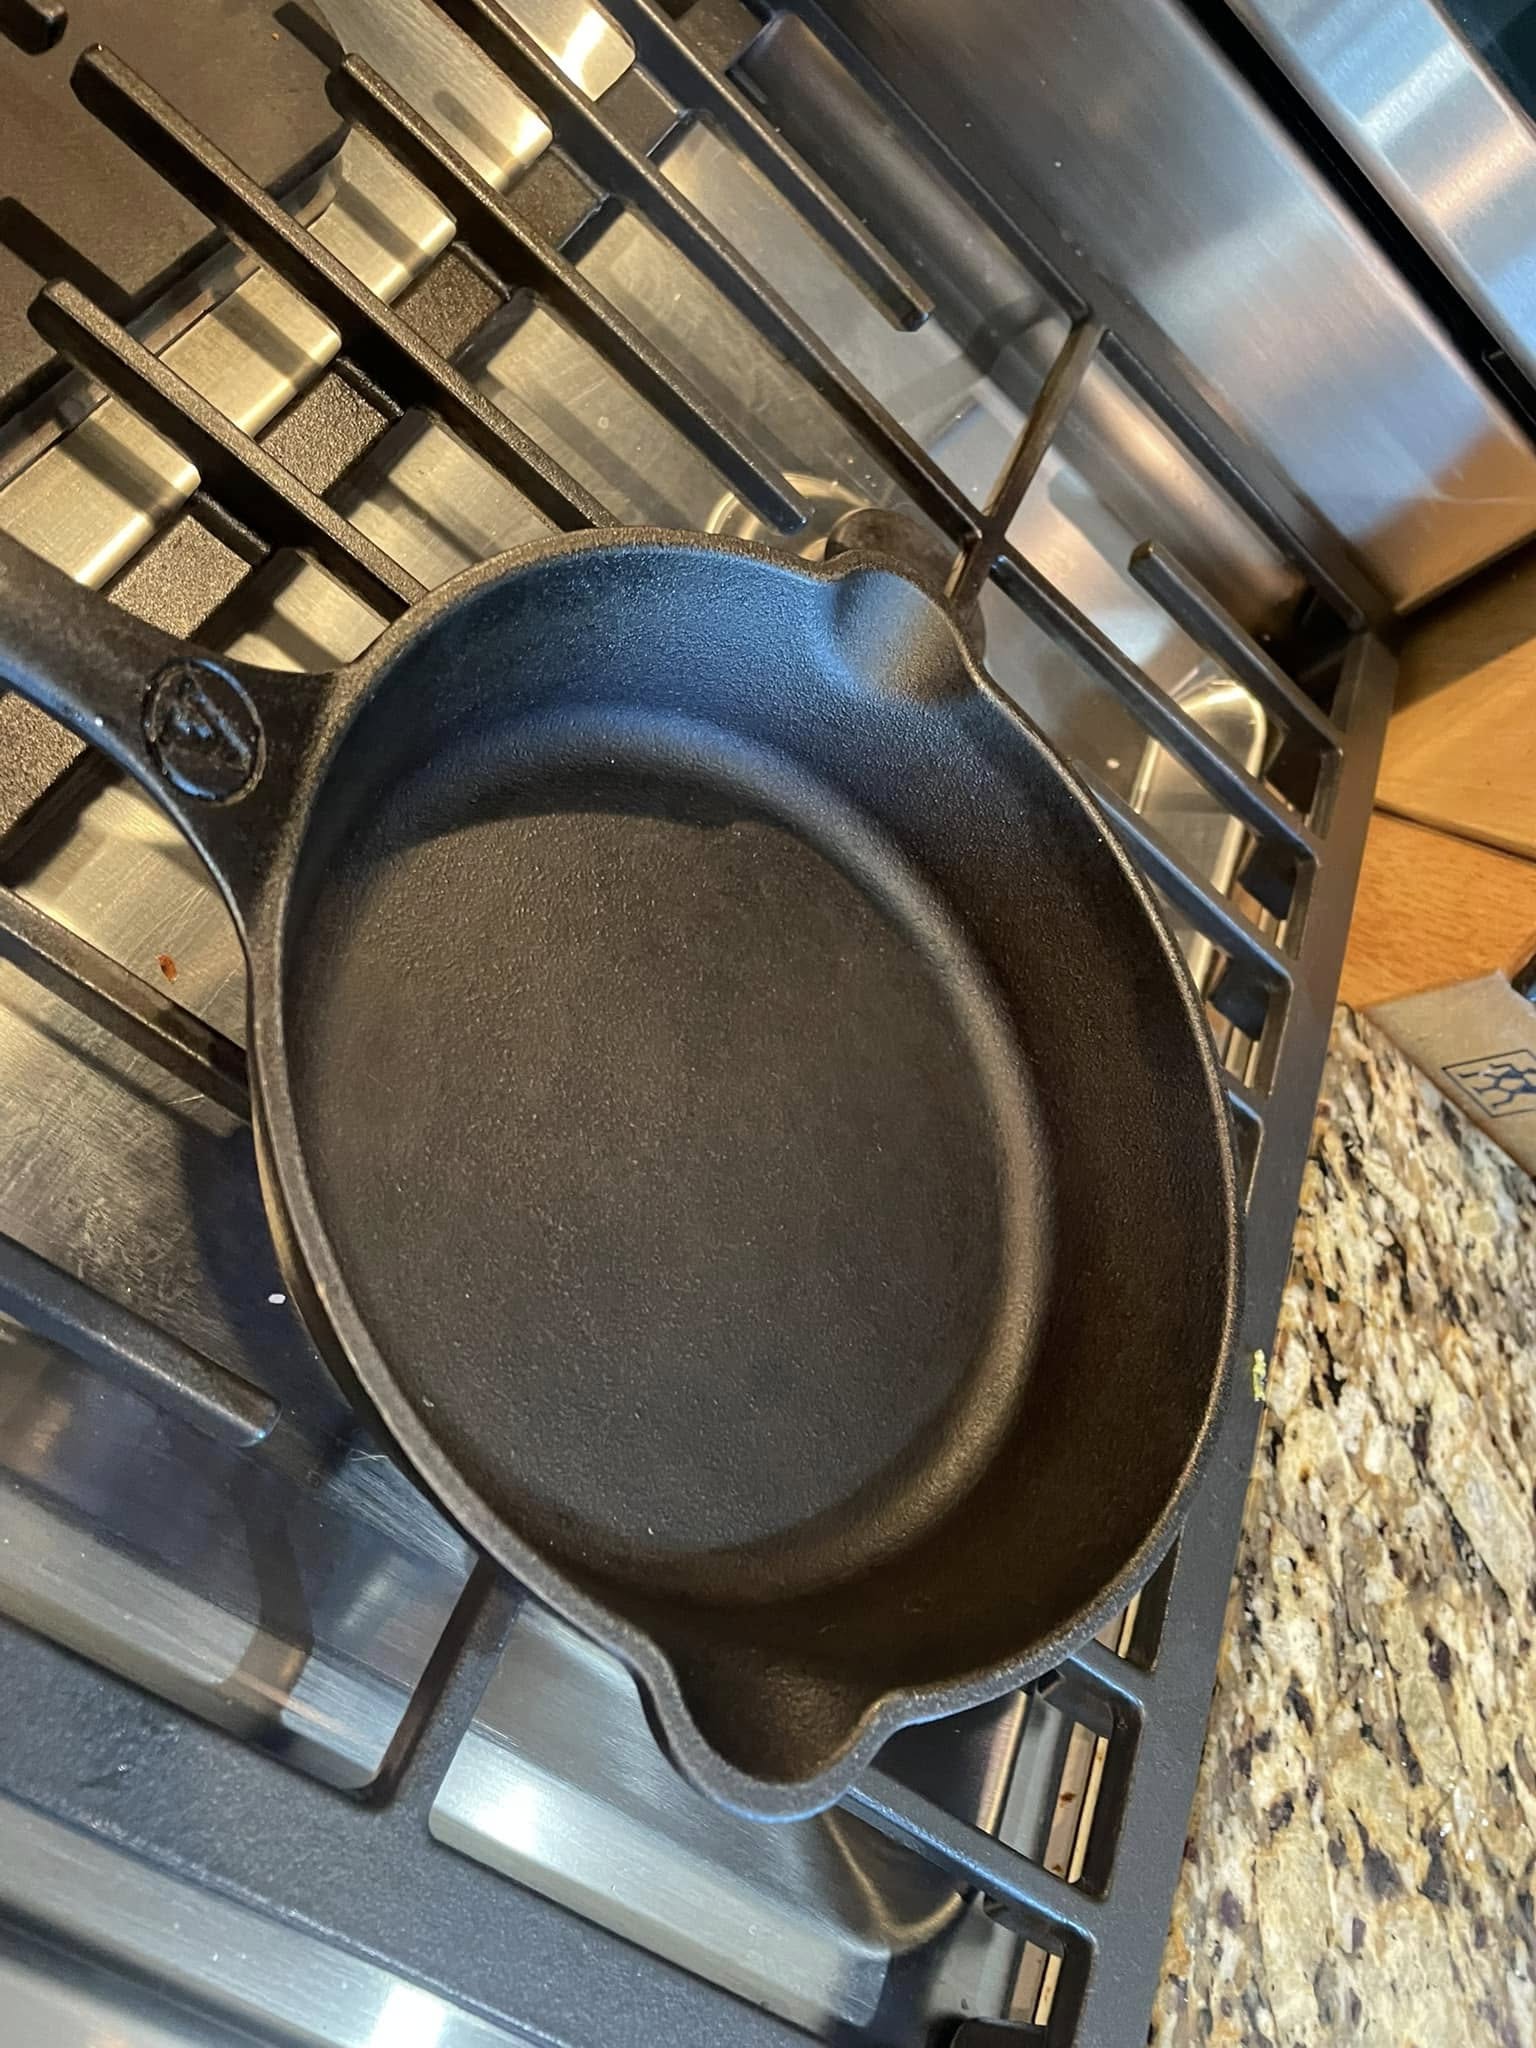
Cleaning Cast Iron (The Easy Way)
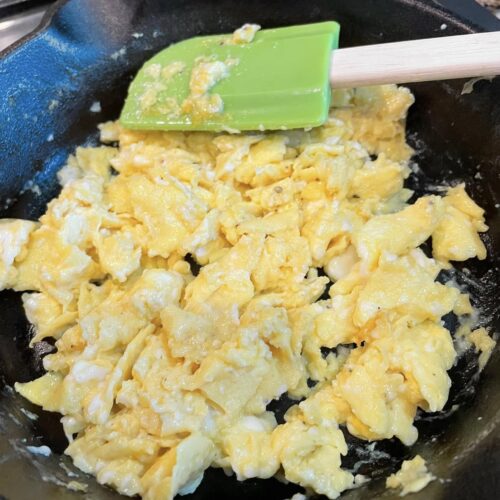
Look at that last photo above. That is what your pan should look like after cooking eggs. There is no stuck-on layer of doom. Just a few crumbs.
Cleaning this is simple:
-
Hot Water: Take the pan to the sink and rinse it with hot water.
-
The Scrubber: Use a nylon scrubber or a brush to wipe away the grease and crumbs.
-
Note: You can use a tiny drop of soap if you want. It won’t kill your seasoning. But for eggs, hot water is usually enough.
-
-
Dry with Heat: Towel dry the pan, then place it back on the stove burner on low for 2–3 minutes. This evaporates every tiny molecule of water (water is the enemy; it causes rust).
-
No Re-Oiling Necessary: Unless your pan looks dry or gray, you don’t need to re-oil it before storage every single time. Just make sure it is bone dry.
Troubleshooting: Why Did My Eggs Stick?
If you tried this and ended up with a mess, here is likely what went wrong:
-
The Pan Was Cold: If you pour eggs into a cold pan, they seep into the microscopic pores of the iron before they cook. When they finally heat up, they grip the metal. Always preheat!
-
The Pan Was Too Hot: If the butter smokes instantly, the pan is scorching. High heat bonds proteins to metal instantly.
-
Not Enough Fat: Cast iron isn’t Teflon. You need a lipid barrier. 1 tablespoon of butter for 4 eggs is the sweet spot. Don’t be afraid of the butter—it’s flavor!
-
You Moved Them Too Fast: If you start whisking the eggs the second they hit the pan, you break up the setting process. Give them that 20 seconds of silence to form a skin.
Serving Suggestions
Now that you have perfect, fluffy eggs, what goes with them? Since you already have the skillet out, here are some ideas:
-
Biscuits: Nothing beats eggs and biscuits. Try my Homemade Flaky Biscuits Recipe or, if you are in a rush, these Mayonnaise Biscuits are surprisingly tender.
-
Bacon: If you cook bacon first, you can scramble the eggs in the bacon grease instead of butter for a true cowboy breakfast. Check out my guide on Southern Style Bacon Tomato Gravy if you want to get really decadent.
-
Cornbread: If you are making a brunch, serve these eggs alongside a wedge of Southern Skillet Cornbread.
-
Pancakes: If you have a griddle or a second skillet, Cast Iron Buttermilk Pancakes are the perfect sweet partner to savory eggs.
FAQs
Can I use oil instead of butter? Yes, you can use olive oil, bacon grease, or avocado oil. However, I find that butter releases slightly more moisture as it melts, which helps lift the eggs. Plus, the flavor of buttered eggs is classic.
Is my pan ruined if the eggs stick? Not at all. Cast iron is resilient. If you have a stuck-on mess, put some water in the pan and boil it on the stove for a few minutes. Scrape it with a wooden spoon. The mess will lift right off. Dry it, apply a tiny bit of oil, and try again tomorrow with lower heat.
What is the best size skillet for eggs? For 2–4 eggs, an 8-inch skillet is king. For 5–8 eggs, move up to a 10-inch. If you try to cook 2 eggs in a massive 12-inch skillet, they will spread too thin, cook in 3 seconds, and likely stick because there isn’t enough egg to regulate the pan’s temperature.
Do I need a metal spatula? For eggs, I prefer silicone or nylon. It scrapes the pan cleaner than a stiff metal spatula. However, for burgers or steak, metal is fine on cast iron.
Conclusion
Cooking eggs in cast iron feels like a rite of passage, but it doesn’t have to be a trial by fire. Remember: low heat, butter, and patience.
Once you get used to the rhythm of cast iron cooking, you’ll find yourself reaching for that heavy black pan every single morning. The eggs just taste better, and knowing you can clean up with nothing but hot water and a brush is a great feeling.
Do you use cast iron for breakfast? Let me know your favorite thing to cook in it in the comments below! And if you found this guide helpful, pin it to your Cast Iron Cooking board on Pinterest.
Fluffy Cast Iron Scrambled Eggs
Ingredients
- 4 large eggs
- 1 tbsp salted butter
- Salt and black pepper to taste
Instructions
- Whisk: Crack the eggs into a small bowl and whisk until the yolks and whites are fully combined.
- Preheat: Place your 8-inch cast iron skillet on the stove over medium-low heat. Let it preheat for 3–4 minutes until the rim of the pan feels warm to the touch.
- Butter: Add the butter. Swirl it around to coat the bottom and sides.
- Adjust Heat: Once the butter is melted and bubbling (but not browning/burning), turn the heat down slightly to low.
- Pour: Pour the whisked eggs into the center of the pan.
- Wait: Do not touch the eggs for 20–30 seconds. Watch for the edges to begin to set and turn opaque.
- Fold: Using a silicone spatula, gently push the eggs from the edges toward the center. Tilt the pan slightly to let uncooked egg run to the empty spots.
- Finish: Continue folding gently until the eggs are mostly set but still look slightly glossy/wet. Remove from the pan immediately (they will continue to cook on the plate). Season with salt and pepper.
Notes