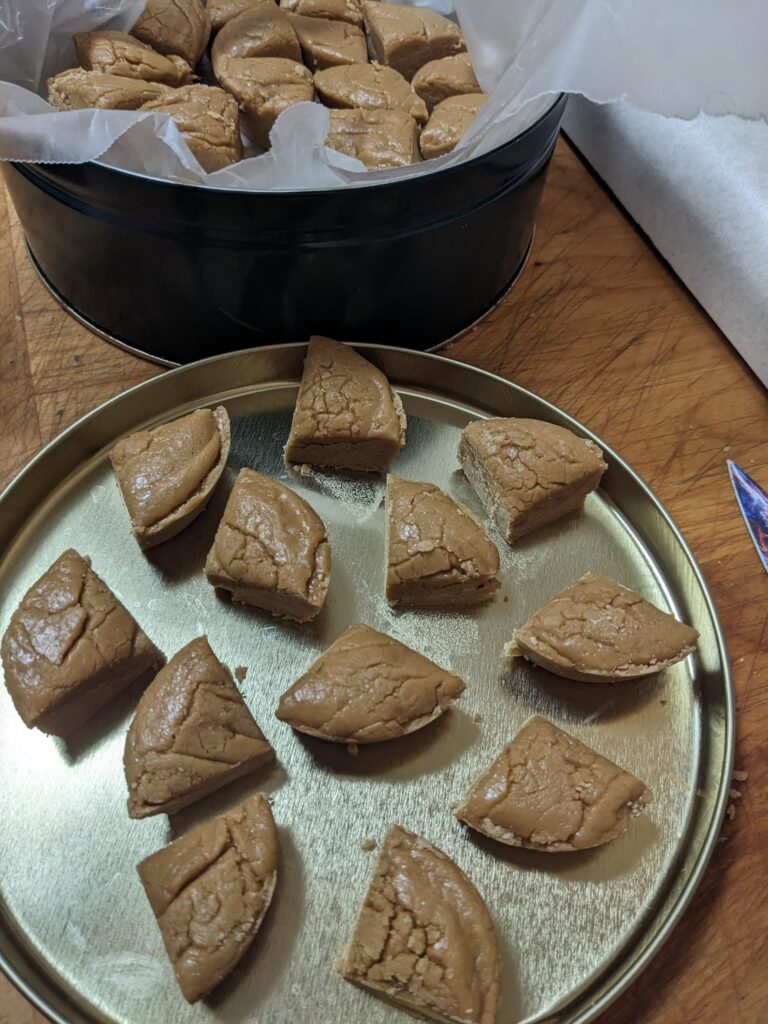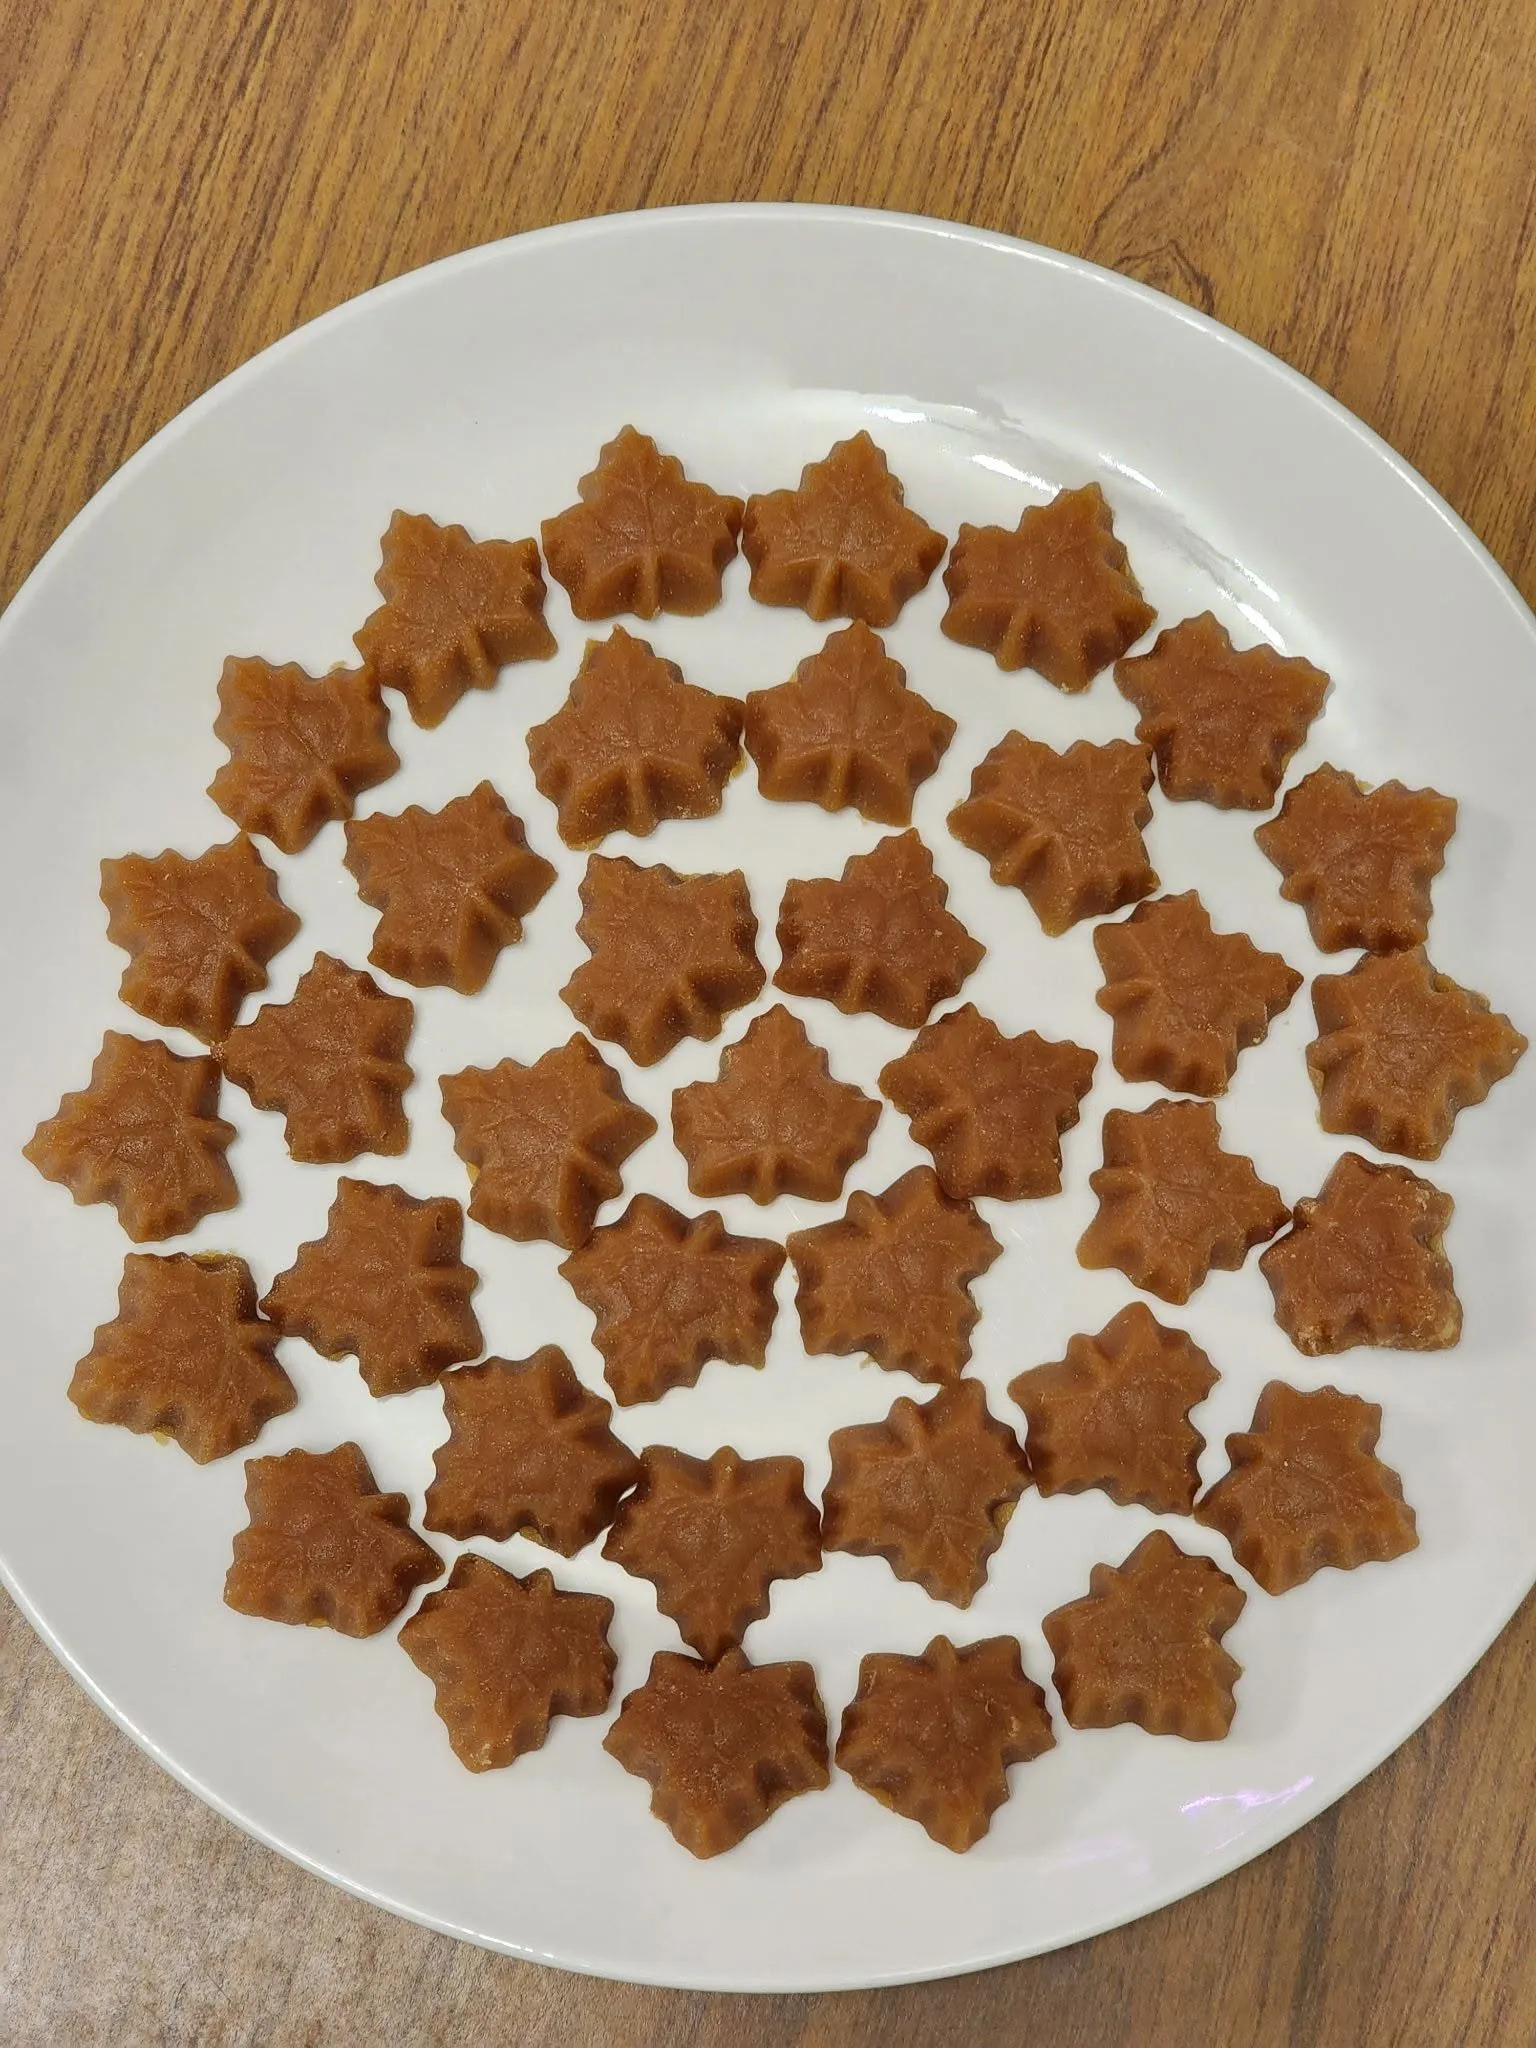
Pure Homemade Maple Candies
The Ultimate Two-Ingredient Sugaring Treat
Transforming pure maple syrup into delightful, melt-in-your-mouth candies is a fantastic way to celebrate sugaring season. While boiling sap into syrup is an incredible process on its own, venturing into sugar and candy making takes those natural flavors to an entirely new level. If you have ever felt intimidated by homemade confections, this straightforward method breaks down the science of maple candy into a foolproof, rewarding afternoon project.
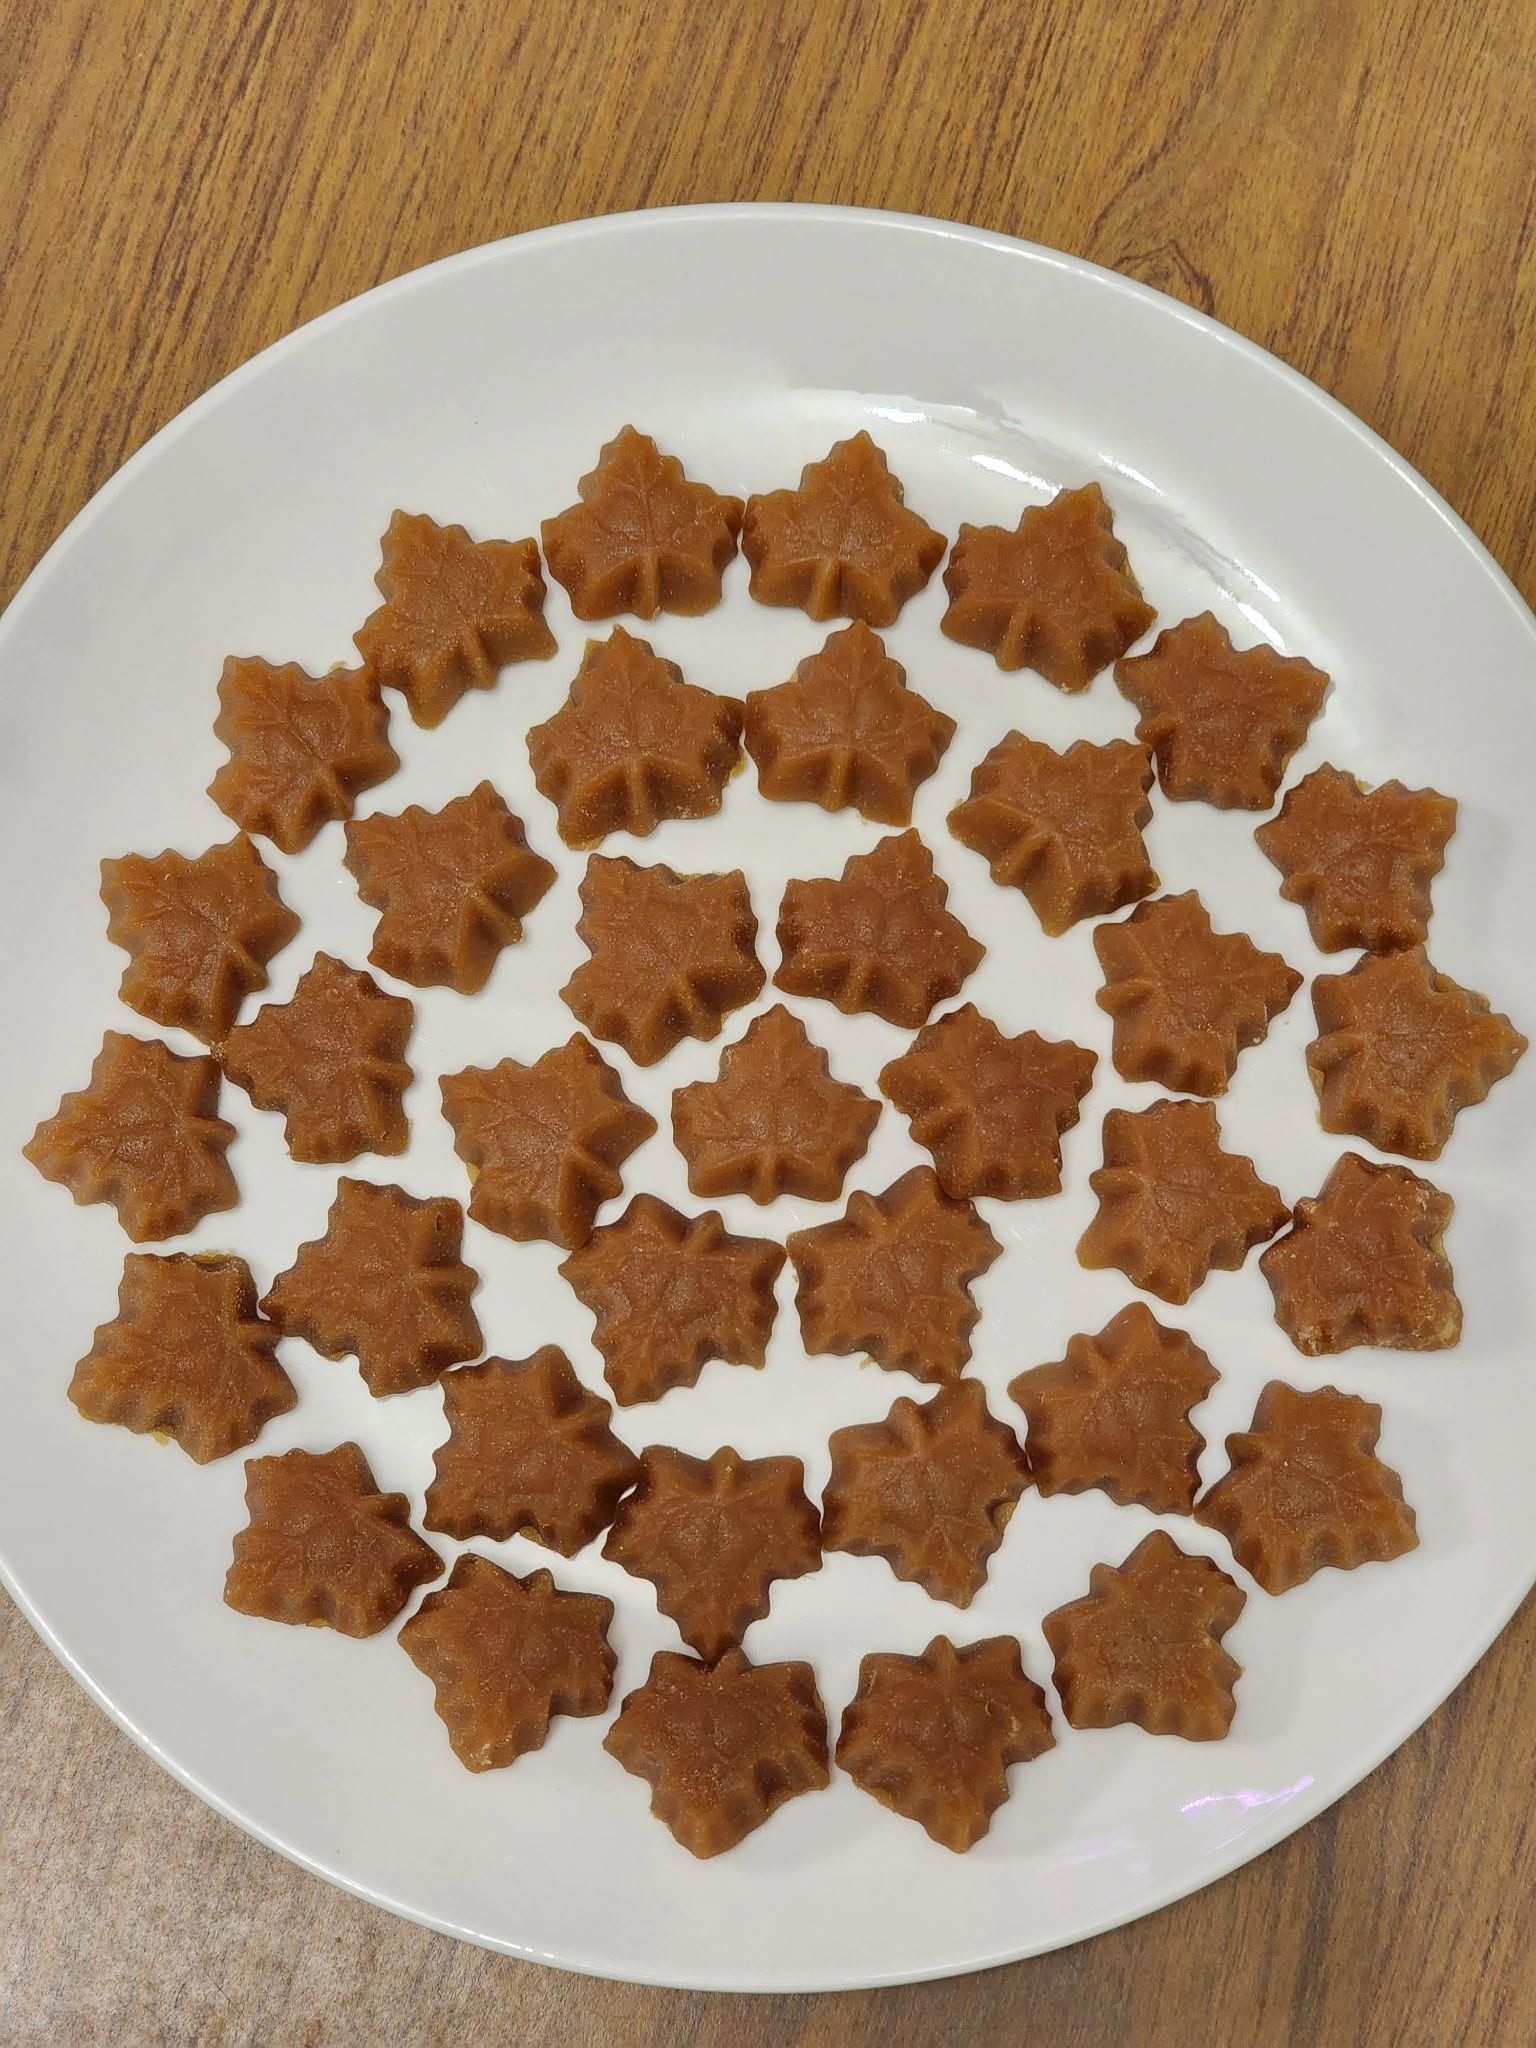
Getting the perfect shape and texture can sometimes take a little bit of practice. Your first batch might taste delicious but look a bit rustic or unrefined. However, by closely monitoring your temperatures and acting quickly when the sugar begins to crystallize, your subsequent batches will turn out beautifully smooth and professional. This recipe uses exactly two ingredients and focuses heavily on temperature control to yield approximately 36 flawless maple candies. Whether you are a seasoned syrup maker or just picking up a pint of real maple syrup from the local farmers market, crafting these confections at home is an absolute joy.
Why You’ll Love This Recipe
-
It requires only a pint of pure maple syrup and a tiny smear of butter.
-
The recipe yields about 36 perfect, bite-sized candies.
-
It uses a clever butter trick to completely prevent the syrup from boiling over on your stove.
-
The method relies on a precise temperature calculation rather than guesswork, ensuring the candy sets up perfectly.
-
The active stirring phase only takes a matter of seconds before the candies are ready to mold.
-
The candies cool and set entirely in just 20 minutes, meaning you do not have to wait hours to enjoy them.
Ingredients
-
1 pint (16 oz) pure maple syrup
-
1/2 teaspoon butter (used exclusively to coat the pan)
-
Optional: A tiny pinch of flaky sea salt for a sweet and salty contrast
-
Equipment Note: You will need a reliable candy thermometer and your desired silicone candy molds.
Step-by-Step Instructions
Step 1: Prep the Pan and the Molds
Set out your desired silicone molds on a flat, heat-proof surface so they are completely ready to go. Take a small saucepan and use the butter to lightly coat the inside upper edge of the pan. This creates a barrier that will prevent the bubbling syrup from boiling over the sides and creating a massive mess on your stovetop.
Step 2: Determine Your Boiling Point
Water boils at different temperatures depending on your exact elevation. Before you begin, boil a pot of regular water and use your candy thermometer to record the exact temperature it boils at in your kitchen. You will need to heat your maple syrup to exactly 30 degrees above this specific number.
Step 3: Heat the Syrup
Pour the 1 pint of pure maple syrup into your prepared, butter-rimmed saucepan. Turn the burner to medium-high heat. Attach your candy thermometer to the side of the pan, ensuring the tip is submerged in the syrup but not touching the bottom of the pot. Heat the syrup undisturbed until it reaches exactly 30 degrees above your calibrated boiling point of water.
Step 4: Cool the Mixture
The moment the syrup hits that precise target temperature, immediately remove the saucepan from the heat. Leave the thermometer attached to the pot and allow the hot syrup to sit completely undisturbed until it cools down to 210°F. Do not stir the syrup during this cooling phase, or you risk premature crystallization.
Step 5: Stir Until Gritty
Once the thermometer reads 210°F, grab a sturdy wooden spoon or silicone spatula and start stirring the mixture vigorously. Pay very close attention to the texture of the syrup. Within a matter of seconds, you will actually feel a distinct “grit” beginning to form against your spoon. This tactile cue means the sugars are crystallizing.
Step 6: Pour and Set
As soon as you feel that gritty texture, stop stirring immediately. Working very quickly, pour the crystallized syrup into your prepared molds. Allow the filled molds to sit at room temperature for 20 minutes to cool and harden completely. Once firm, pop the beautiful candies out of the molds and enjoy!
Expert Cooking Tips
-
You absolutely must use 100% pure maple syrup; artificial pancake syrup made from corn syrup will simply burn and will never crystallize into candy.
-
Calibrating your thermometer to find your specific boiling point of water is the most important step for success, as elevation dramatically changes how sugar cooks.
-
Coating the rim of the pot with butter breaks the surface tension of the boiling syrup, keeping it safely contained inside the pan.
-
Have your molds arranged and ready before you turn on the stove. Once the grit forms, the candy sets up incredibly fast, and you will not have time to search for your molds.
-
Do not scrape the sides of the saucepan when pouring the candy into the molds, as those edge pieces may have crystallized too much and will ruin the smooth texture of your candies.
Variations to Try
-
Salted Maple Candies: Sprinkle a few grains of high-quality flaky sea salt into the bottom of each silicone mold cavity before pouring the hot sugar for a sophisticated flavor profile.
-
Spiced Maple Treats: Stir a quarter-teaspoon of ground cinnamon into the syrup during the cooling phase before the rapid stirring begins.
-
Maple Pecan Bites: Place a single toasted pecan half into the bottom of each mold before pouring the syrup over it for a wonderful crunchy contrast.
What to Serve With Pure Maple Candies
-
A hot, robust cup of dark roast coffee or unsweetened espresso to perfectly balance the intense sweetness of the pure sugar.
-
A warm mug of black tea, like English Breakfast or Earl Grey, which pairs beautifully with the earthy, caramelized notes of the maple.
-
Package these candies in small, decorative cellophane bags tied with twine to hand out as beautiful, edible seasonal gifts.
Storage & Reheating
Refrigerator
Store the fully cooled and set candies in an airtight container at room temperature. Do not refrigerate them. The humidity inside a refrigerator can cause the sugar crystals to attract moisture, making the candies sticky and causing them to lose their crisp shape.
Freezer
If you want to preserve your candies for months, freezing is a great option. Place them in a heavy-duty, airtight freezer container separated by layers of parchment paper. They will keep for up to 6 months. Allow them to come to room temperature on the counter before eating.
Reheating
These candies are a finished confection and should never be reheated. Applying heat will simply melt the sugar back down into a puddle, destroying the beautiful molded shapes. Serve them exactly as they are at room temperature.
Frequently Asked Questions
Why do I need to test the boiling point of water first?
Water boils at 212°F at sea level, but that temperature drops at higher elevations. Because the chemical transformation of the sugar relies on hitting exactly 30 degrees above the point where water boils off, knowing your exact baseline is critical for the candy to set properly.
Why do I coat the edge of the pan with butter?
Maple syrup foams up aggressively when it boils. The light coating of fat from the butter acts as a barrier, breaking the bubbles and preventing the sticky syrup from boiling over the sides of your small saucepan.
How long does it take for the grit to form when stirring?
Once the syrup has cooled to 210°F, the stirring process goes very quickly. It usually only takes a matter of seconds of vigorous stirring before you will physically feel the grit forming against your spoon.
Why did my candy harden in the pot before I could pour it?
If it hardened in the pot, you either stirred it for slightly too long after the grit formed, or you did not pour it into the molds quickly enough. You must move immediately once you feel that textural change.
Can I use a regular baking pan instead of molds?
Yes. If you do not have silicone molds, you can quickly pour the gritty syrup onto a parchment-lined baking sheet or into a greased 8×8 glass dish. Once it has cooled and set for 20 minutes, you can break it or score it into pieces.
Final Thoughts
Making pure maple candies is a highly rewarding process that beautifully showcases the magic of sugaring season. By paying close attention to your thermometer and reacting swiftly when the sugar begins to crystallize, you can easily turn a simple pint of syrup into an impressive, professional-looking confection. Grab your favorite molds, watch those temperatures, and enjoy the delicious results of your homemade boiling process!
Pure Homemade Maple Candies
Equipment
- Small saucepan
- Candy thermometer
- Silicone candy molds
- Wooden spoon or silicone spatula
Ingredients
- 1 pint pure maple syrup
- 1/2 tsp butter
Instructions
- Determine the exact boiling point of water for your current elevation using your candy thermometer.
- Coat the upper edge of a small saucepan lightly with butter to prevent the syrup from boiling over.
- Pour the 1 pint of syrup into the saucepan and heat over medium-high heat.
- Heat the syrup to exactly 30° above YOUR boiling point of water.
- Immediately remove from heat at that point and let the mixture cool undisturbed to 210°F.
- Start stirring vigorously until you can feel the grit forming; this will only take a matter of seconds.
- Quickly pour the mixture into your desired molds.
- Let cool for 20 minutes before removing from the molds.
Notes