Old-Fashioned Christmas Caramel Toffee (Easy Homemade Recipe)
There’s something magical about making homemade Christmas candy. The smell of butter and caramel bubbling on the stove, the excitement of waiting for it to cool, and that first sweet, crunchy bite bring back memories of Christmas in Grandma’s kitchen.
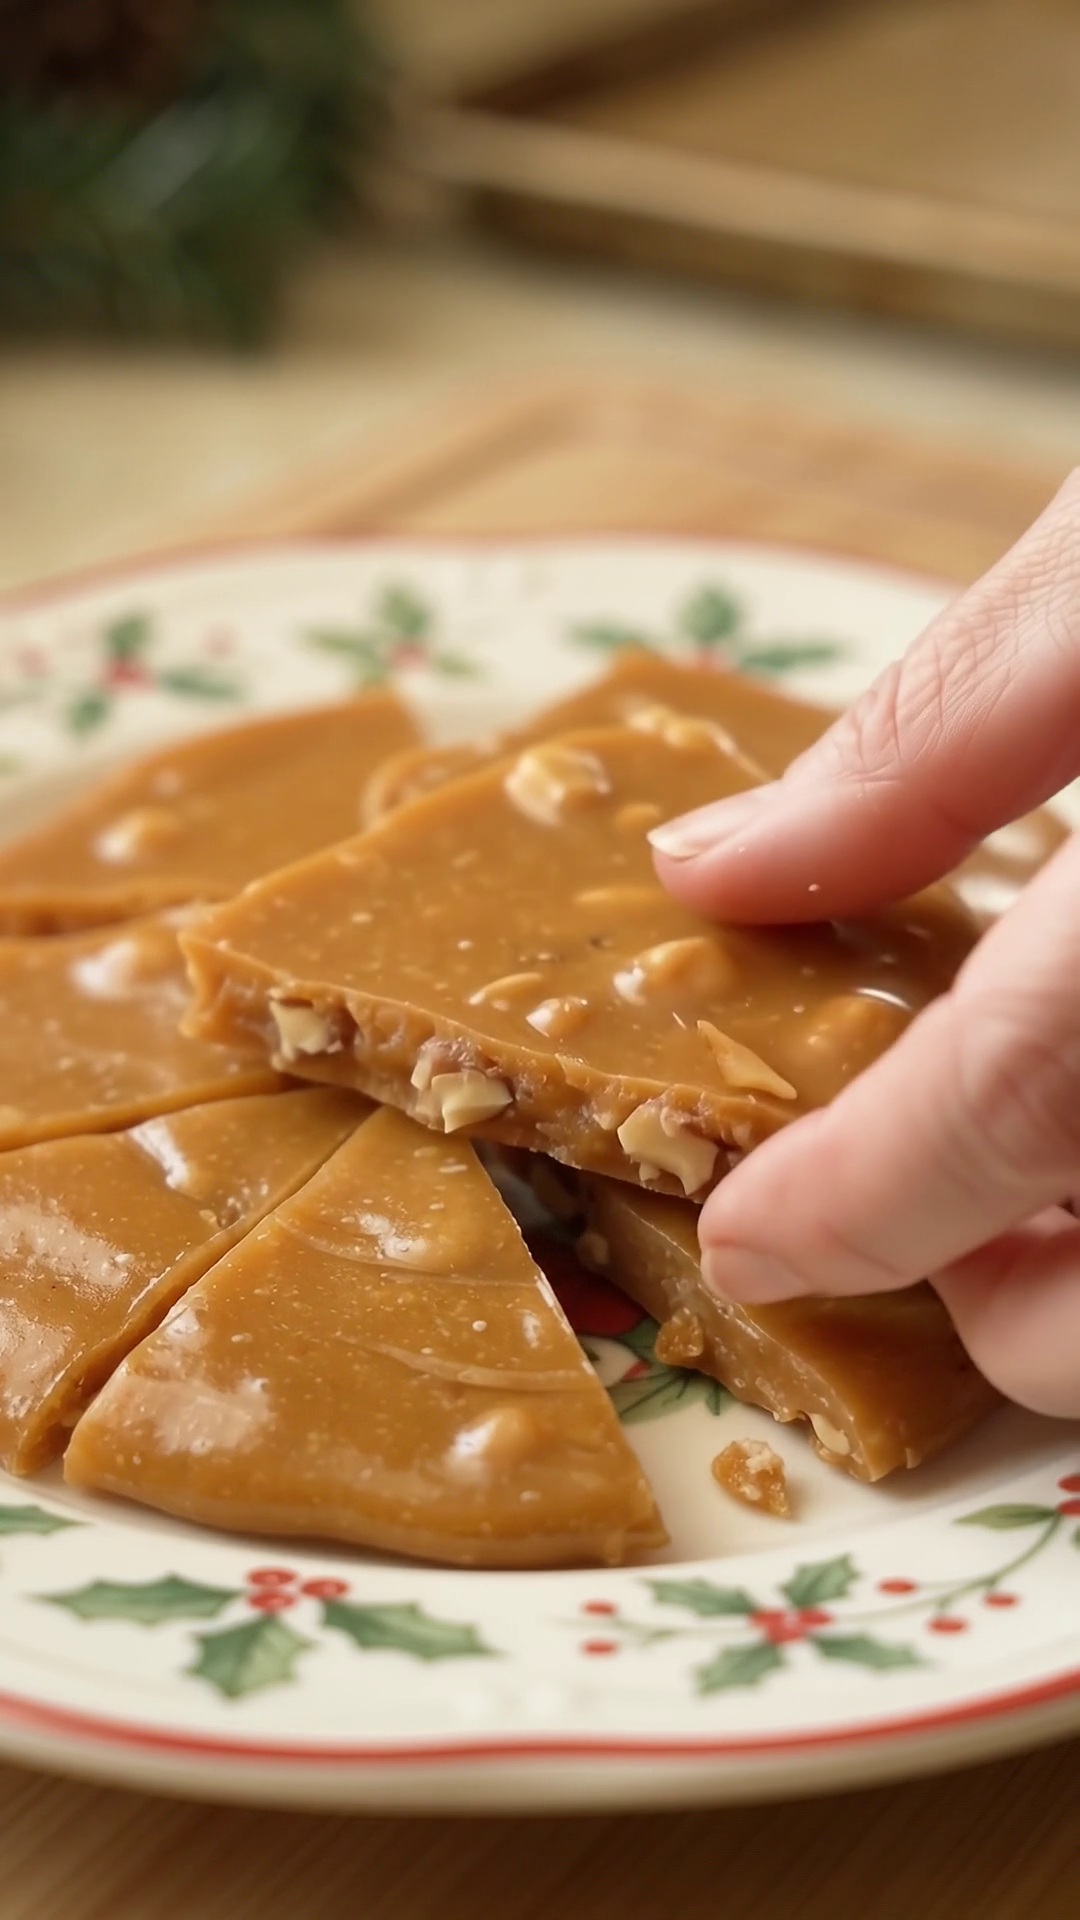
This Old-Fashioned Christmas Caramel Toffee is a simple holiday treat made with buttery caramelized sugar and a touch of vanilla. It sets into a beautiful golden sheet that you can break into rustic pieces, just like the homemade candy families have shared during the holidays for generations.
Whether you’re filling Christmas cookie tins, preparing homemade gifts, or looking for a sweet treat to enjoy with coffee, this traditional caramel toffee is a wonderful addition to your holiday baking.
Why You’ll Love This Homemade Caramel Toffee
One of the best things about this recipe is how a handful of everyday ingredients can become something so delicious.
- Simple ingredients: Butter, sugar, water, salt, and vanilla.
- Perfect for Christmas: A beautiful addition to holiday candy trays.
- Great for gifting: Package the pieces in festive tins or treat bags.
- Make-ahead friendly: Prepare several days before Christmas.
- Rich, buttery flavor: Sweet caramel with a satisfying crunch.
Unlike soft caramel candies, this old-fashioned toffee becomes firm and crisp as it cools.
Ingredients for Christmas Caramel Toffee
Yield: Approximately 24 pieces
- 1 cup (2 sticks / 226 g) unsalted butter
- 1 cup (200 g) packed light brown sugar
- 2 tablespoons water
- 1 teaspoon vanilla extract
- 1/4 teaspoon salt
Optional: 1/2 cup finely chopped toasted pecans for a nutty variation.
How to Make Old-Fashioned Christmas Caramel Toffee
Step 1: Prepare Your Baking Sheet
Line a small rimmed baking sheet or an 8-by-8-inch pan with parchment paper. Place it on a heatproof surface.
Have all your ingredients measured and ready before beginning. Once the caramel reaches the correct temperature, you’ll need to work quickly.
Step 2: Melt the Butter and Sugar
In a heavy-bottomed saucepan, combine the butter, brown sugar, water, and salt.
Place the saucepan over medium heat and stir gently with a wooden spoon or heatproof spatula until the butter melts and the ingredients combine.
The mixture will begin bubbling and gradually develop a beautiful golden caramel color.
Step 3: Cook the Caramel
Attach a candy thermometer to the saucepan, making sure the tip doesn’t touch the bottom.
Continue cooking over medium heat, stirring gently and consistently, until the mixture reaches 300°F (149°C), also known as the hard-crack stage.
This usually takes about 8–12 minutes, depending on your stove and saucepan.
Watch carefully as the temperature rises. Caramel can burn quickly near the end.
Step 4: Add the Vanilla
Remove the saucepan from the heat as soon as the caramel reaches 300°F.
Carefully stir in the vanilla extract. The mixture may bubble vigorously, so keep your hands away from the steam.
Step 5: Pour and Spread
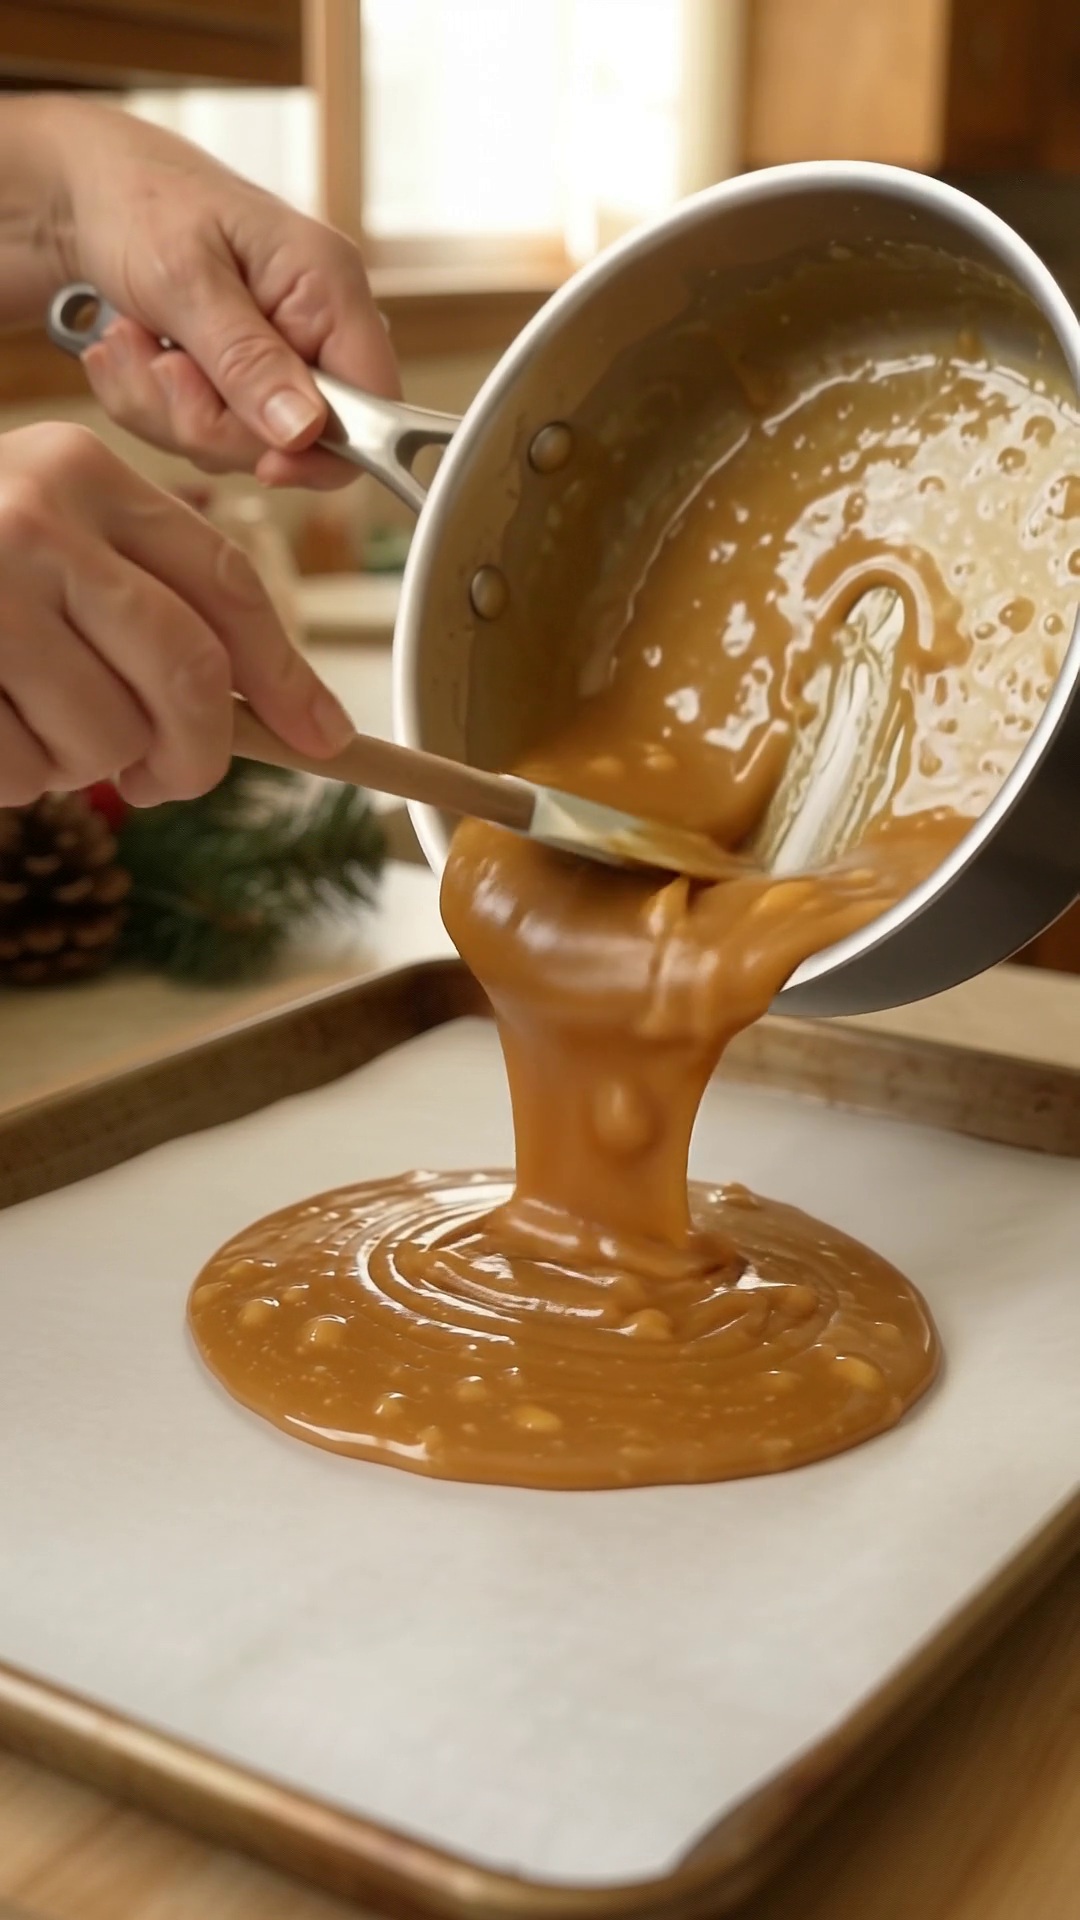
Immediately pour the hot caramel onto the prepared baking sheet.
Use a heatproof spatula to spread it into an even layer approximately 1/4 inch thick.
If using toasted pecans, sprinkle them over the surface while the caramel is still hot.
Step 6: Let the Toffee Cool
Allow the toffee to cool completely at room temperature for approximately 45–60 minutes, or until firm.
Do not touch the hot caramel during this stage. Melted sugar can cause serious burns.
Step 7: Break Into Pieces
Once completely cooled and hardened, lift the toffee from the baking sheet.
Break it into irregular pieces using clean hands or a sturdy knife.
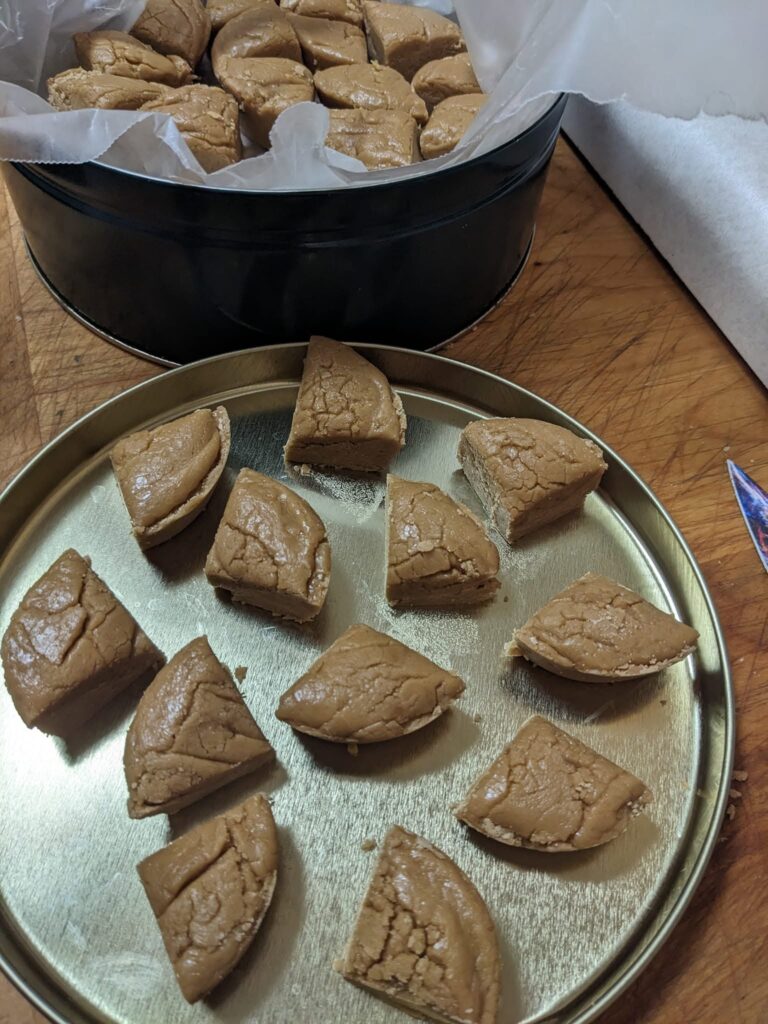
Arrange the golden pieces on a festive Christmas plate, or package them in decorative tins.
Your homemade Christmas caramel toffee is ready to enjoy!
Tips for Perfect Homemade Toffee
Use a heavy-bottomed saucepan. A thick saucepan distributes heat more evenly and helps prevent scorching.
Use a candy thermometer. Reaching 300°F is essential for achieving that classic crisp texture.
Avoid excessive heat. Medium heat gives the butter and sugar time to cook evenly.
Keep stirring gently. Consistent stirring helps the mixture stay combined. If the butter begins separating, reduce the heat slightly and continue stirring carefully.
Work quickly when pouring. Once removed from the stove, the caramel begins setting almost immediately.
Let it cool completely. Breaking the candy too early can result in sticky or uneven pieces.
Common Homemade Toffee Mistakes
Why Is My Toffee Soft or Chewy?
The most common reason is that the caramel didn’t reach the hard-crack stage.
For a crisp finish, the mixture should reach 300°F before being removed from the heat.
Why Did My Butter Separate?
Butter separation can happen when the mixture heats too quickly or cooks unevenly.
Use a heavy saucepan, moderate heat, and steady stirring to reduce the risk.
Why Does My Toffee Taste Burnt?
Caramel changes color rapidly as it approaches the final cooking temperature.
Remove the saucepan promptly when it reaches 300°F, and avoid using unnecessarily high heat.
Christmas Toffee Variations
Although traditional caramel toffee is delicious on its own, you can customize it for different occasions.
Chocolate-covered toffee: After the cooked toffee has cooled, spread melted chocolate over the surface and let it set.
Pecan caramel toffee: Sprinkle finely chopped toasted pecans over the freshly poured caramel.
Sea salt toffee: Add a light sprinkle of flaky sea salt while the caramel is still warm.
Almond toffee: Add toasted chopped almonds for extra crunch and flavor.
How to Store Homemade Caramel Toffee
Store completely cooled toffee in an airtight container at cool room temperature for up to two weeks.
Separate layers with parchment paper to prevent pieces from sticking together.
Keep the container away from direct sunlight, heat, and humidity.
Can You Freeze Homemade Toffee?
Yes! Place the cooled pieces in an airtight freezer-safe container, separating layers with parchment paper.
Freeze for up to three months for best quality.
Allow the sealed container to return to room temperature before opening to help prevent moisture from collecting on the candy.
How to Package Christmas Toffee for Gifts
Homemade caramel toffee makes a lovely Christmas gift.
Place several pieces inside a decorative holiday tin lined with parchment paper. You can also use food-safe cellophane bags tied with festive ribbons.
Add a small handwritten gift tag for a personal touch.
These homemade treats are perfect for neighbors, teachers, friends, and family members who appreciate traditional Christmas candy.
Frequently Asked Questions
1. Do I Need a Candy Thermometer?
A candy thermometer is strongly recommended. It helps ensure the caramel reaches the correct temperature for a crisp texture without burning.
2. Can I Use Salted Butter?
Yes. Salted butter works well, but omit the additional salt from the recipe to avoid making the toffee overly salty.
3. Can I Make Christmas Toffee Ahead of Time?
Absolutely! This candy is perfect for preparing several days before Christmas. Store it in an airtight container until you’re ready to serve or package it.
4. Why Is My Homemade Toffee Sticky?
Sticky toffee can result from undercooking or exposure to humidity. Make sure the caramel reaches 300°F and store the finished candy in a tightly sealed container.
A Sweet Christmas Tradition Worth Keeping
Sometimes the simplest recipes create the sweetest memories.
A saucepan of bubbling caramel, a tray of golden homemade candy, and a kitchen filled with the comforting smell of butter and sugar can make an ordinary afternoon feel like Christmas.
This Old-Fashioned Christmas Caramel Toffee is more than just a sweet treat. It’s a delicious way to bring a little homemade holiday tradition into your kitchen.
Make a batch, share it with someone you love, and enjoy every buttery, crunchy bite.