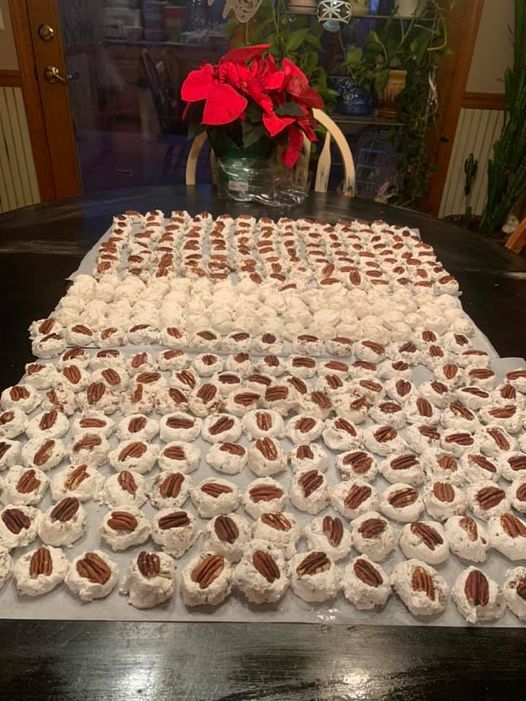
🍬 Easy Peanut Butter Meltaway Candy
If you grew up during a time when neighbors shared Christmas tins filled with homemade candy, or church ladies brought trays of fudge and no-bake treats to every gathering, you probably remember meltaways. There’s just something special about that smooth, silky bite that melts on your tongue before you’ve even taken your second chew.
These peanut butter meltaways take me right back to those days. They’re the kind of old-fashioned candy that feels like it belongs in a vintage cookbook tucked in Grandma’s drawer—simple ingredients, quick mixing, and a flavor that warms your heart. And the best part? No candy thermometer. No stovetop. No fuss.
Just a mixing bowl, a microwave, and a handful of ingredients that come together into the creamiest chocolate-peanut butter treat you’ll ever make.
The handwritten recipe you shared even says, “My guys like these better than Gardner’s peanut butter melt aways.” That’s high praise, and honestly… they’re right. This recipe is smooth, decadent, and incredibly easy.
If nostalgic treats are your love language, you’ll also enjoy my
Chocolate Truffle Fudge — another melt-in-your-mouth classic.
2. Why You’ll Love This Recipe
-
✔ Only 4 ingredients
-
✔ No-bake and foolproof
-
✔ Silky meltaway texture
-
✔ Perfect for gifting
-
✔ Makes a big batch
-
✔ Great for holidays & parties
-
✔ Uses microwave only — no stress, no mess
3. Ingredients & Helpful Tips
Ingredients
-
12 oz light chocolate melting wafers
-
12 oz white chocolate melting wafers
-
1 ½ cups creamy peanut butter
-
1 teaspoon vegetable oil
Choosing the Best Ingredients
Light chocolate wafers:
Give the meltaways their signature silky chocolate flavor.
White chocolate wafers:
Adds creaminess. Avoid white chocolate chips (they don’t melt right).
Peanut butter:
Use creamy—not natural. Natural PB separates and causes graininess.
Vegetable oil:
This tiny amount ensures clean release from molds.
Substitutions
-
Almond butter → instead of peanut butter
-
Coconut oil → instead of vegetable oil
-
Dark chocolate → instead of light chocolate
-
Sugar-free chocolate wafers → keto/low sugar
Dietary Options
-
Gluten-free: Most melting wafers are already GF.
-
Dairy-free: Use dairy-free chocolate (like Enjoy Life) & almond butter.
-
Low-sugar: Use sugar-free chocolate wafers.
4. Step-by-Step Instructions
Step 1 — Melt the chocolate
In a large microwave-safe mixing bowl, add both the light chocolate wafers and white chocolate wafers.
Microwave at 50% power, stirring every minute until fully melted and smooth.
Step 2 — Add peanut butter and oil
Stir in the peanut butter and vegetable oil until the mixture becomes silky and uniform.
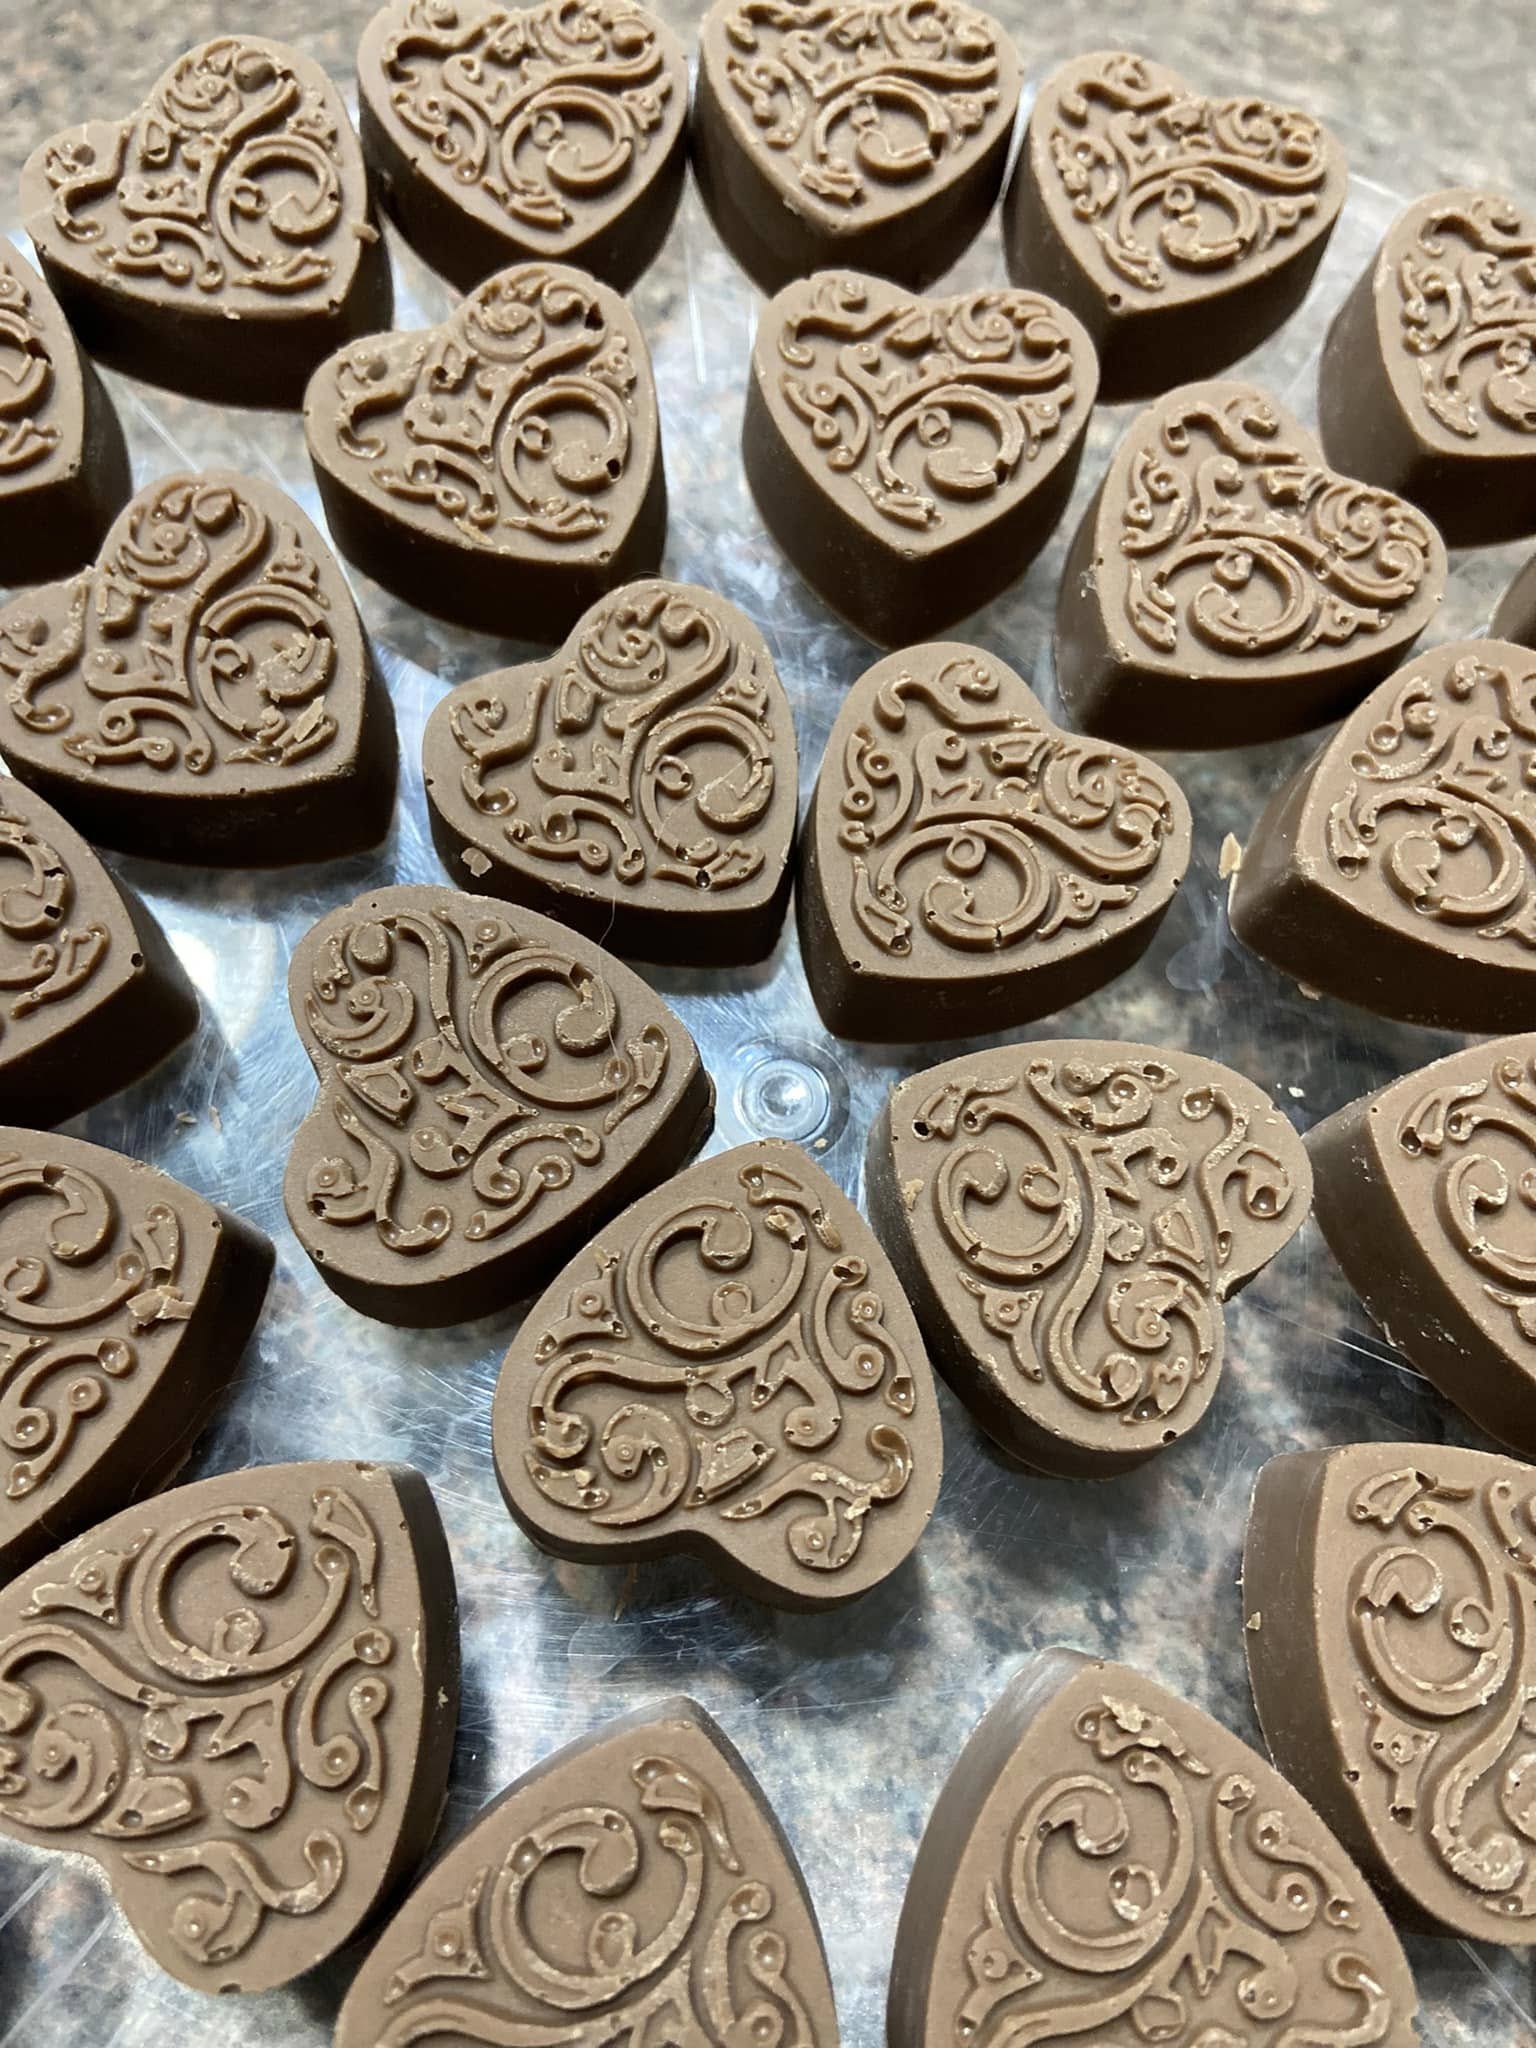
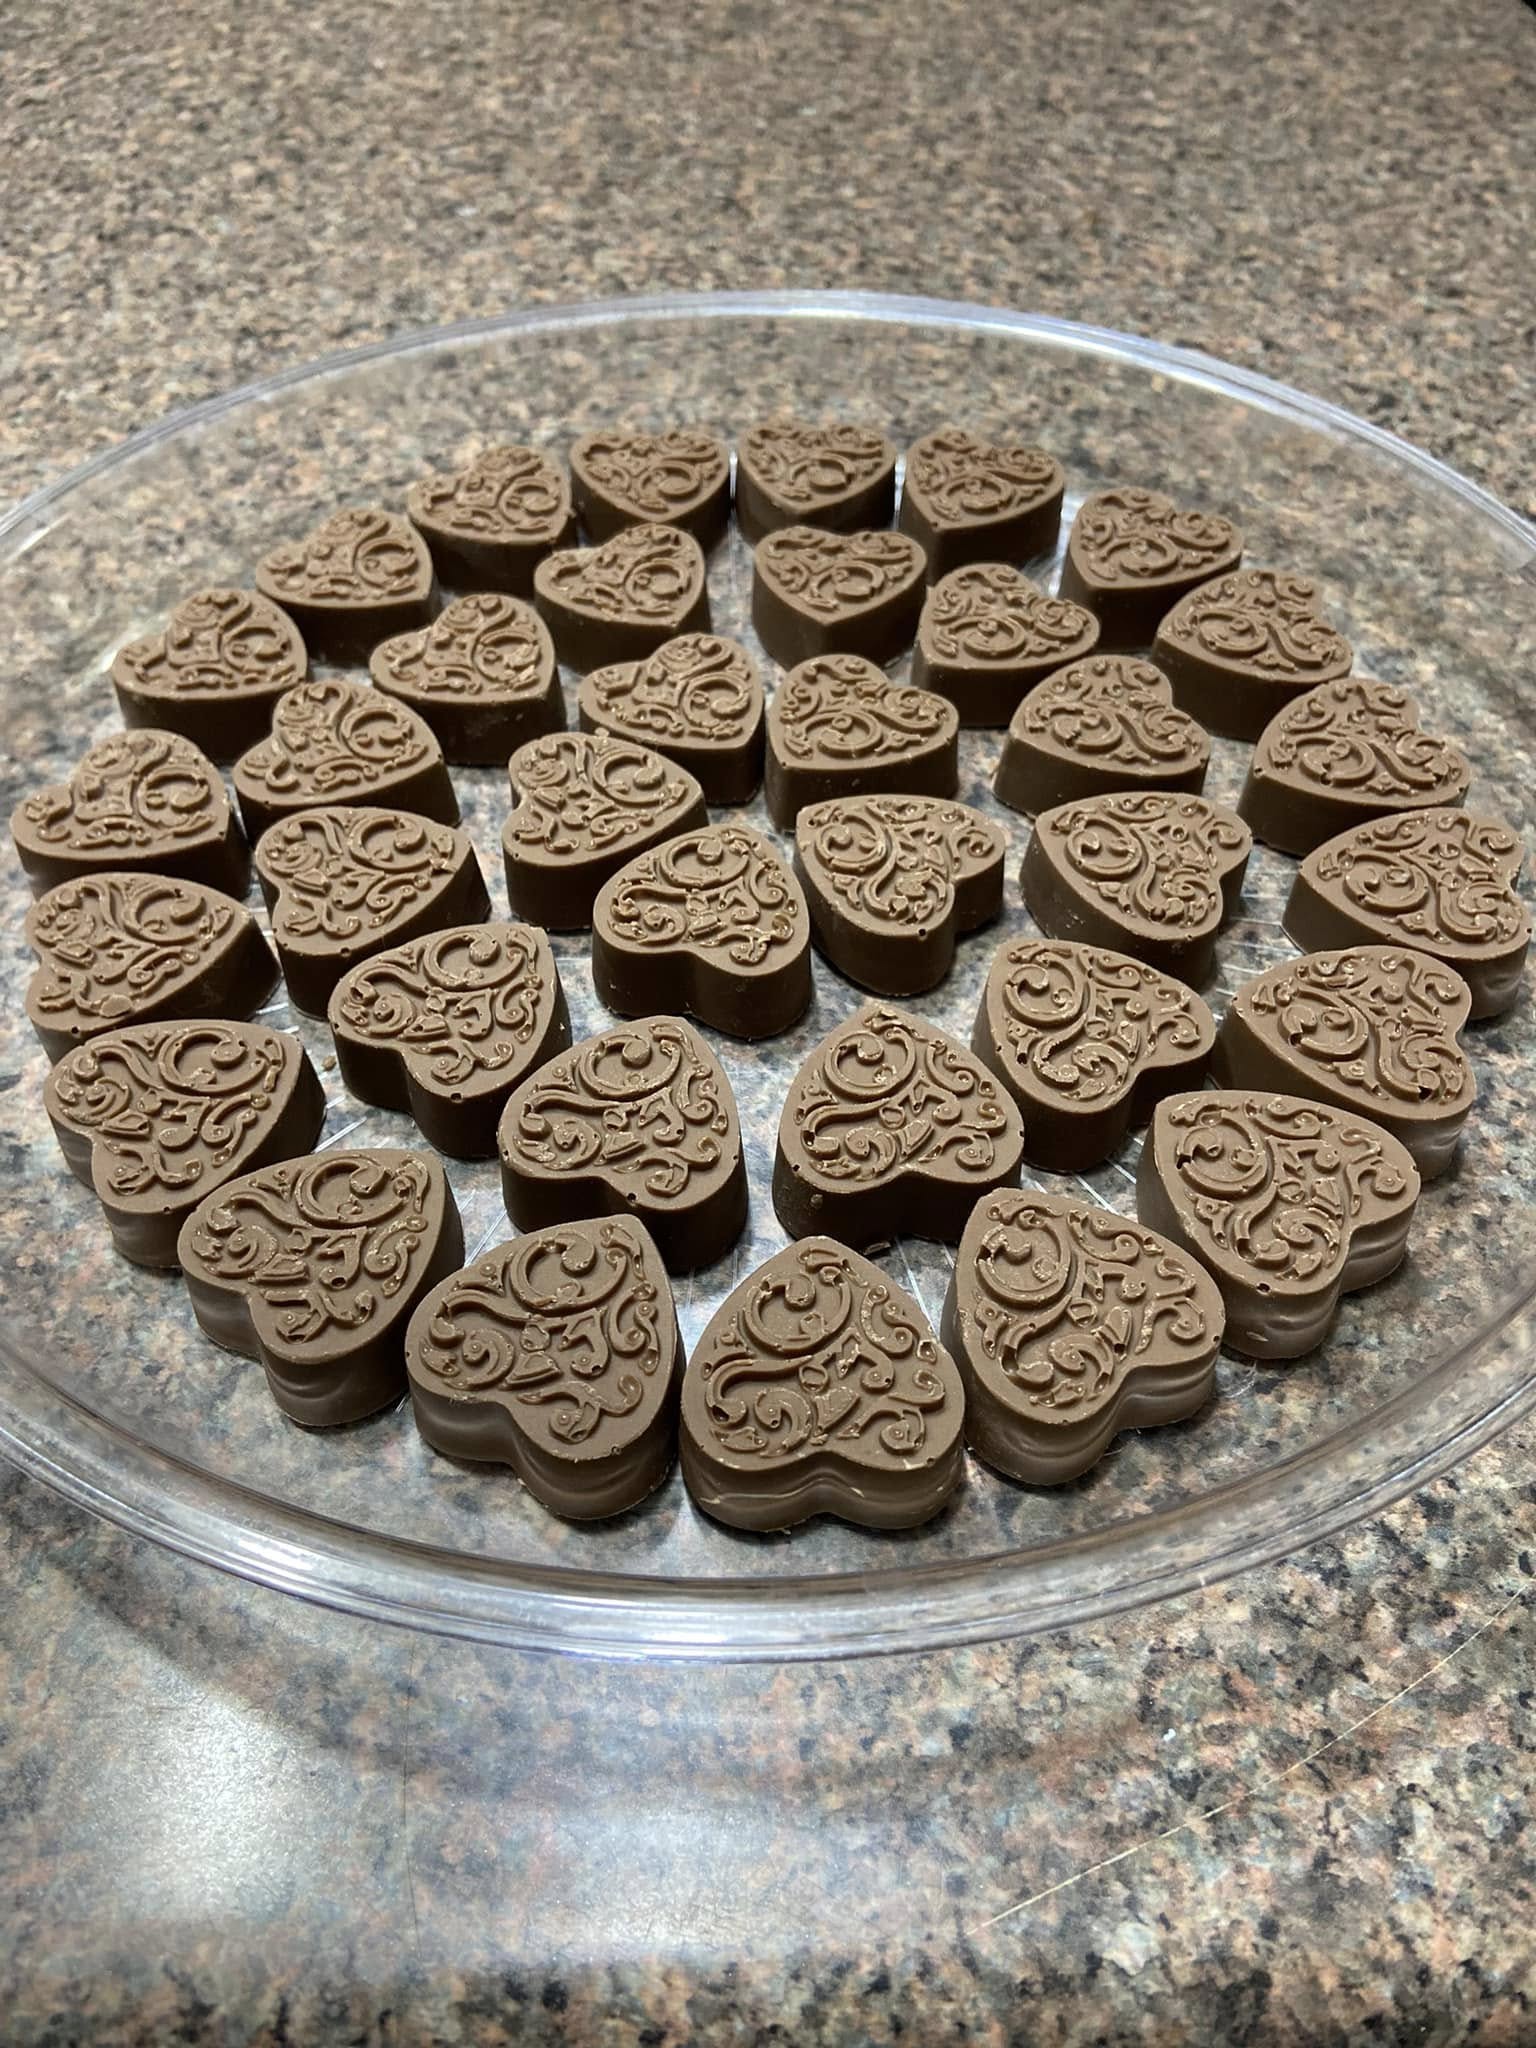
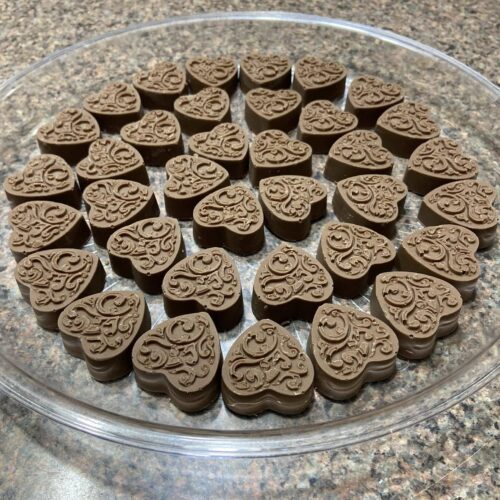
Step 3 — Fill your molds
Pour into silicone molds (your heart-shaped design is gorgeous!), mini muffin liners, or a glass baking dish.
Step 4 — Chill
Refrigerate for 20–25 minutes, or until completely firm.
Pop out of molds and admire those beautiful designs.
Step 5 — Enjoy or store
Serve immediately or store in an airtight container.
5. Expert Tips & Troubleshooting
✔ Why are my meltaways grainy?
You likely microwaved at too high a temperature. Always use 50% power.
✔ Why won’t they pop out of the molds?
They aren’t cold enough. Freeze for 10 minutes for quick release.
✔ Can I use chocolate chips?
Not recommended—chips contain stabilizers that prevent smooth melting.
✔ How do I make them extra silky?
Add an extra ½ teaspoon of oil.
6. Variations
❤️ Valentine’s Hearts
Use red or pink drizzle over your heart-shaped molds.
🎄 Christmas Meltaways
Sprinkle with crushed peppermint.
🥜 Crunchy Meltaways
Add chopped peanuts or crushed pretzels.
🍓 PB&J Meltaways
Drizzle with strawberry or raspberry candy melts.
7. Serving Suggestions
-
Add to a candy tray with
Old-Fashioned Potato Candy -
Pair with
Homemade Chocolate Covered Cherries -
Serve with a cold glass of
Homemade Sun Tea -
Add to a holiday cookie exchange
-
Wrap in cellophane bags for gifting
8. Storage & Make-Ahead
Refrigerator:
Up to 3 weeks.
Freezer:
Up to 3 months. Thaw at room temp.
Make-Ahead:
Perfect make-ahead candy for holidays or parties.
9. FAQ
Do peanut butter meltaways need to be refrigerated?
Yes — they stay firmer and silky-smooth.
Can I use natural peanut butter?
No, it separates. Use classic creamy.
Can I double this recipe?
Yes — it scales perfectly.
Can I use silicone candy molds?
Absolutely! They pop out beautifully.
Peanut Butter Meltaway Candy
Equipment
- Microwave-safe mixing bowl
- Silicone molds or mini muffin pan
- Spoon or silicone spatula
Ingredients
- 12 oz light chocolate melting wafers
- 12 oz white chocolate melting wafers
- 1 ½ cups creamy peanut butter
- 1 teaspoon vegetable oil
Instructions
- In a large microwave-safe bowl, combine the light chocolate melting wafers and white chocolate melting wafers.
- Microwave at 50% power, stirring every minute until fully melted and smooth.
- Stir in the creamy peanut butter and vegetable oil until the mixture becomes silky and uniform.
- Pour the mixture into silicone molds, mini muffin cups, or a parchment-lined baking dish.
- Refrigerate for 20–25 minutes, or until firm.
- Pop out of molds or cut into squares. Enjoy!
Notes
❤️ Conclusion + Call to Action
These easy peanut butter meltaway candies are one of those simple recipes that become instant family traditions. Silky, creamy, rich, and melt-in-your-mouth perfect. If you make a batch, I’d love to hear how they turned out!