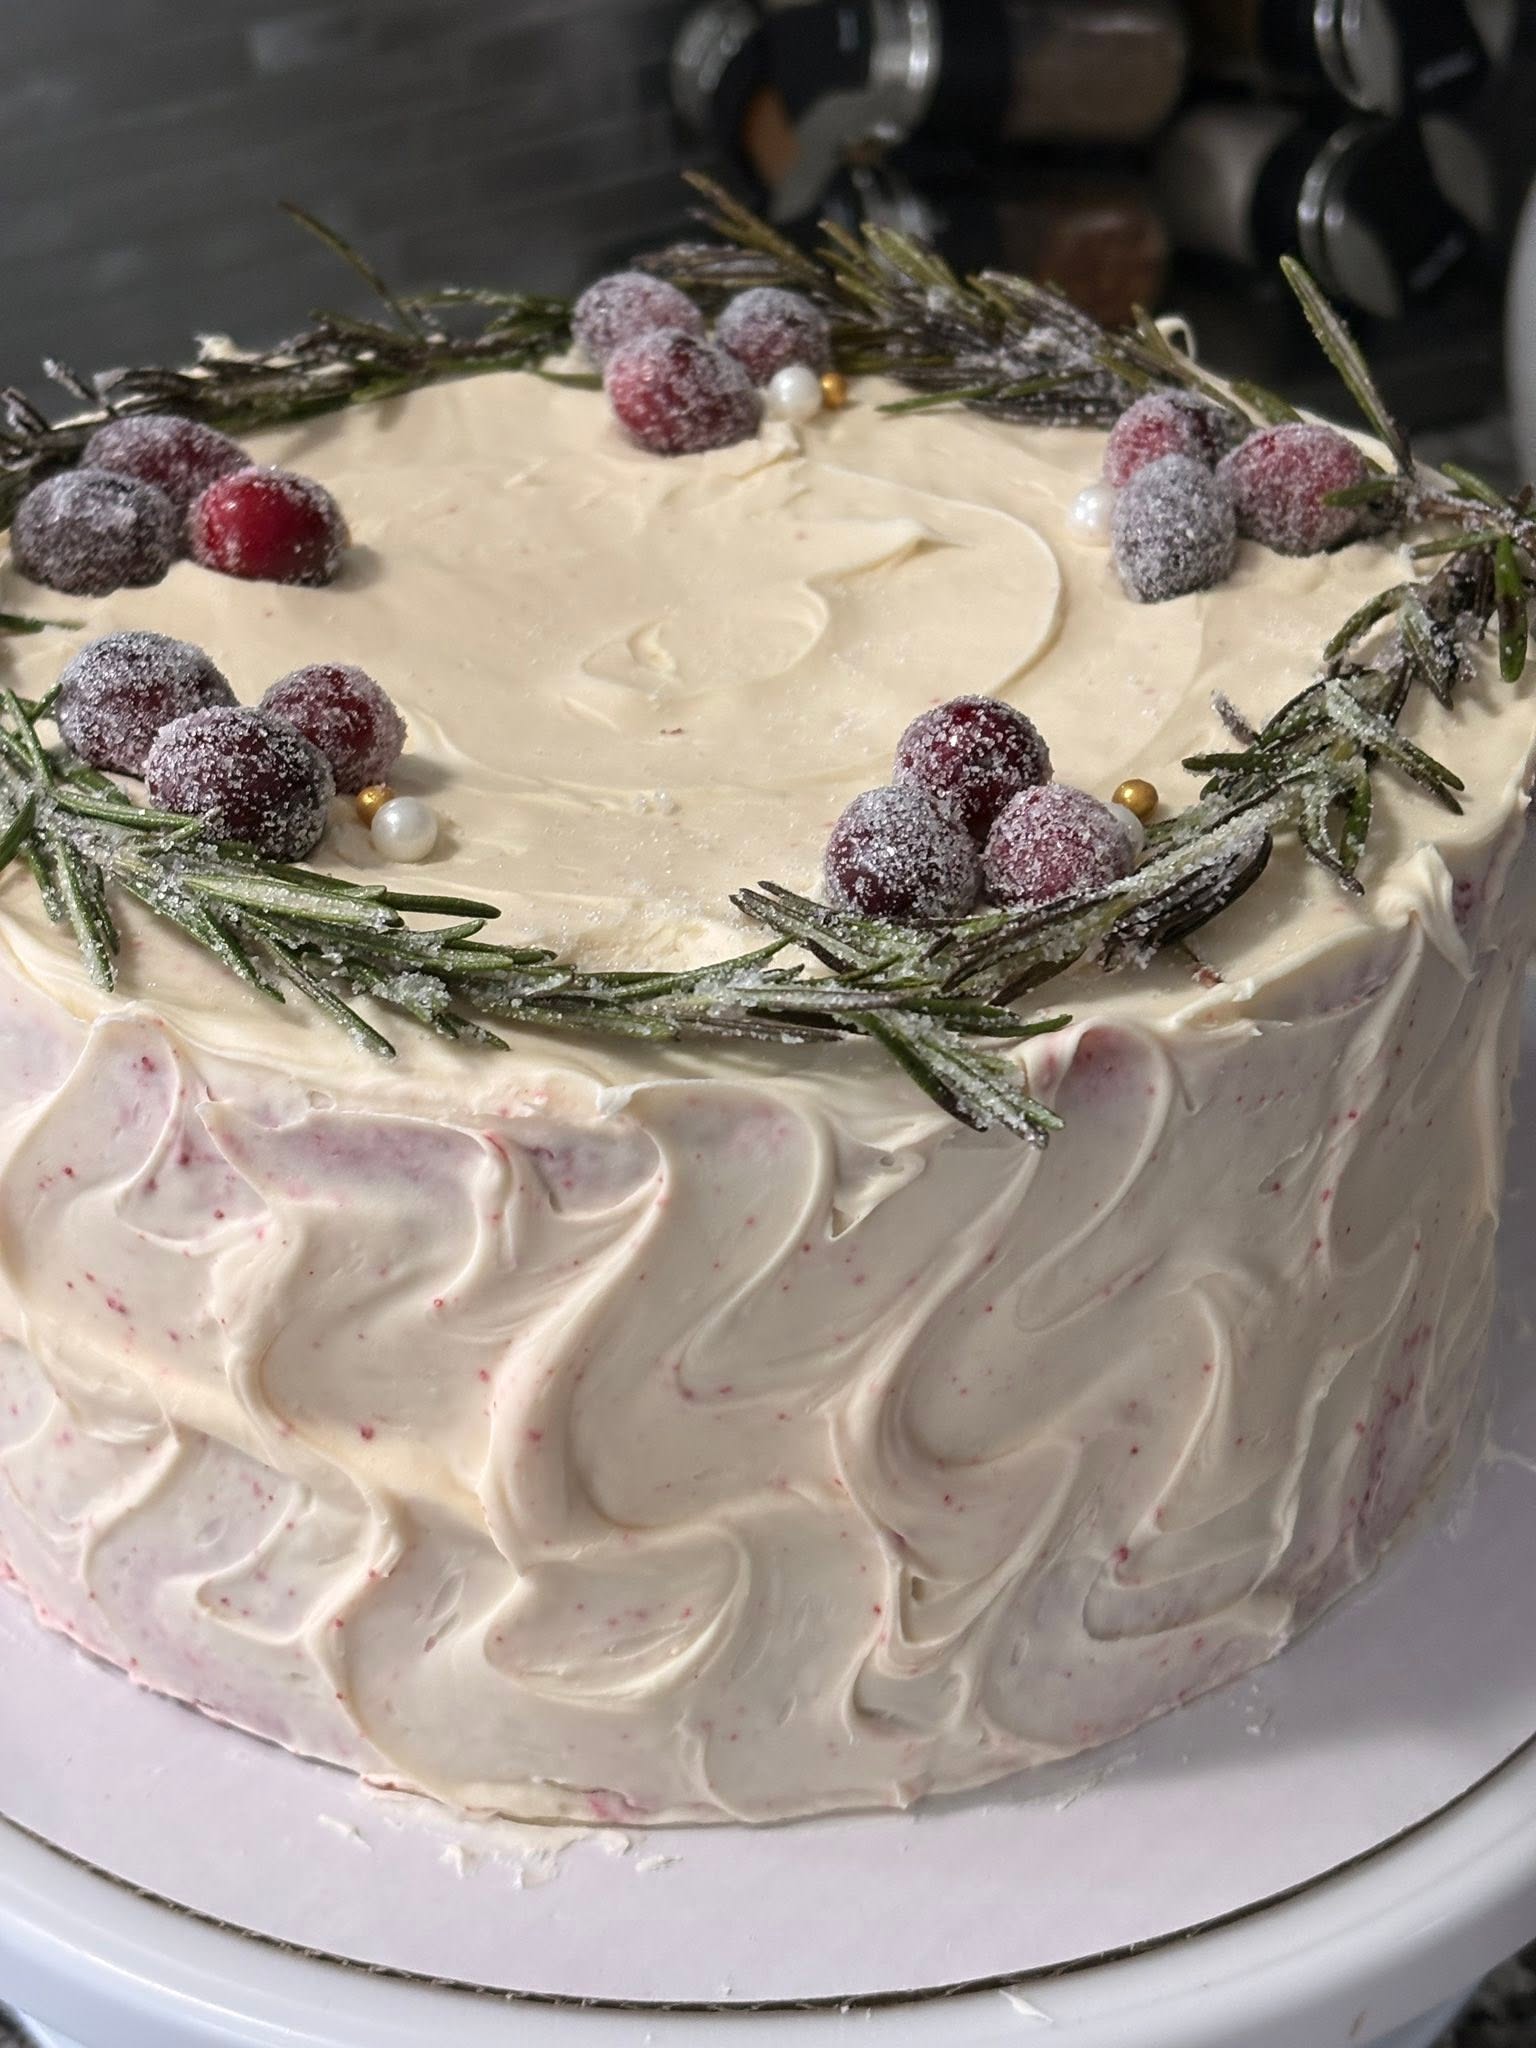
Festive Red Velvet Christmas Cake (with Cream Cheese Frosting)
The Ultimate Holiday Centerpiece: Classic Red Velvet Cake
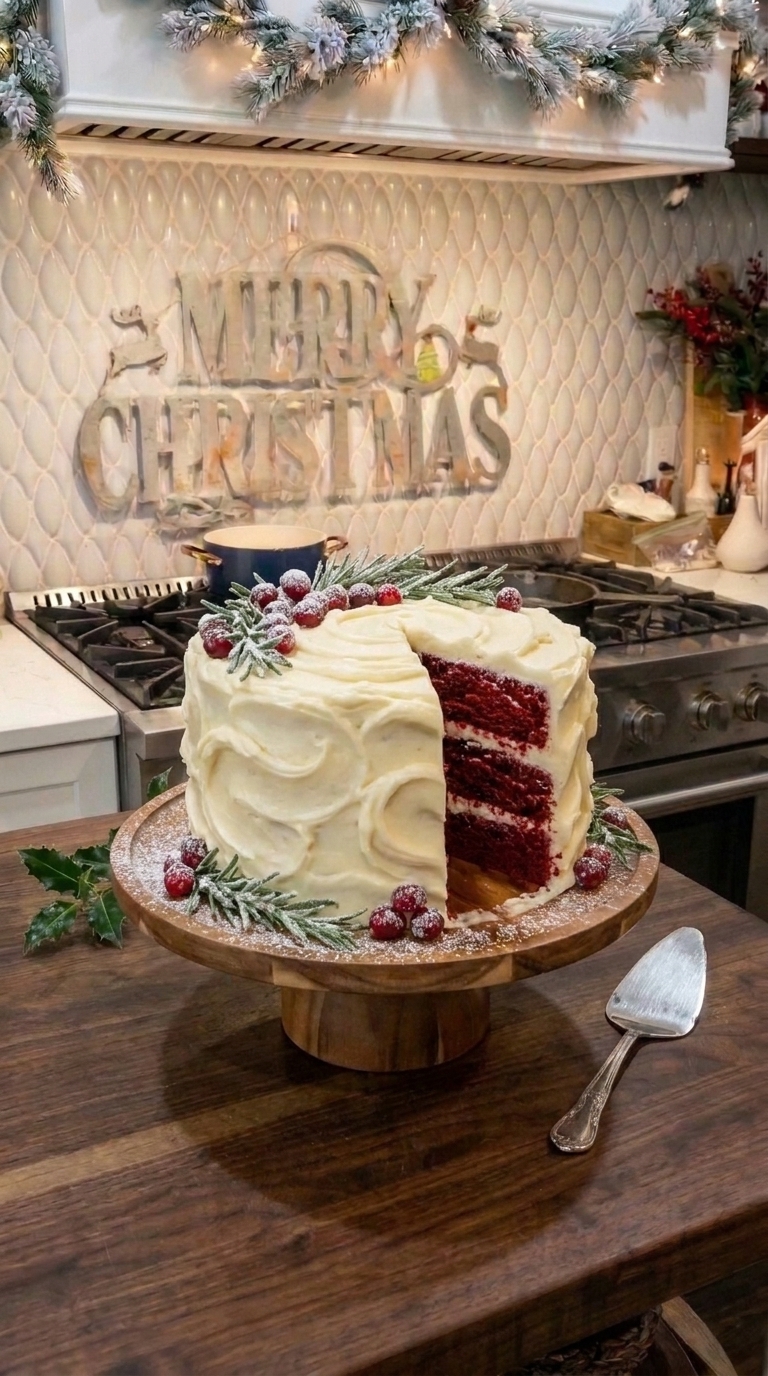
There is nothing quite as stunning on a dessert table as a towering, vibrant red velvet cake. With its gorgeous crimson layers contrasting sharply against thick, snowy-white cream cheese frosting, this dessert practically screams Christmas cheer. Red velvet is a beloved classic that strikes the perfect balance between a rich chocolate cake and a tender, buttery vanilla sponge.
The secret to this iconic dessert lies in the magical chemical reaction between the buttermilk, vinegar, and cocoa powder. This combination creates a velvety, melt-in-your-mouth crumb that is simply unmatched by standard cake mixes. Paired with a luscious, tangy cream cheese frosting that balances the sweetness perfectly, this red velvet Christmas cake is guaranteed to become a highly requested holiday tradition in your household.
Whether you are hosting an elegant Christmas Eve dinner or looking for a show-stopping dessert to bring to a festive potluck, this foolproof recipe guarantees bakery-quality results. Unlike traditional butter-based cakes that can dry out quickly in the fridge, this recipe utilizes vegetable oil to ensure the sponge stays incredibly moist for days. Pull out your cake pans, and let’s get baking!
Why You’ll Love This Recipe
-
Stunning Presentation: The brilliant red crumb against the bright white frosting creates a breathtaking centerpiece for any holiday meal.
-
Incredibly Moist: Using vegetable oil instead of butter in the cake batter ensures the layers stay tender and moist for days without drying out.
-
Perfect Flavor Balance: The slight tanginess of the buttermilk and cream cheese frosting perfectly offsets the sweet, cocoa-infused sponge.
-
The Signature Crumb: The combination of vinegar and baking soda gives the cake a gorgeous lift and that iconic “velvet” texture.
-
Make-Ahead Friendly: You can bake the layers in advance and freeze them, making your holiday dessert prep entirely stress-free.
Ingredients
-
Flour: 2 ½ cups of all-purpose flour. This provides the structure for the cake layers.
-
Sugar: 1 ½ cups of granulated white sugar for the perfect amount of sweetness.
-
Cocoa Powder: ¼ cup of unsweetened cocoa powder. Red velvet is actually a light chocolate cake, and this provides that signature background flavor.
-
Baking Soda & Salt: 1 teaspoon of baking soda for lift, and 1 teaspoon of salt to balance the sweetness.
-
Vegetable Oil: 1 ½ cups of vegetable oil (or canola oil). Oil coats the flour proteins better than butter, resulting in a supremely moist crumb.
-
Buttermilk: 1 cup of room temperature buttermilk. The acidity tenderizes the gluten and reacts with the baking soda.
-
Eggs: 2 large eggs, at room temperature, to bind the batter.
-
Food Coloring: 1 tablespoon of liquid red food coloring to achieve that stunning crimson hue.
-
Vinegar: 1 teaspoon of white vinegar. This gives the baking soda an extra boost for a fluffy texture.
-
Vanilla Extract: 1 teaspoon for the cake batter and 1 teaspoon for the frosting.
-
Cream Cheese: 16 ounces (two blocks) of full-fat cream cheese, softened to room temperature for the frosting.
-
Butter: ½ cup (1 stick) of unsalted butter, softened, to provide structure to the frosting.
-
Powdered Sugar: 4 cups of powdered sugar to sweeten and thicken the cream cheese frosting.
-
Optional Garnishes: Crushed pecans, festive holiday sprinkles, or white chocolate curls for decorating.
Step-by-Step Instructions
Step 1: Prep the Oven and Pans
Preheat your oven to 350°F (175°C). Grab two 9-inch round cake pans. Grease the bottoms and sides generously with non-stick baking spray or butter, then lightly dust them with flour. For extra insurance against sticking, trace the bottom of the pans onto parchment paper, cut out the circles, and line the bottom of each pan.
Step 2: Whisk the Dry Ingredients
In a large mixing bowl, combine the all-purpose flour, granulated sugar, baking soda, salt, and cocoa powder. Use a wire whisk to blend everything together thoroughly, making sure there are no hard lumps of cocoa powder remaining in the mixture.
Step 3: Combine the Wet Ingredients
In a separate, medium-sized bowl, whisk together the vegetable oil, room temperature buttermilk, and the two large eggs. Once combined, whisk in the red food coloring, white vinegar, and vanilla extract until the mixture is entirely smooth and brightly colored.
Step 4: Mix the Batter
Pour the bright red wet ingredients directly into the bowl with your dry ingredients. Use a rubber spatula or a wooden spoon to mix everything together just until combined. Be very careful not to overmix the batter; stop stirring the exact moment the last streak of dry flour disappears to ensure a tender cake.
Step 5: Bake the Cake Layers
Divide the red velvet batter evenly between your two prepared 9-inch cake pans. Use your spatula to smooth the tops. Bake in the preheated oven for 30 to 35 minutes. You will know they are done when a toothpick inserted into the very center of the cakes comes out clean. Let the cakes cool in their pans for 10 minutes before turning them out onto wire racks to cool completely.
Step 6: Whip the Cream Cheese Frosting
While the cakes cool, make your frosting. In the bowl of a stand mixer (or using a hand mixer), beat the softened cream cheese and softened butter together on medium-high speed until entirely smooth and lump-free. Gradually add the powdered sugar, about one cup at a time, beating well after each addition. Mix in the vanilla extract and beat until the frosting is light, fluffy, and spreadable.
Step 7: Assemble and Decorate
If your cake layers have domed in the oven, use a serrated knife to carefully trim the tops so they are perfectly flat. Place your first cake layer onto a serving plate or cake stand. Spread a thick, even layer of cream cheese frosting over the top. Place the second cake layer on top, then use the remaining frosting to cover the top and outsides of the cake.
Expert Cooking Tips
-
Use Room Temperature Dairy: Pull your eggs, buttermilk, cream cheese, and butter out of the fridge at least an hour before baking. Cold ingredients will not emulsify properly, leading to a lumpy frosting and a dense cake.
-
Do Not Overmix: Once the wet and dry ingredients meet, mix with a gentle hand. Overworking the batter develops the gluten in the flour, which will make your cake tough and rubbery rather than velvety.
-
Level Your Cakes: Taking the time to slice the rounded domes off your baked layers ensures your stacked cake is stable, flat, and looks like it came from a professional bakery.
-
Sift the Powdered Sugar: If your powdered sugar has been sitting in the pantry for a while, sift it before adding it to the cream cheese and butter. This guarantees a silky smooth frosting without any gritty sugar lumps.
-
Chill Before Frosting: Never attempt to frost a warm cake! The heat will instantly melt the butter in your cream cheese frosting, causing the layers to slide off each other. The cakes must be completely cool to the touch.
Variations to Try
-
Peppermint Red Velvet: Add ½ teaspoon of peppermint extract to the cream cheese frosting and garnish the top of the cake with crushed candy canes for a festive twist.
-
Pecan Coated: Gently press finely chopped, toasted pecans into the sides of the frosted cake. This adds a wonderful, earthy crunch that is very traditional in Southern bakeries.
-
Red Velvet Cupcakes: You can easily use this batter to make cupcakes instead. Line a muffin tin with paper liners, fill them two-thirds full, and bake at 350°F (175°C) for 18 to 22 minutes.
-
White Chocolate Frosting: If you are not a fan of cream cheese, substitute it with a rich white chocolate buttercream or a classic Swiss meringue buttercream.
What to Serve With Red Velvet Christmas Cake
This rich, dramatic cake is the absolute star of the dessert table and requires very little to accompany it. Serve large slices with a steaming cup of dark roast coffee or a pot of English Breakfast tea; the bitterness of the coffee perfectly balances the sweet frosting.
If you are serving this for a special holiday dinner, you can plate individual slices with a small scoop of vanilla bean ice cream or a dollop of unsweetened whipped cream on the side.
Storage & Reheating
Refrigerator
Because the frosting contains cream cheese, this cake must be refrigerated. Store the cake in a cake keeper or cover it loosely with plastic wrap. It will stay wonderfully moist in the refrigerator for up to 5 days.
Freezer
You can freeze the unfrosted cake layers ahead of time! Wrap the completely cooled layers tightly in plastic wrap, then in aluminum foil, and freeze for up to 2 months. Thaw them overnight in the fridge before frosting. You can also freeze individual slices of the frosted cake in airtight containers for up to a month.
Reheating
Cake is best enjoyed at room temperature. Pull the whole cake or individual slices out of the refrigerator about 30 to 45 minutes before you plan to eat so the cream cheese frosting can soften up and the crumb can relax. If you are in a rush, microwave a slice for just 10 seconds.
Frequently Asked Questions
Why do I need to use vinegar in this cake?
White vinegar reacts with the baking soda and the buttermilk. This chemical reaction creates tiny carbon dioxide bubbles in the batter, which is what gives red velvet cake its signature light, fluffy, and “velvety” texture.
Can I make this without food coloring?
Yes, you can omit the food coloring completely. The cake will still taste exactly the same! However, the color of the cake will be a light, reddish-brown cocoa color rather than the vibrant crimson associated with red velvet.
Can I use regular milk instead of buttermilk?
If you do not have buttermilk, you need to make a substitute to maintain the acidity. Add 1 tablespoon of white vinegar or lemon juice to a measuring cup, then fill it to the 1-cup line with regular whole milk. Let it sit for 5 minutes to curdle before using.
Why did my cream cheese frosting turn out runny?
Runny frosting usually happens if the cream cheese or butter was too warm (almost melting) when beaten, or if you used a low-fat cream cheese spread from a tub. Always use full-fat cream cheese blocks and only let them soften to room temperature.
Is red velvet just chocolate cake with red dye?
Not exactly! While it contains cocoa powder, it has significantly less cocoa than a traditional chocolate cake. The addition of buttermilk and vinegar alters the flavor profile, making red velvet its own distinct, tangy, and light flavor category.
Final Thoughts
Baking a spectacular red velvet Christmas cake from scratch is much easier than it looks, and the results are incredibly rewarding. With its soft, velvety crumb and rich cream cheese frosting, this cake not only looks like a holiday miracle but tastes like one, too. Whether you are continuing a family tradition or starting a new one this year, this gorgeous crimson cake is sure to bring joy to everyone at your table.
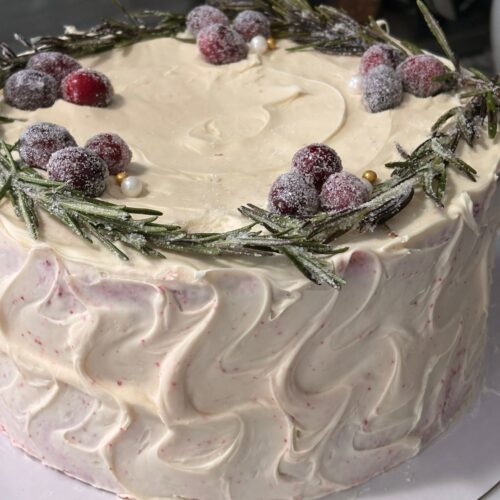
Festive Red Velvet Christmas Cake
A show-stopping holiday dessert! This classic, from-scratch red velvet cake is incredibly moist and features a tangy, sweet cream cheese frosting.
Ingredients
- Cake Layers:
- 2 1/2 cups all-purpose flour
- 1 1/2 cups granulated sugar
- 1 teaspoon baking soda
- 1 teaspoon salt
- 1/4 cup unsweetened cocoa powder
- 1 1/2 cups vegetable oil or canola oil
- 1 cup buttermilk room temperature
- 2 large eggs room temperature
- 1 tablespoon liquid red food coloring
- 1 teaspoon white vinegar
- 1 teaspoon vanilla extract
- Cream Cheese Frosting:
- 16 oz full-fat cream cheese 2 blocks, softened
- 1/2 cup unsalted butter 1 stick, softened
- 4 cups powdered sugar
- 1 teaspoon vanilla extract
Instructions
- Preheat the oven to 350°F (175°C). Grease two 9-inch round cake pans and line the bottoms with parchment paper.
- In a large bowl, whisk together the flour, sugar, baking soda, salt, and cocoa powder until well combined.
- In a separate bowl, whisk together the vegetable oil, buttermilk, eggs, red food coloring, white vinegar, and vanilla extract until smooth.
- Pour the wet ingredients into the dry ingredients. Mix with a spatula just until combined and no dry streaks remain. Do not overmix.
- Divide the batter evenly between the two prepared cake pans.
- Bake for 30-35 minutes, or until a toothpick inserted into the center comes out clean. Let the cakes cool in the pans for 10 minutes, then turn out onto wire racks to cool completely.
- To make the frosting: In a large bowl, beat the softened cream cheese and butter until smooth. Gradually add the powdered sugar and vanilla, beating until light and fluffy.
- Level the cooled cakes with a knife if needed. Place one layer on a serving plate, spread a thick layer of frosting over the top, then place the second layer on top.
- Frost the top and outside of the entire cake with the remaining cream cheese frosting. Chill until ready to serve.
Notes
Room Temperature Ingredients: Ensure your eggs, buttermilk, butter, and cream cheese are at room temperature for the best texture and a smooth frosting.
Cool Completely: Do not frost the cake until the layers are completely cool, or the cream cheese frosting will melt.
Storage: Because of the dairy in the frosting, this cake must be stored in the refrigerator. Let slices sit at room temperature for 30 minutes before serving.