Old Fashioned Cast Iron Cornbread — A Crispy Southern Classic
There is a very specific sound that transports me straight back to my grandmother’s kitchen—the aggressive, popping sizzle of wet cornmeal batter hitting a smoking hot cast iron frying pan. It is a sound that commands attention. Long before you even sit down at the table, that initial crackle tells you that supper is almost ready and that the bread is going to have that thick, crunchy, golden-brown crust we all fight over. In our Old Fashioned Family Recipes Facebook community, we share so many memories tied to heirloom cookware. Seeing the photographs of your well-seasoned skillets reminded me that some methods simply cannot be improved upon by modern shortcuts.
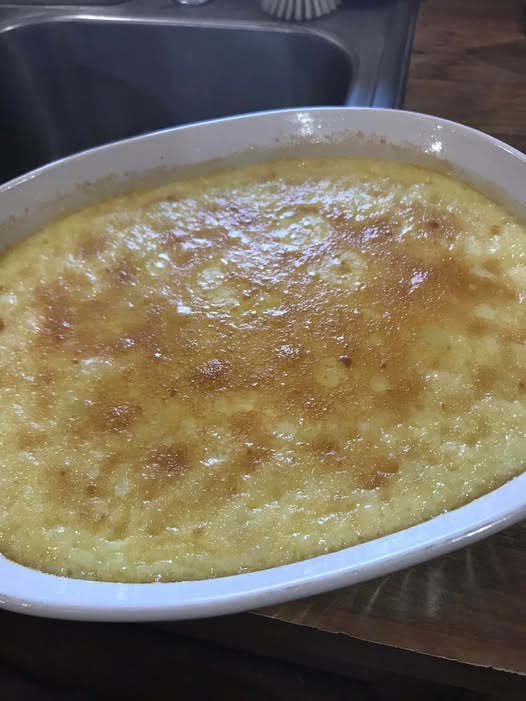
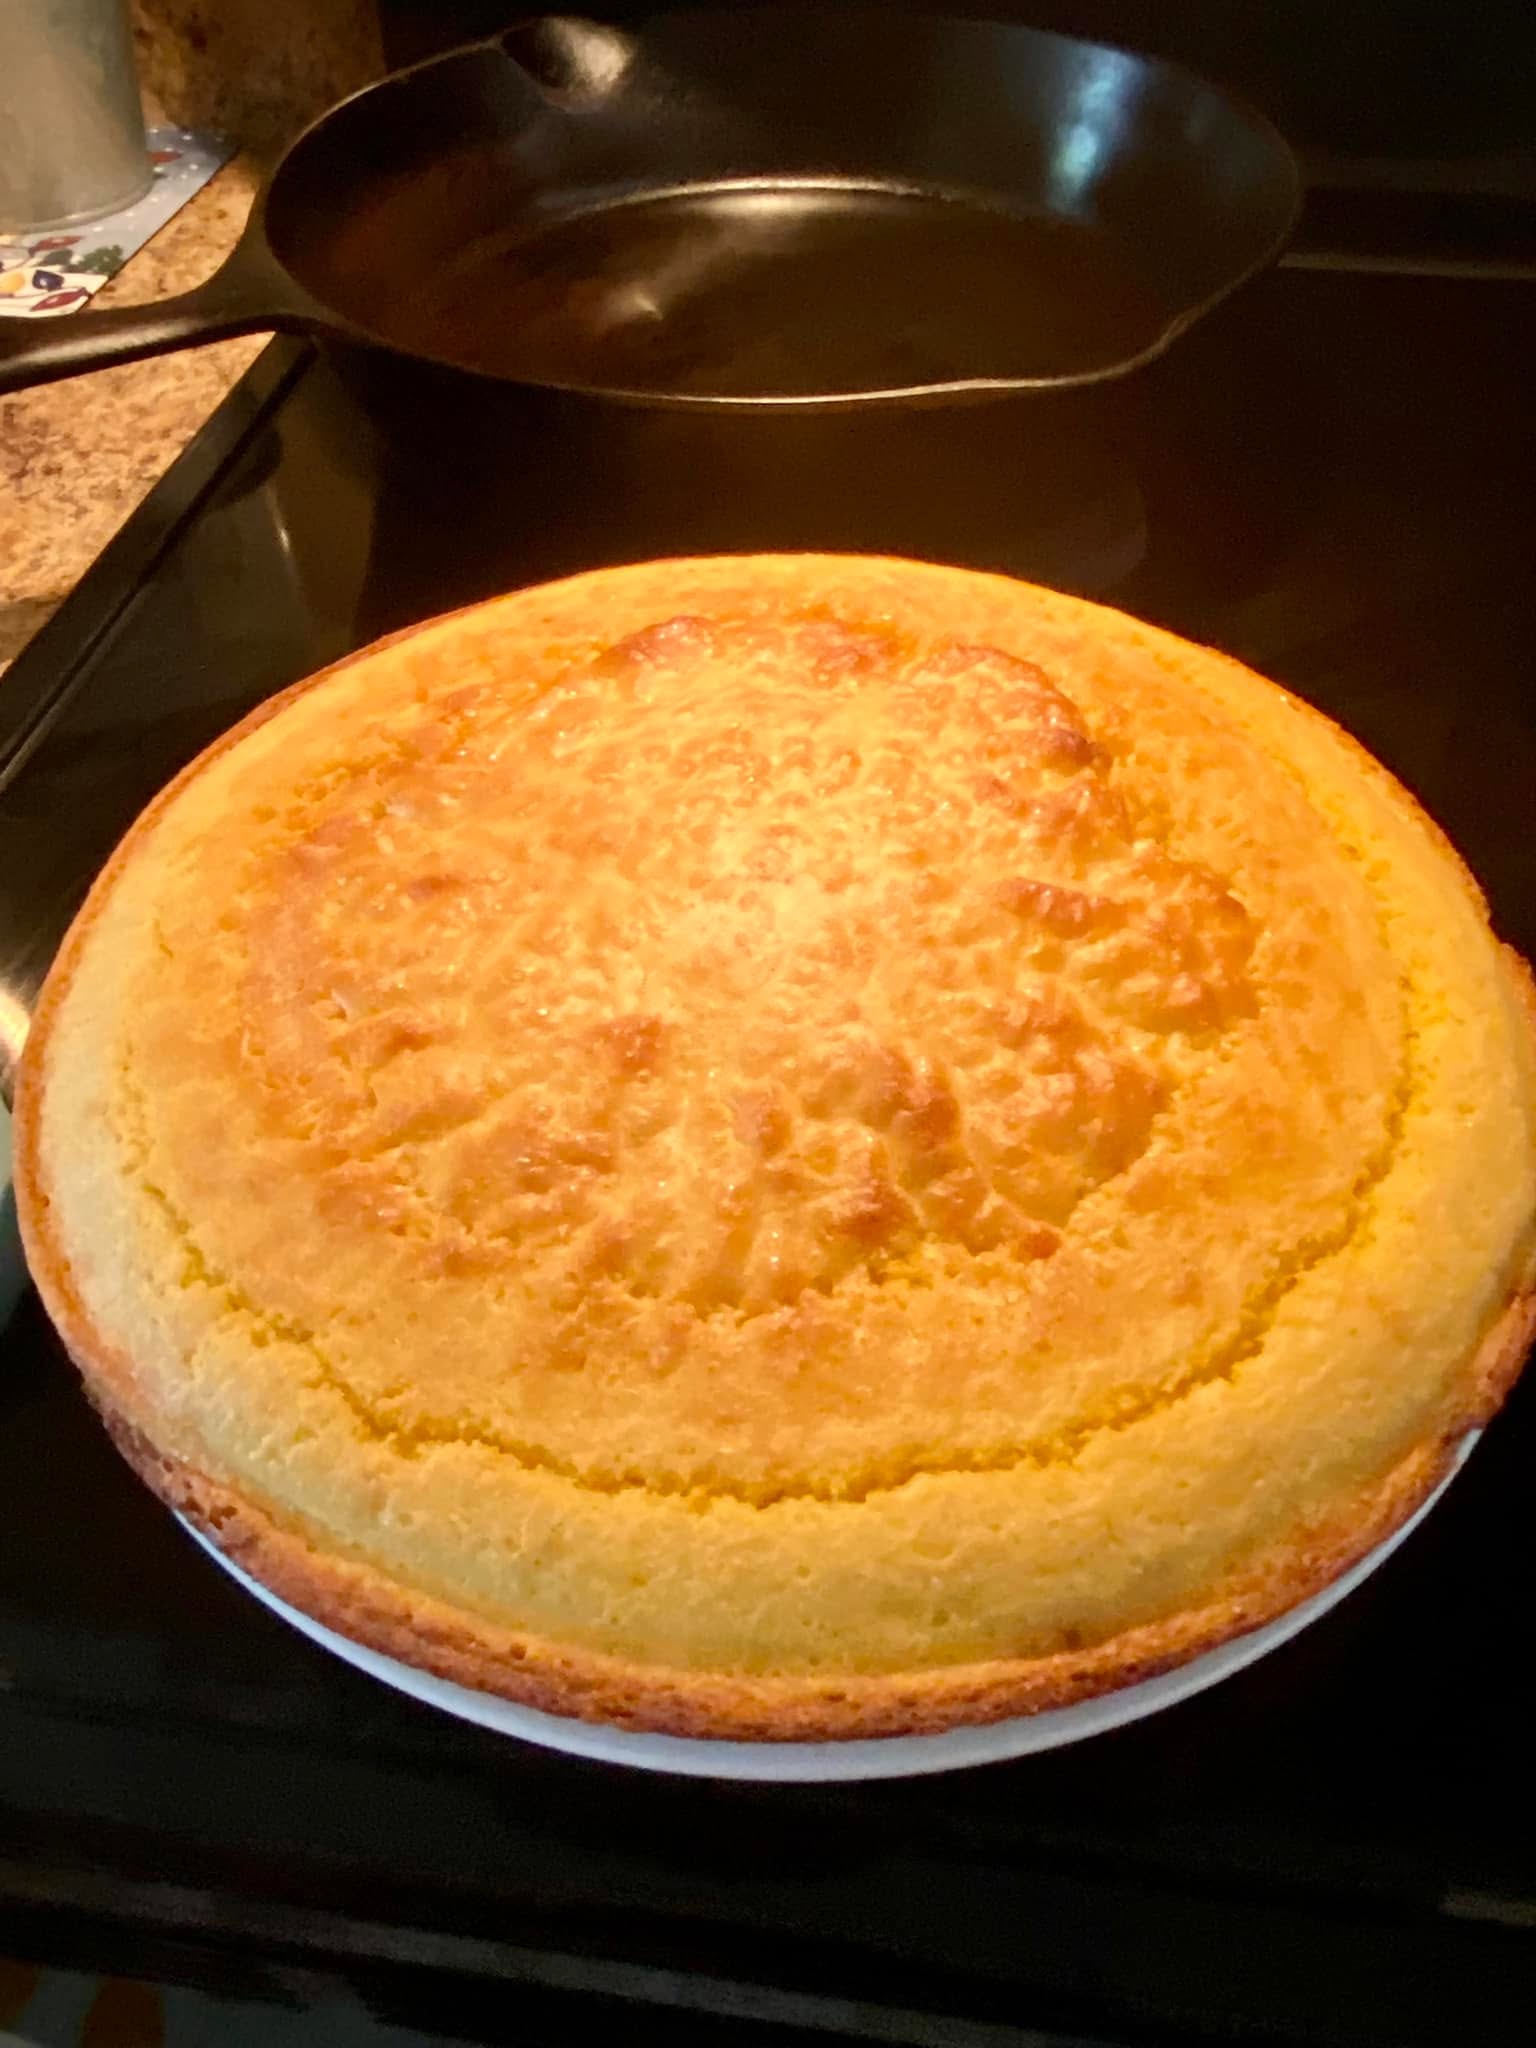
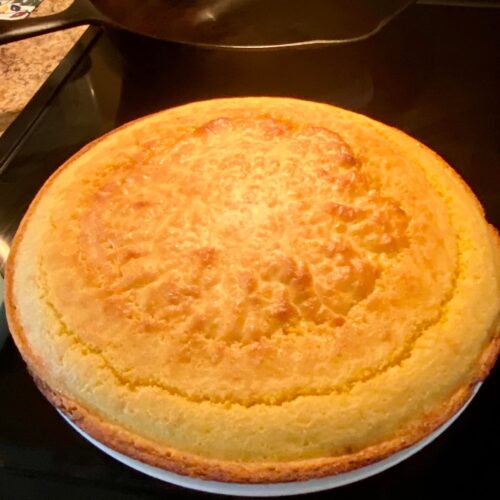
If you look closely at the photograph of the cornbread in file you will notice the unbroken, perfectly golden surface sitting beside that heavy black skillet. That is not the top of the bread; that is the bottom, turned out proudly onto a plate to showcase the crust. You can only achieve that continuous, sturdy edge by preheating your oil right inside the iron while the oven comes up to temperature. It is an unapologetic, old fashioned cast iron cornbread—one that relies on a hearty balance of flour and cornmeal, a significant lift from the baking powder, and absolutely zero sugar. It is meant to be savory, meant to crumble into a bowl of beans, and meant to carry the legacy of the grandmothers who stood at the stove before us.
Why this recipe works
-
Preheating the oil creates an instant barrier: When you place the skillet into the oven with a quarter cup of oil during the preheating phase, the fat reaches the smoking point. Pouring the room-temperature batter directly into this screaming hot oil instantly fries the outermost layer of the dough. This immediate searing prevents the batter from seeping into the microscopic pores of the cast iron, guaranteeing the bread will not stick when you invert it onto a plate.
-
A one-to-one ratio balances texture and structure: Pure cornmeal bread can be incredibly dense and crumbly, while bread with too much flour loses that rustic, gritty texture that defines a traditional southern loaf. By using exactly one and a quarter cups of both flour and cornmeal, you provide enough gluten structure to hold the slice together while maintaining the distinctly earthy, coarse bite of the corn.
-
An aggressive amount of leavening forces a rapid rise: Two full tablespoons of baking powder might seem like a typographical error to modern bakers, but it is entirely intentional. Cornmeal is heavy. To prevent the bread from baking into a dense brick, this high volume of baking powder reacts violently when it hits the hot liquid and the 425°F oven, forcing the heavy batter upward quickly to create a light, tender crumb beneath the hard crust.
-
High-temperature baking locks in moisture: Baking at 425°F is essential for old fashioned bread. A lower temperature would cause the batter to dry out as it slowly baked. The intense, high heat rapidly sets the exterior crust, locking the milk and egg moisture safely inside the center of the bread.
What you’ll need
-
Yellow Cornmeal: You need a standard, medium-grind yellow cornmeal for this recipe. Avoid finely ground corn flour, as it will turn the texture to mush, and avoid coarse polenta grinds, which will remain too hard during the short 25-minute bake. Yellow cornmeal provides that beautiful, vibrant, golden color you see in the photograph.
-
All-Purpose Flour: This provides the necessary gluten webbing. Without it, your bread will fall apart the moment you try to drag it through a bowl of pot liquor. The flour binds the coarse cornmeal together into sliceable wedges.
-
Baking Powder: Because we are not using acidic buttermilk or baking soda, we rely entirely on baking powder for the lift. Ensure your baking powder is fresh. If it has been sitting in the pantry for over a year, it will not provide the explosive rise this heavy batter requires.
-
Table Salt: One full teaspoon of salt is mandatory. Because this is a savory bread with no sugar to mask flat flavors, the salt is crucial for enhancing the natural, earthy sweetness of the corn itself.
-
Whole Milk: Two cups of milk provide the hydration. I strongly recommend whole milk for its fat content, which tenderizes the crumb. Skim milk will leave the interior feeling slightly chalky.
-
Eggs: Two large eggs act as the binder. Beating them slightly before adding them to the dry ingredients ensures the yolks and whites are evenly distributed, providing a uniform texture and a rich, yellow hue.
-
Vegetable Oil (Divided): You will need oil for both the batter and the pan. You must use an oil with a high smoke point, such as canola, vegetable, or peanut oil. The quarter cup inside the batter provides internal moisture, while the quarter cup in the preheated skillet creates the fried crust.
Substitutions & Variations
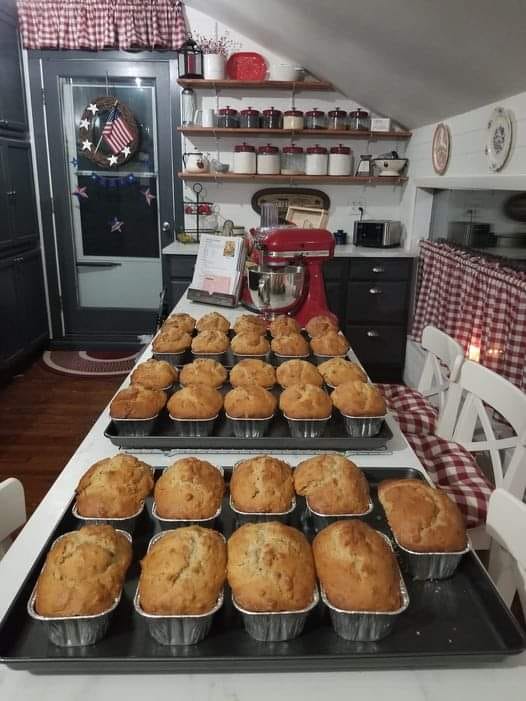
If you want to lean fully into your grandmother’s traditions, substitute the quarter cup of oil in the skillet with a large, heaping spoonful of saved bacon grease; the smoky flavor it imparts to the crust is unparalleled. If you prefer a slight tang, you can substitute the whole milk with an equal amount of buttermilk, but you should then swap one tablespoon of the baking powder for one teaspoon of baking soda to react with the acid. This batter is also highly adaptable—if you do not want to heat the heavy skillet, you can pour this exact mixture into a well-greased muffin tin and bake for roughly 15 to 18 minutes for individual portions.
How to make Old Fashioned Cast Iron Cornbread
Step 1: Preheating the Iron and the Oil
The success of this bread depends entirely on this first step. Place your oven rack in the center position. Take a standard 10-inch cast iron skillet and pour exactly one quarter cup of vegetable oil directly into the cold pan. Place the heavy pan into the oven, shut the door, and turn the temperature to 425°F. You want the iron and the oil to heat up gradually as the oven preheats. This ensures the metal expands evenly and the oil reaches a smoking-hot temperature right as you are finishing your batter.
Step 2: Whisking the Dry Ingredients
While the oven is coming up to temperature, select a large, wide mixing bowl. Pour in the one and a quarter cups of all-purpose flour, the one and a quarter cups of yellow cornmeal, the full teaspoon of salt, and the two tablespoons of baking powder. Take a dry whisk and stir these ingredients together vigorously. You must ensure the baking powder and salt are completely dispersed throughout the flour and cornmeal. If they are clumped in one spot, you will end up with pockets of intense bitterness in your finished bread.
Step 3: Blending the Wet Ingredients
In a separate, smaller bowl, crack your two eggs and beat them lightly with a fork until the yolks and whites are just combined. Pour the beaten eggs, the two cups of whole milk, and the remaining one quarter cup of vegetable oil into the large bowl containing your dry ingredients. Switch back to your whisk and blend the mixture together. Do not overwork the dough; you are simply whisking until no dry pockets of flour remain at the bottom of the bowl. The batter will be relatively thin and pourable, not thick like a biscuit dough.
Step 4: The Sizzle and the Pour
Once your oven beeps to signal it has reached 425°F, it is time to move quickly. Put on a heavy-duty oven mitt and carefully slide the screaming hot cast iron skillet out of the oven. The oil inside should be shimmering and possibly letting off a very faint wisp of smoke. Immediately pour your bowl of batter directly into the center of the hot oil. You should hear a loud, aggressive sizzle, and you will see the edges of the batter immediately begin to fry and curl inward as the oil displaces around the sides. This is exactly what you want.
Step 5: Baking to a Golden Brown
Carefully, without sloshing the hot oil over the edges, transfer the skillet back onto the center rack of the oven. Shut the door and set a timer for exactly 25 minutes. Do not open the oven door to peek during the first fifteen minutes, or you risk letting the heat escape and halting the aggressive rise from the baking powder. The bread is doing heavy work in there, pushing upward while the bottom fries.
Step 6: The Turn Out
After 25 minutes, inspect the bread. The top should be firm to the touch, and the edges should be a dark, crusty brown, pulling slightly away from the sides of the iron. Remove the heavy skillet from the oven. Do not let the bread sit in the pan to cool. The residual heat of the iron will trap steam underneath, turning your crispy, fried crust into a soggy mess. Immediately place a large, heat-proof plate upside down over the skillet. Wearing mitts on both hands, flip the skillet over in one swift, confident motion. Lift the iron away to reveal the beautifully golden, textured bottom crust facing upward, exactly as shown in our reference photo.
Destiny’s tips
-
I always use a dedicated bread pan: In my kitchen, I keep one well-seasoned cast iron skillet reserved exclusively for baking cornbread and biscuits. I never cook highly acidic foods like tomatoes in it, which preserves the dark, slick patina needed to ensure the bread drops cleanly onto the plate every single time.
-
In my kitchen, batter rests are forbidden: Once the wet ingredients hit the baking powder, the chemical reaction begins. I never let my batter sit on the counter. The moment it is mixed, it needs to go directly into the hot oil so that the rise happens inside the oven, not inside the mixing bowl.
-
I always check the oil temperature: If I pour a drop of batter into the preheating skillet and it does not immediately hiss and sizzle, the pan is not hot enough. I will leave it in the oven for another five minutes. The crust completely depends on that thermal shock.
-
In my kitchen, slicing requires patience: Even though it is turned out onto a plate immediately, I let the loaf sit for ten minutes before dragging a knife through it. Slicing boiling-hot cornbread causes the interior crumb to ball up and turn gummy on the blade.
What to serve with Old Fashioned Cast Iron Cornbread
-
A Pot of Slow-Simmered Pinto Beans: This is the natural, historical companion to an unsweetened, savory cornbread. A thick wedge is required to soak up the rich, salty pot liquor at the bottom of the bowl.
-
Southern Collard Greens: The aggressive crunch of the fried crust provides the perfect textural contrast to soft, slow-braised greens deeply flavored with smoked ham hocks.
-
A Bowl of Texas Red Chili: When serving a heavy, meat-packed chili, you need a sturdy, flour-fortified bread that can withstand being dunked into the thick sauce without instantly dissolving into mush.
-
Butter and Cane Syrup: For a quiet morning breakfast, a leftover slice split down the middle, toasted in a dry pan, and heavily doused in salted butter and dark cane syrup is a completely transcendent experience.
Frequently Asked Questions
Why does my cornbread always stick to the bottom of the cast iron?
Sticking occurs for two primary reasons: either your cast iron skillet lacks a proper, polymerized seasoning layer, or your oil was not hot enough when you poured the batter. The oil must be preheated with the skillet. When the batter hits hot oil, it instantly cooks the outer layer, creating a protective shield that prevents the raw dough from seeping into the iron and cementing itself there.
Can I add sugar to this old fashioned recipe?
While you technically can add sugar, doing so changes the fundamental nature of this specific recipe. This is a traditional, savory southern loaf designed to act as a hearty accompaniment to savory stews and beans. Adding sugar shifts the flavor profile closer to a cake, which may clash with the salty, smoky dishes it is meant to be served alongside.
Why did my bread turn out flat and dense?
A dense loaf usually indicates an issue with the leavening agent. This heavy batter requires a full two tablespoons of baking powder to lift the coarse cornmeal. If your baking powder is expired or has been exposed to excess humidity in your pantry, it will lose its chemical potency. Always test your baking powder by dropping a spoonful into hot water; if it does not bubble vigorously immediately, throw it away.
How should I store the leftover bread?
Because this recipe does not contain preservatives, it will dry out quickly if left exposed to the air. Wait until the bread is completely cool, then wrap it tightly in aluminum foil or place it in an airtight glass container. Leave it at room temperature for up to two days. To revive the texture, wrap a slice in a damp paper towel and microwave it for fifteen seconds.
Old Fashioned Cast Iron Cornbread
Ingredients
- 1 1/4 cups all-purpose flour
- 1 1/4 cups yellow cornmeal
- 1 teaspoon salt
- 2 tablespoons baking powder
- 2 cups whole milk
- 2 large eggs slightly beaten
- 1/4 cup vegetable oil for the batter
- 1/4 cup vegetable oil for preheating the skillet
Instructions
- Preheat your oven to 425°F. Pour 1/4 cup of vegetable oil into a 10-inch cast iron skillet and place the skillet in the oven while it preheats.
- In a large mixing bowl, combine the flour, cornmeal, salt, and baking powder. Stir vigorously with a whisk to blend completely.
- In a separate bowl, lightly beat the eggs. Add the milk, the eggs, and the remaining 1/4 cup of vegetable oil to the dry ingredients. Blend with a whisk until just mixed; do not overwork the batter.
- Carefully remove the hot skillet from the oven. The oil should be shimmering. Immediately pour the batter into the hot skillet. It should sizzle aggressively.
- Return the skillet to the oven and bake for 25 minutes, or until the top is firm and the edges are dark brown and pulling away from the pan.
- Remove from the oven and immediately turn the cornbread out onto a large plate to prevent the crust from steaming and turning soggy. Let rest for 10 minutes before slicing.
Notes
Muffin Variation: This batter may be used to make muffins. Grease a muffin tin well, fill cups 2/3 full, and bake at 400°F for roughly 15 to 18 minutes.