Decadent Cast Iron Fudgy Brownies
The Ultimate Secret to the Best Brownies
There is a fierce ongoing debate in the baking world between those who love the gooey, fudgy center of a brownie and those who fight over the crispy corner pieces. What if you didn’t have to choose? If you are not baking your brownies in cast iron, you are truly missing out on the absolute best of both worlds.
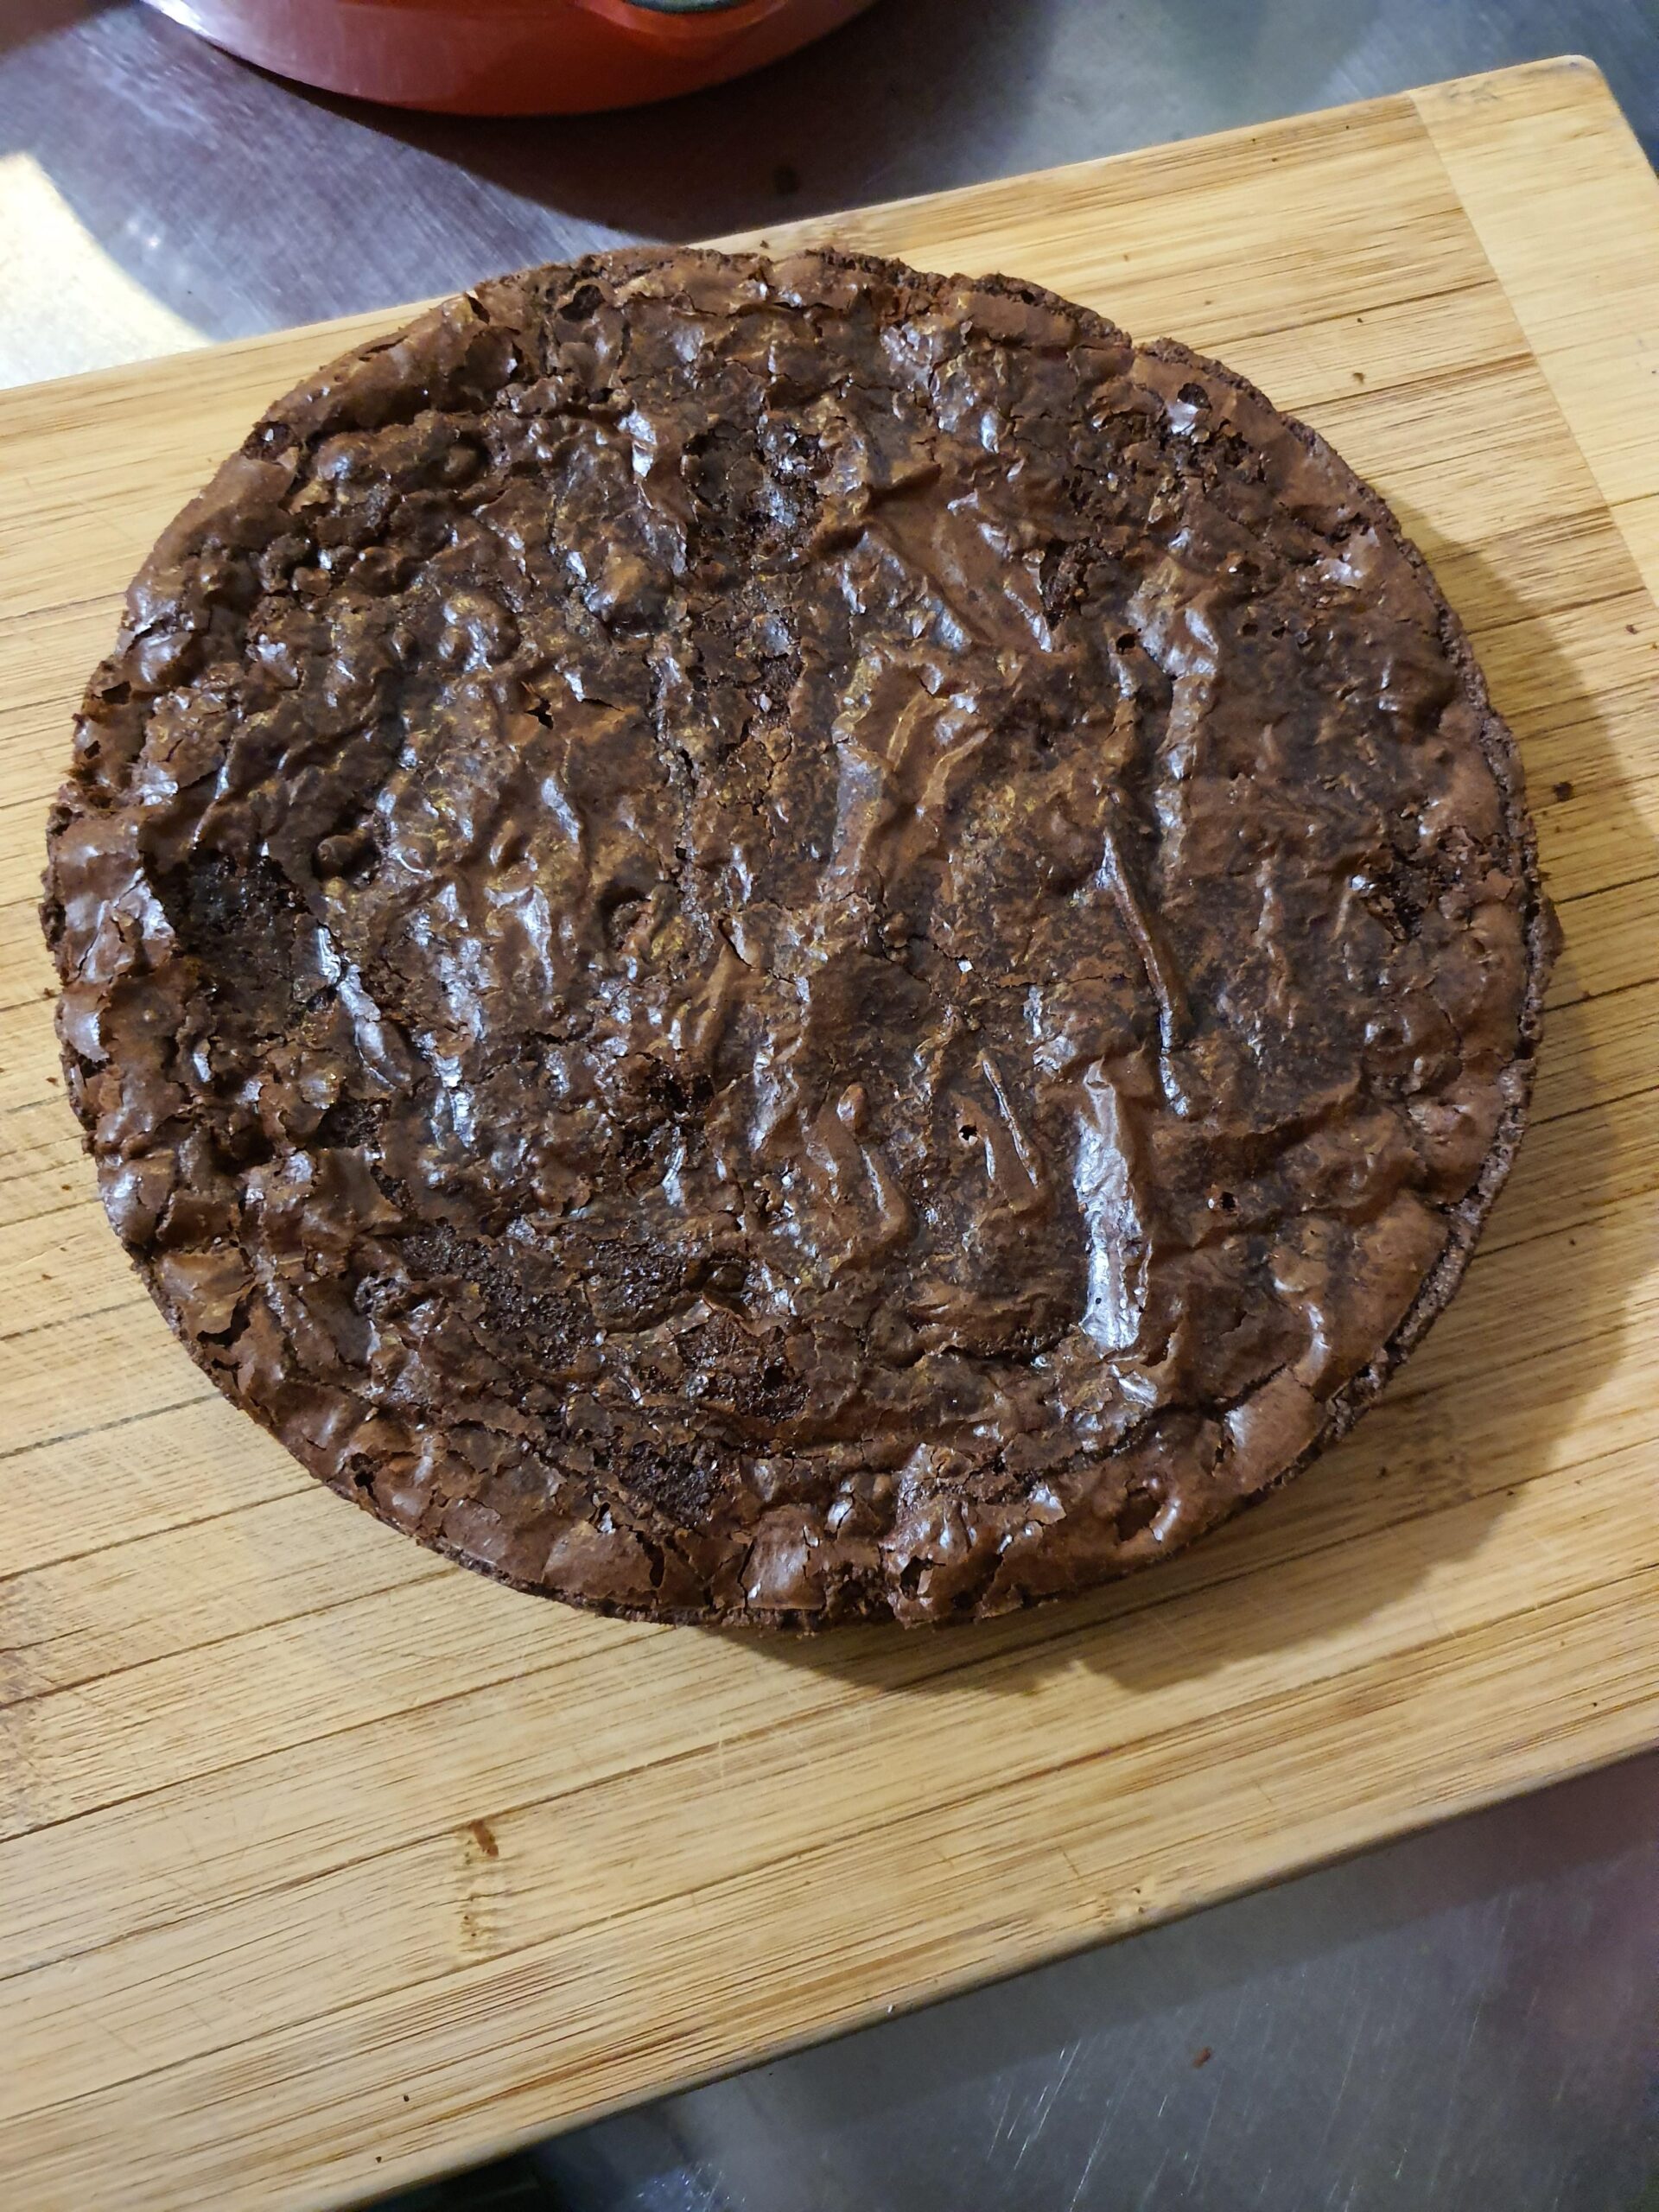
Using a heavy cast-iron skillet completely transforms standard brownie batter. The heavy metal conducts and retains heat beautifully, meaning the batter immediately sizzles and sets when it hits the hot edges. This creates the most incredible, chewy, crispiest edges you will ever experience, while insulating the middle just enough to yield a ridiculously fudgy, dense, melt-in-your-mouth center. As long as your pan has a well-seasoned patina, the massive brownie slides out perfectly every single time.
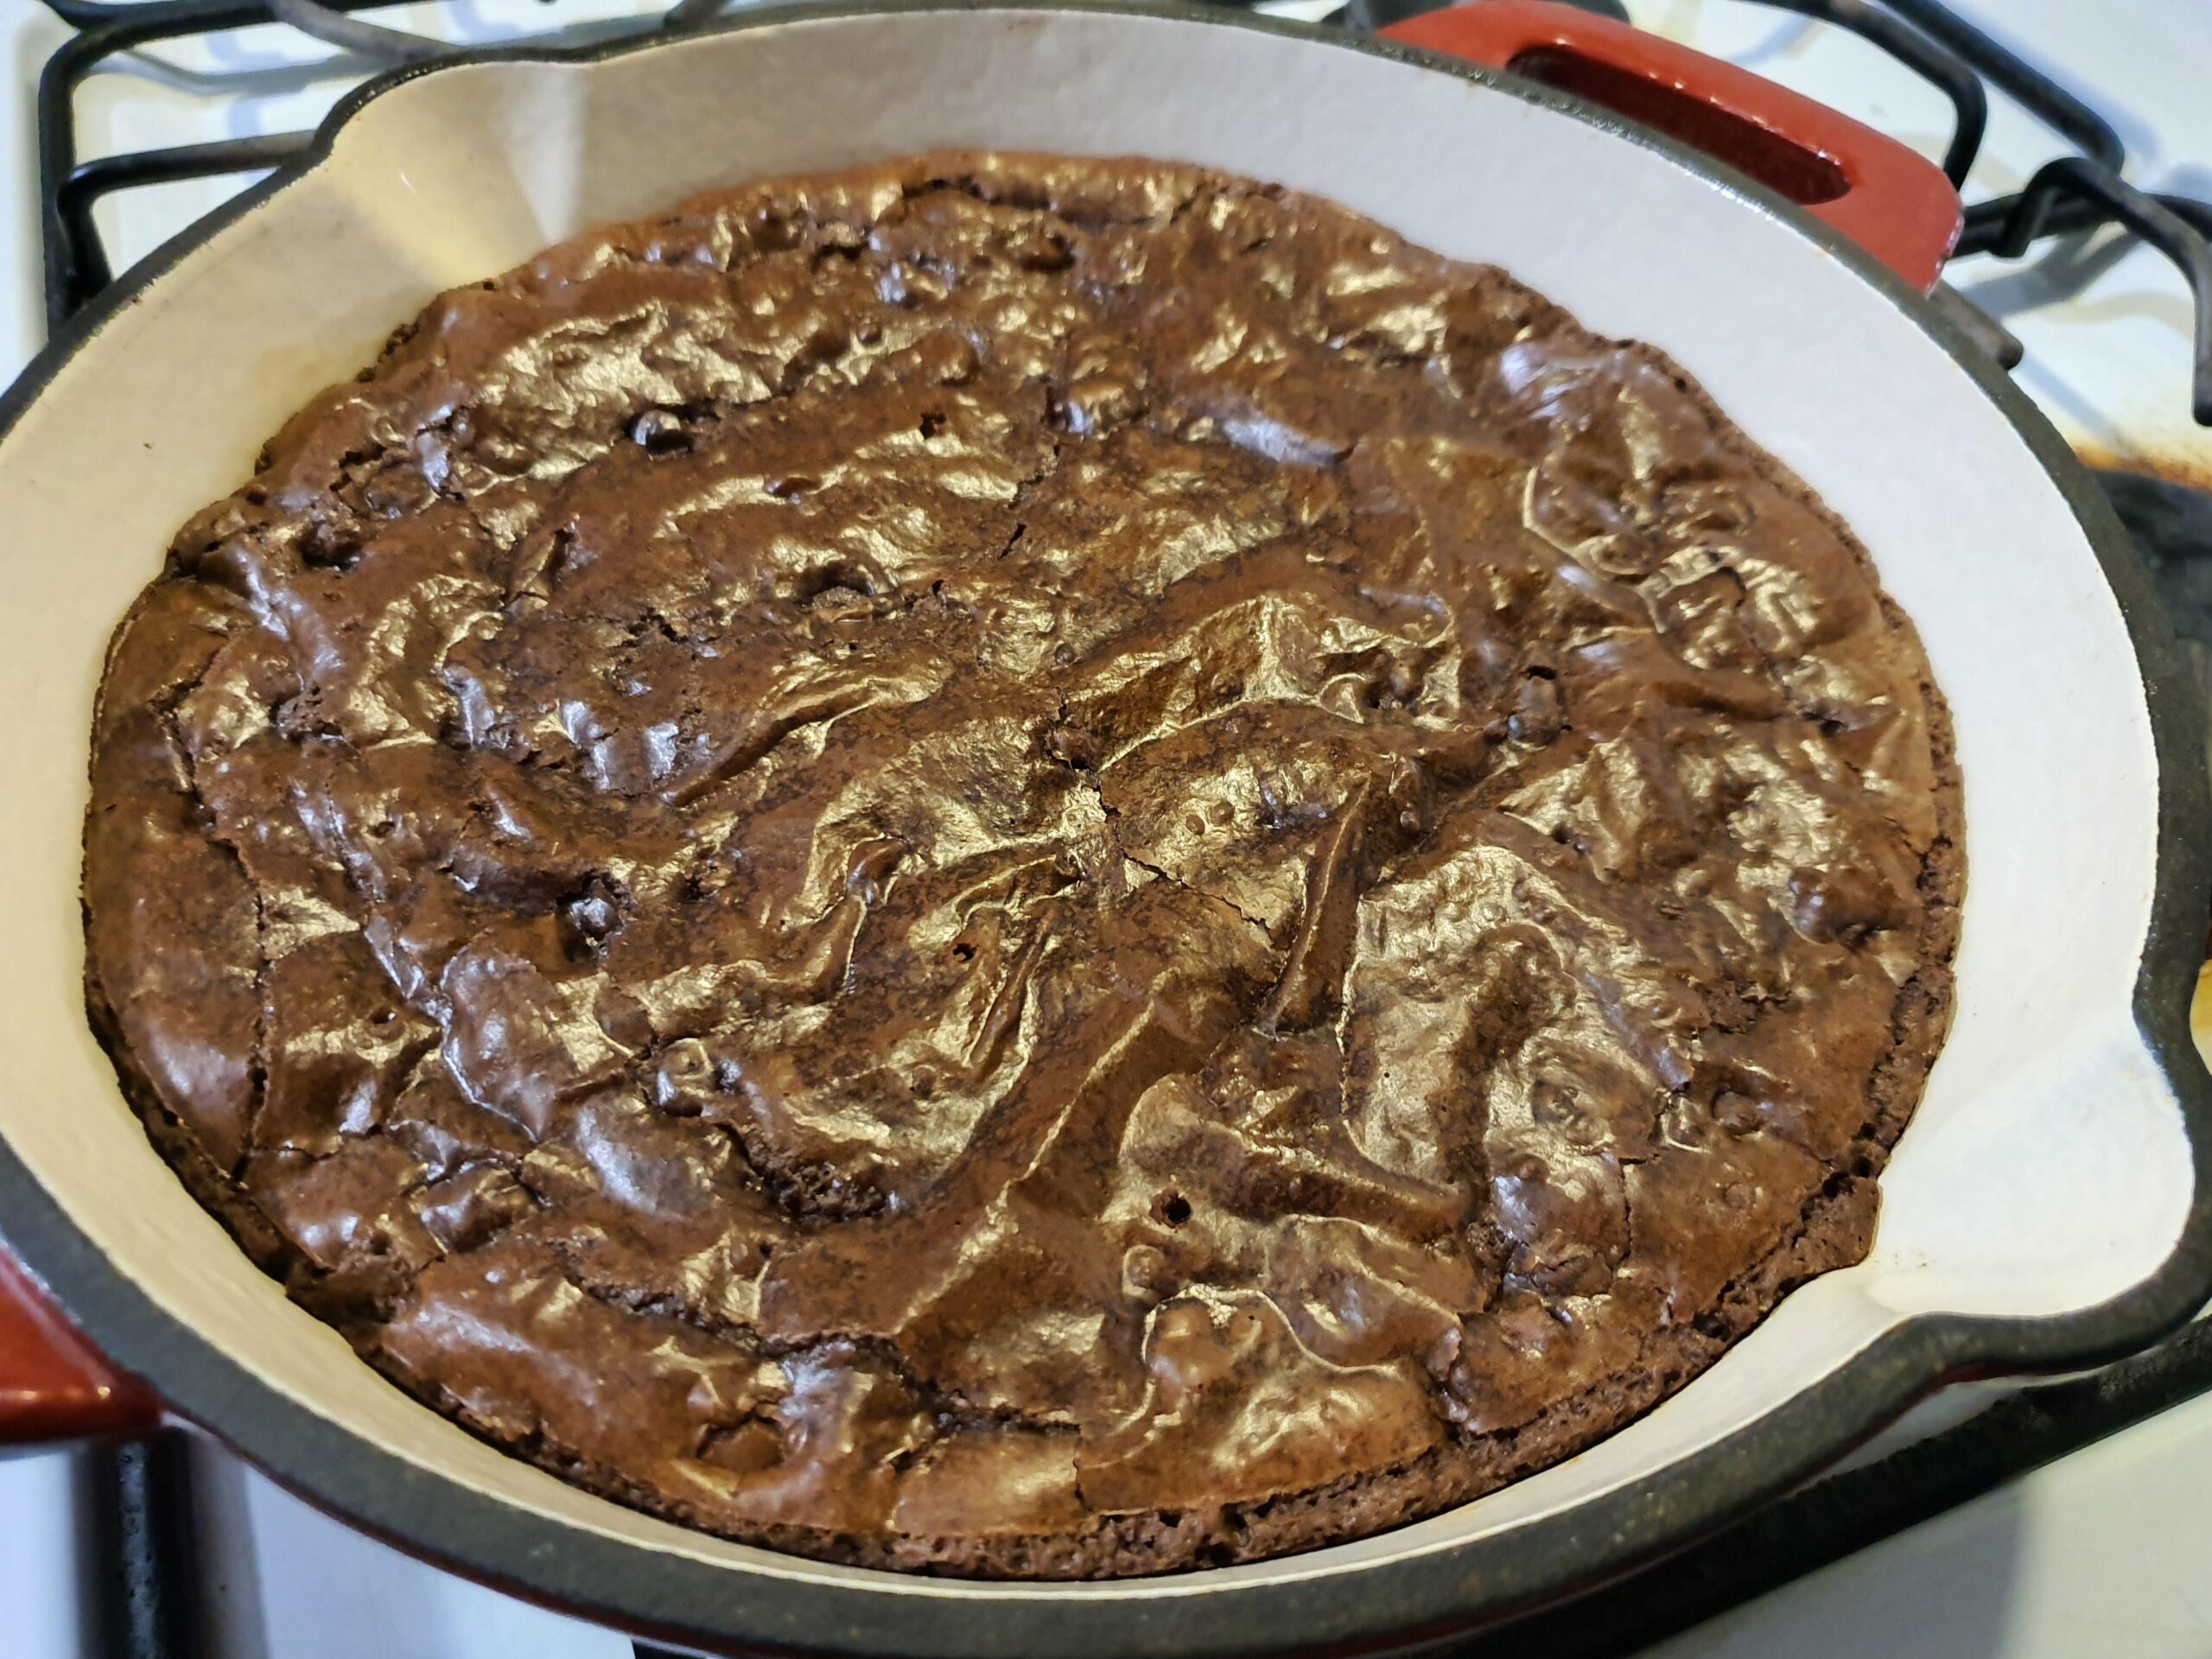
We also cannot forget about that signature look. Baking these in a skillet creates the most beautiful, tissue-thin, perfect crinkly top that shatters delicately when you cut into it. Whenever I pull this sizzling skillet out of the oven, my husband and daughter are practically standing in the kitchen with plates and forks ready to go. Whether you serve it warm straight from the pan with a massive scoop of vanilla bean ice cream melting over the top, or slice it up for a bake sale, this method will permanently change how you bake chocolate desserts.
Why You’ll Love This Recipe
-
The Best Texture: You get the absolute crispiest edges paired with a ridiculously fudgy center.
-
Perfect Crinkly Top: It bakes up with that highly coveted shiny, tissue-paper crust on top.
-
Effortless Release: A well-seasoned cast-iron pan acts as a natural non-stick surface, so the whole brownie slides out perfectly.
-
One-Bowl Easy: You do not need a stand mixer or a sink full of dirty dishes to pull this impressive dessert together.
-
Rustic Presentation: Serving a massive, warm brownie straight out of a skillet looks incredibly comforting on a Sunday dinner table.
Ingredients
-
Unsalted Butter: A half cup (one stick). Melting the butter rather than creaming it is the secret to a dense, fudgy texture rather than a cakey one.
-
Semi-Sweet Chocolate Chips: One cup of high-quality semi-sweet chocolate chips. Melting real chocolate directly into the batter provides an intensely rich flavor.
-
Granulated Sugar: One cup to sweeten the batter and help create that signature shiny, crinkly crust.
-
Eggs: Two large eggs at room temperature. The eggs bind the batter and provide the necessary structure for the dense center.
-
Vanilla Extract: One teaspoon of pure vanilla extract enhances the deep chocolate notes.
-
All-Purpose Flour: Just a half cup. Using a very small amount of flour ensures the brownies stay moist and heavy. Spoon and level the flour so you do not accidentally overmeasure.
-
Unsweetened Cocoa Powder: A quarter cup of cocoa powder adds an extra layer of dark, bittersweet chocolate flavor.
-
Salt: A half teaspoon of kosher salt beautifully balances the intense sweetness.
Step-by-Step Instructions
Step 1: Prepare the Skillet and Oven
Preheat your oven to 350°F (175°C). Take a standard 10-inch cast-iron skillet and lightly coat the inside with a small amount of butter or non-stick baking spray. Even if your cast iron has a beautifully maintained non-stick patina, a little extra grease guarantees a flawless release.
Step 2: Melt the Chocolate and Butter
In a microwave-safe bowl, combine the half cup of unsalted butter and the cup of semi-sweet chocolate chips. Microwave in 30-second intervals, stirring smoothly after each, until the mixture is completely melted and glossy. Set it aside to cool slightly so it does not scramble your eggs.
Step 3: Whisk the Eggs and Sugar
In a large mixing bowl, combine the two large eggs and the cup of granulated sugar. Whisk them together vigorously for about 2 to 3 minutes until the mixture becomes pale, thick, and slightly frothy. This rigorous whisking is the absolute secret to achieving that tissue-thin, crinkly top crust.
Step 4: Combine the Wet Ingredients
Pour the slightly cooled melted chocolate and butter mixture into the whipped eggs and sugar. Add the teaspoon of vanilla extract. Gently whisk the ingredients together until you have a smooth, dark, and cohesive wet batter.
Step 5: Fold in the Dry Ingredients
Add the half cup of all-purpose flour, the quarter cup of cocoa powder, and the half teaspoon of salt to the bowl. Grab a sturdy stainless steel spatula and gently fold the dry ingredients into the wet batter. Stop folding the absolute second the last streak of dry flour disappears. Overmixing develops the gluten and will result in a tough brownie.
Step 6: Bake to Fudgy Perfection
Pour the thick brownie batter directly into your prepared cast-iron skillet. Use your stainless steel spatula to spread it evenly to the edges. Bake on the center rack of the preheated oven for 22 to 26 minutes. A toothpick inserted exactly two inches from the edge should come out clean, but a toothpick inserted in the direct center should still have some moist, fudgy crumbs attached.
Step 7: Cool and Serve
Remove the heavy skillet from the oven and place it on a wire cooling rack. The cast iron retains heat, so the brownie will continue to cook slightly as it sits. Let it cool for at least 30 minutes before attempting to slice it, or serve it warm scooped directly out of the pan!
Expert Cooking Tips
-
Trust the toothpick test: Brownies are notoriously easy to overbake. Pull the skillet out of the oven when the center still looks slightly underdone. The residual heat from the heavy cast-iron pan will finish baking the center to a perfectly dense, fudgy consistency.
-
Whisk the eggs aggressively: If you want that gorgeous, crinkly, shiny top, you must dissolve the sugar into the eggs. Whisking them vigorously before adding the chocolate is non-negotiable.
-
Use a stainless steel spatula: When folding the flour into the heavy chocolate batter, a firm stainless steel spatula cuts through the dense mixture much cleaner and easier than flimsy silicone or bulky wooden utensils.
-
Maintain your skillet’s patina: Always wash your cast iron with a gentle sponge and dry it completely on the stove over low heat. Wipe a tiny drop of oil into the warm pan before storing it. A good patina ensures your dessert slides out perfectly every single time.
Variations to Try
-
Pecan Turtle Skillet Brownie: Immediately after removing the skillet from the oven, drizzle the hot brownie heavily with warm caramel sauce and sprinkle with toasted chopped pecans and flaky sea salt.
-
Peanut Butter Swirl: Before baking, drop dollops of creamy peanut butter over the top of the raw batter in the skillet. Drag a butter knife through the dollops to create a beautiful, marbled swirl.
-
Triple Chocolate Chunk: Fold a half cup of white chocolate chips and a half cup of dark chocolate chunks into the batter during the final folding step for an intensely decadent treat.
What to Serve With Cast Iron Brownies
Because this dessert is intensely rich and deeply chocolatey, it requires a cold, creamy contrast. Serve massive, warm wedges of the brownie topped with a generous scoop of classic vanilla bean or mint chocolate chip ice cream. The cold ice cream melting against the hot, crinkly crust is dessert perfection. Pair it with a piping hot mug of black coffee or an unsweetened espresso to beautifully balance the heavy sweetness.
Storage & Reheating
Room Temperature
Allow the brownie to cool completely to room temperature. You can wrap the entire cast-iron skillet tightly in plastic wrap or transfer the sliced squares to an airtight container. They will stay incredibly fudgy and moist on the counter for up to 4 days.
Freezer
These brownies freeze exceptionally well! Wrap individual slices tightly in plastic wrap, then place them in a heavy-duty, freezer-safe zip-top bag. They will keep in the freezer for up to 3 months. Let them thaw at room temperature for a few hours before eating.
Reheating
To recapture that fresh-from-the-oven, gooey texture, place a single brownie slice on a microwave-safe plate and heat it for exactly 10 to 12 seconds. The chocolate chips will melt back down, making the center incredibly decadent all over again.
Frequently Asked Questions
Can I use a 12-inch cast-iron skillet instead?
You can use a larger 12-inch skillet, but your brownie will be significantly thinner. Because it is thinner and spread over a wider, hot surface, you will need to reduce the baking time to about 15 to 18 minutes so it does not dry out and burn.
Why did my brownie sink in the middle?
A slight dip in the center is normal for intensely fudgy brownies. However, a massive sinkhole usually means the batter was severely underbaked, or you aggressively beat the batter after adding the flour, which incorporates too much air that collapses in the oven.
Do I need to preheat the cast-iron skillet before adding the batter?
For this specific brownie recipe, no. Pouring the batter into a cold, greased skillet works perfectly and ensures the edges bake at the same rate as the center. Preheating the skillet first would result in burnt, hard edges before the center even begins to set.
Can I use cocoa powder instead of melting chocolate chips?
While you can find cocoa-only brownie recipes, this specific recipe relies on the melted cocoa butter and fats from the real chocolate chips to create that dense, fudgy texture and the shiny top crust. Swapping it entirely for dry cocoa powder will result in a dry, cake-like brownie.
Why didn’t I get a shiny, crinkly top?
The crinkly top is a delicate meringue-like crust created by dissolving the sugar into the eggs. If you just gently stirred the eggs and sugar together instead of whisking them vigorously for several minutes, the crust will not form.
Final Thoughts
Baking your chocolate desserts in a heavy, trusted cast-iron skillet is a technique that will completely elevate your home baking. This recipe delivers exactly what every chocolate lover dreams of: the crispiest, chewiest edges surrounding a ridiculously fudgy, gooey center. With its effortless preparation and stunning, rustic presentation, it is the ultimate comfort food dessert to share with your family. Grab your skillet, melt that chocolate, and get ready for the best brownie you have ever pulled out of your oven!
Decadent Cast Iron Fudgy Brownies
If you aren't baking your brownies in cast iron, you are missing out! This recipe delivers the crispiest edges, a ridiculously fudgy center, and a perfect crinkly top.
Ingredients
- 1/2 cup Unsalted butter 1 stick
- 1 cup Semi-sweet chocolate chips
- 1 cup Granulated sugar
- 2 large Eggs room temperature
- 1 tsp Vanilla extract
- 1/2 cup All-purpose flour
- 1/4 cup Unsweetened cocoa powder
- 1/2 tsp Kosher salt
Instructions
- Preheat your oven to 350°F (175°C). Lightly grease the inside of a 10-inch cast-iron skillet with a little butter or non-stick baking spray.
- In a microwave-safe bowl, combine the unsalted butter and semi-sweet chocolate chips. Heat in 30-second intervals, stirring smoothly, until completely melted and glossy. Set aside to cool slightly.
- In a large bowl, vigorously whisk the eggs and granulated sugar together for 2 to 3 minutes until pale and slightly frothy. (This creates the crinkly top!)
- Whisk the melted chocolate mixture and the vanilla extract into the eggs and sugar until smooth.
- Add the all-purpose flour, cocoa powder, and salt. Use a stainless steel spatula to gently fold the dry ingredients into the wet batter just until no dry flour remains. Do not overmix.
- Pour the batter into the prepared cast-iron skillet and spread it evenly to the edges.
- Bake on the center rack for 22-26 minutes. A toothpick inserted 2 inches from the edge should be clean, while the center should still have moist, fudgy crumbs.
- Remove the skillet from the oven and let it cool on a wire rack for at least 30 minutes before slicing, or serve warm with ice cream!
Notes
Do not overbake! The heavy cast iron will continue to bake the center even after it comes out of the oven.
Whisking the eggs and sugar thoroughly is non-negotiable for achieving that shiny, tissue-thin crust.
If using a 12-inch skillet, reduce the baking time to 15-18 minutes.